I ordered this set on my first order from the new holiday catalogue. I loved the images that would make some really sophisticated cards and gifts- but as days went on, it just sat on my desk, waiting to be used. Well, there is no better inspiration than not wanting to study so I have happily wasted this morning making cards that have been floating around in my head for the last few weeks.
For the Witch center, stampt the witch image with versamark on glossy white CS then emboss with black EP then heat set. Use a Post-it note and punch a hole and use a dauber to color iin the moon in pumpkin pie as shown through the hole.
Then cover the moon that has been colored with the circle that you punched out and colored the outside with elegant eggplant using a dauber as shown.
I wanted a matching taffeta ribbon but Stampin' Up does not sell one in that color. No Problem! I know there are tutorials on using reinkers and a plastic container and dipping the ribbon and letting dry blah blah blah- too messy for me. Just use the same dauber to color the white taffeta ribbon as shown (make sure you color in both sides of the ribbon) and Voila! Eggplant taffeta ribbon in no time flat- no drying time, no nothing. Easy peasy the way I like it.)
I also wanted to layer the black apothecary accent framelet diecut piece behind the lime but I had to cut it as shown to the left to make an evenly layered piece. I did stamp the spider web from Wicked Cool and spider from Out on a Limb(retired SU) to add that "little something extra". All in all a fun little card. Drats, I have to get back to my studies......


 I have been playing with the witch heat embossed with black EP on glossy and using different colors to highlight using a dauber. On this one I used More Mustard in the center with Pumpkin Pie around the edges, highlighted it wiht silver glittery paper and mounted using dimensionals. Take the base basic black card, emboss using spider web thyen highlight with silver pen and then add dazzling diamonds glitter with 2 way glue pen. Tkae a piece of first edition DSP and accordion fold and then figure out where you want the accent piece to be then punch a hole through all the layers to make a stay put ribbon. Another easy peasy card..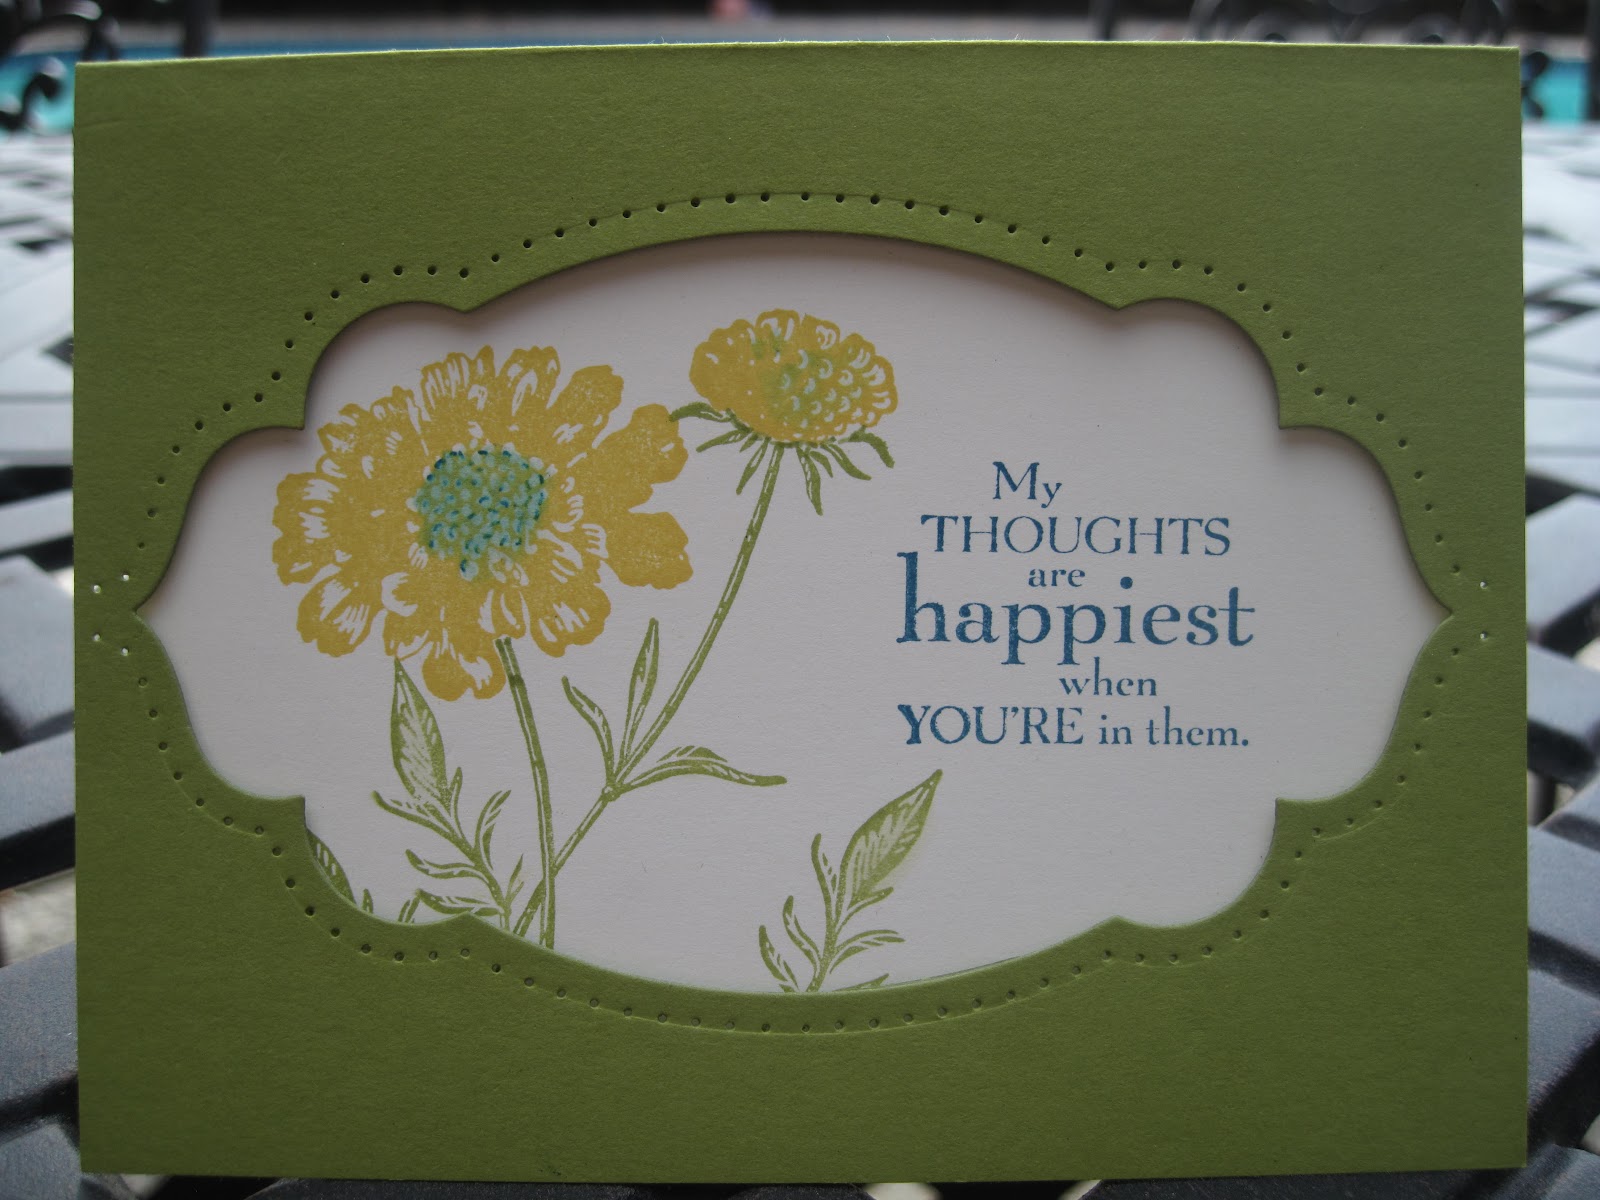
 When I made the Toxic Treats card for yesterday's project diecutting the Lucky Limeade paper, I made a point of centering it on a folded A2 card (it's not like I could have cut 3 out of a half a sheet of paper so if I was only going to get 2 out of a half sheet of paper it made sense that I could actually "use the negative". I pierced the borders using the piercing template.
  Test out the colors and layout and if you like it then stamp it on a good piece of whisper white about 1/8 inch smaller all around. After stamping it the way I wanted using Field Flowers, I mounted dimensionals on the front as shown and mount it behind the Lucky Limeade basecard opening. A real simple card using the left over piece from another project. Recycling at it's best!


