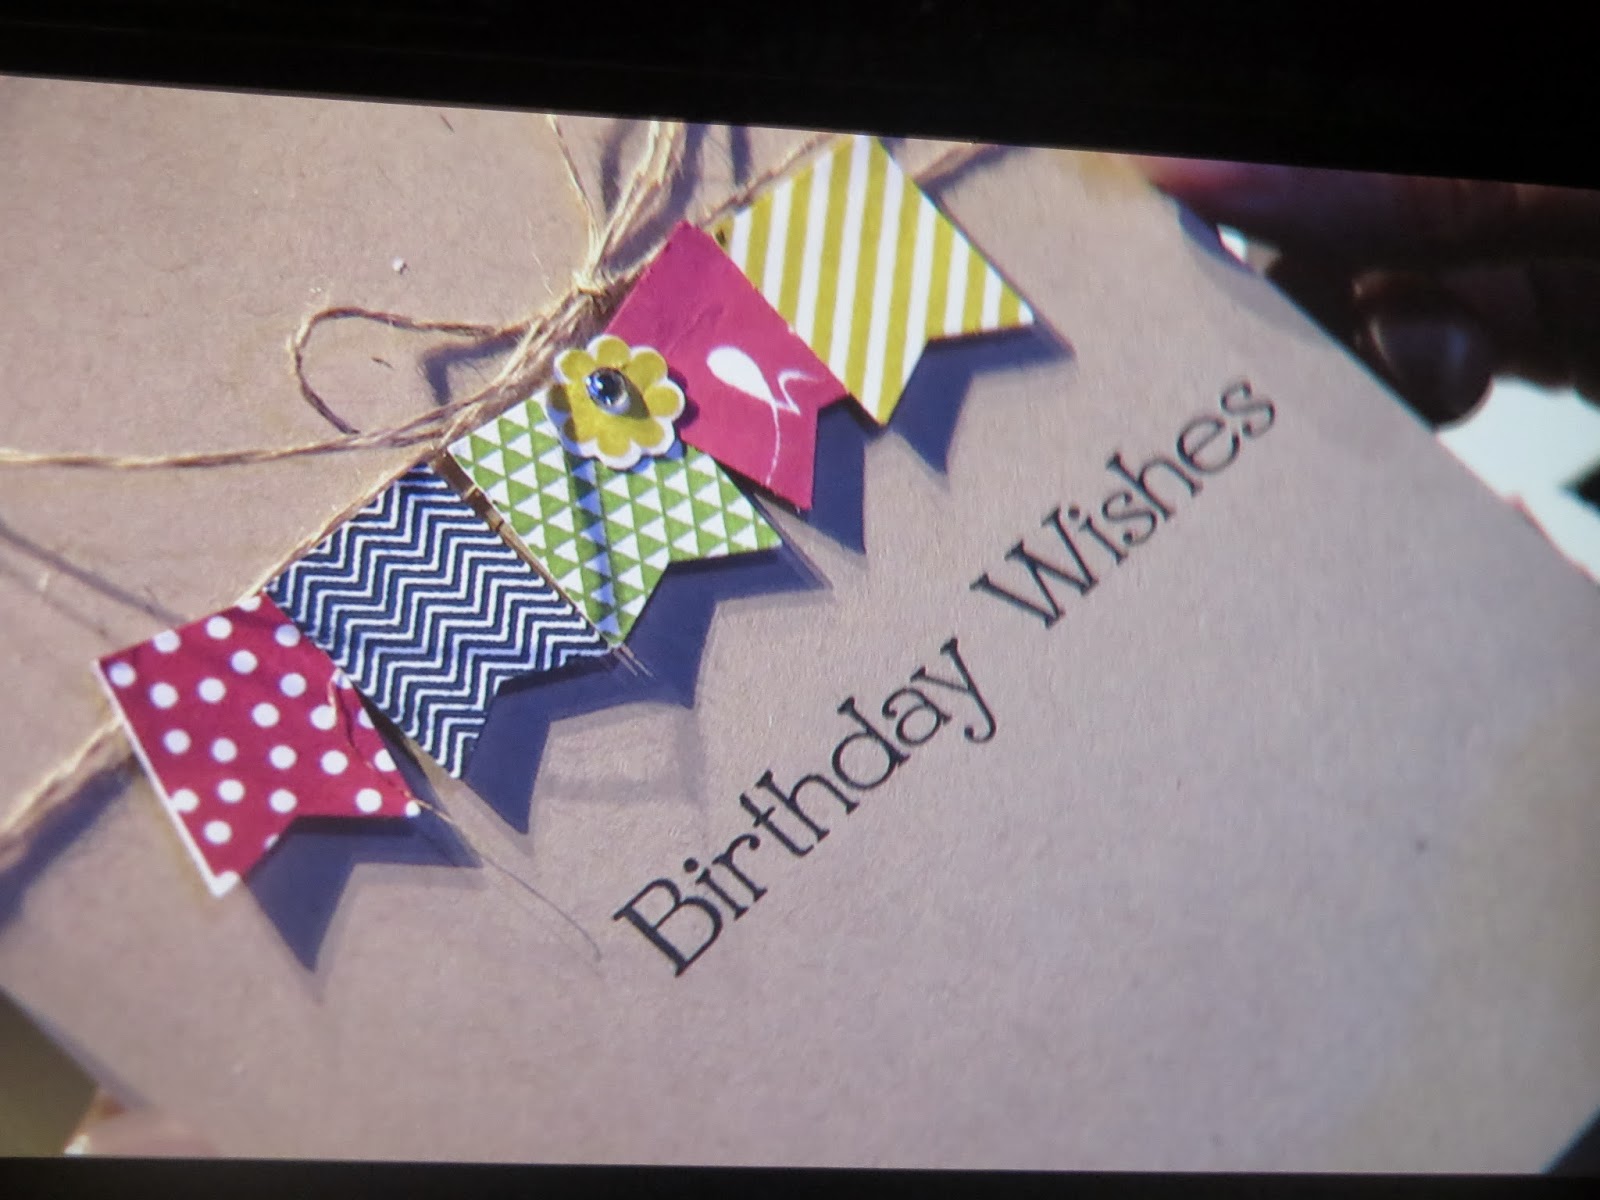
Sunday, January 12, 2014

Stampin' Up Leadership 2014

I just got back from Stampin' Up Leadership.  I had gone previously and learned so much and had so much fun I knew I wanted to go back. Mercedes, my Stampin' Bestie and Stampin' Goddess, made the little bag tag made from Calypso Coral Celebration Add-On Kit and Silver Glimmer Paper with thick chipboard (that comes with 12x12 DSP ) sandwiched in between.    Is she not amazing?
 This was my first managers' reception and I hope first of many to come.  It was at the Downtown Aquarium and it was a-mazing!

They said light appetizers so many people had dinner before hand but my oh my- the last time I had appetizers this "light" it was Thanksgiving!
 Appetizers were scattered throughout the aquarium, bacon wrapped big plump prawns, tiny beef Wellington,  chicken skewers, sushi of all kinds, chocolate desserts, fruit tarts to name a few. They even had a  dessert buffet , potato bar,  fresh oysters, burger and lobster bar, and blue drinks made of pineapples and other exotic ingredients.
 These salmon rolls with creme fraich and a piece of chive wrapped around a fork was spectacular!
 There was a giant carved ice sculpture of Stampin' Up. 
 They even had a man in a scuba suit flipping the sign with 2 different messages on it swimming with the fishes.
We took the train ride through the outskirts of the aquarium and they had a circular tunnel with glass all around filled with sharks.  This is really my picture that I took from underbelly of the shark swimming over head.  Cool, eh?
 Then we headed on over to the stingray tank where you can pet the slimy creature up close and personal.   Sara Douglas was kind enough to pose for me and Mercedes. 
 And her mom and dad were in the bus with us so I had to ask for a photo op - are they not the most photogenic couple?
 But of course what is a Stampin' Up gathering without stamping?  Check this out.  The Monster Hugs valentine cards (only available until Jan 27th!) were used to make this oh-so-cute gift boxes.  The back of the monsters have a label and the cutest little tushy.  You don't want to cover that up.
 The Sale-a-bration products you can earn for free includes this Banner Blast stamp set that has 7 banners and heart, star and flower that matches Itty bitty shapes punches and you can earn it for free after Jan 28th with any $50 purchase.
but of course you will have to have the punch that goes with it.  I preordered it because I HAD to have it- no regrets, I LOVE it!  Sentiment from Four You
 These were window shaker cards made from the On Film Framelits Dies and Deco Labels Collection Framelits with sentiments from Perfect Pennants.  The confetti were made using the Fringe Scissors.  Just leave it up to Stampin' Up to make such a great quality Fringe Scissors.  I bought one a few years back but it was not as sharp or heavy duty as Stampin' Up's.  They always deliver with the best quality product.


 They also had a booth with MDS products for parties and classes on how to make cards and 
 scrapbook pages and I have resolved to use it more- the program is so Intuitive, I think even I could do it! (and that says a lot)

They are planning to make photopolymer stamps in house and having bought some from other companies in past and having been disappointed, I am SO happy to report that Stampin' Up photopolymer is again Top notch.  Love Love Love them!
 There are so many kits to make stamping easy and fun not only for stampers but also for home dec, parties, gifts, Journaling.... I was really blown away when I saw for the first time clearly Stampin' Up's vision for their future.  They used the Calypso Coral Celebration Add-Onkit to make cards using sentiments from Simply Celebrate foir these easy cards/ gift cards.
 The Simply Created wreath kit is so cute and they demo'd more flowers using the fringe scissors.
 This is a bag of confetti made in bulk with the fringe scissors (ready to make those shaker cards I showed you before).
 The last night in Houston, we walked to find an ice skating rink in front of the convention center- considering that it was about 70 degrees, quite a surprise.
I thought this was a cool looking building so took a picture but I think it may have been the loo.
 The walkway around the rink had these cool Gargantuan Orbs hanging from the trees.  They really were as big, if not bigger than people. 
This was the dinner with my upline Tami Wadell at the Grove which was fantastic and she made these adorable gift packs with all the gold embellishments from the Occasion catalog- Wow!  Thanks, Tami! 
 After dinner the Orbs were lit up which was super cool.

Oh, what a fun time.   And the samples I showed you were just a few of gazillion pictures I took.

You know, I love being a doctor and the work that I do and my wonderful patients that makes my work meaningful but gosh I love being a demonstrator for Stampin' Up.  If only I can clone myself......
I can't wait for Convention now.......

Lynda

Items shown:
Calypso Coral Celebration Add-On Kit (133431)
Silver Glimmer Paper 124005
Typeset Alphabets Bigz 127553
The Monster Hugs valentine cards 132163 Girls (only available until Jan 27th!)
Tag a Bag Gift Boxes 130927
Four You stampset 130535 Wood/   130538 Clear
On Film Framelits Dies132969
Deco Labels Collection Framelits 130102
Perfect Pennants 133227 Wood/   133230 Clear
Fringe Scissors133325
Simply Celebrate 133221 Wood/    133224 Clear
The Simply Created wreath kit 133333
Sale-a-Bration: Free with any $50 purchase
     Banner Blast stampset- 133551 Wood/    133554 Clear
     Banner punch 133519

 You may purchase these 24/7 from http://www.stampinup.net/esuite/home/lyndalee

Monday, December 30, 2013

Handmade Frosted Embelllishments Earring thank you Box


 I do not have a whole lot of time but I love still to make something handmade for my friends if I can.  I saw jewelry made with these embellishments and I thought they were perfect.  I bought hook earring findings in sterling silver and little sterling beads and wires and used them to make earrings with the frosted embellishments that were Oh So Pretty!

 I needed a little box to put them in and made a hinged box fot them and folded a little cardstock to back it.   I used the envelope punch board to make the front indentation and to round the corners on the side.
 I covered the box top with the silver 1/8 inch ribbon using multimono and cut on the side so you could open the box without undoing the ribbon.  The ribbon is made with 3 ovals punched out from silver glimmer paper  2 ovals are folded over and tacked together using a glue dot. then the third one is cut in half and the middle part are cut in a V and placed under the loops as shown.  Stick a crystal jewel in center and Voila!  a beautiful little box and gift in just a little time.

Enjoy!

Friday, December 27, 2013


 I saw this card by Julie Gearinger http://www.splitcoaststampers.com/gallery/photo/2442936?&cat=24486 that was so beautiful I had to case it.  Used stampset Joyful Christmas to stamp the poinsettia on Cherry Cobbler cardstock in basic black and then colored the edges some with white watercolor pencils. The leaves are stamped onto garden green in black.. As you all know I am not much of fussy cutting but once I had it stamped on the paper, I cut the whole thing out in just 10 minutes watching the Big Bang Theory.  The base card is Cherry Cobbler with garden green on top then a piece of whisper white stamped with script (retired) in garden green.  A sheet of vellum paper was laid over the script background.

The sentiment was stamped in cherry cobbler on white then layered with garden green then cherry cobbler.
The poinsettia was layered using dimensionals and basic pearls in the center to add interest.

I had so much fun making this card.... I would have used it for my christmas card if it were not so bulky to mail......

Wednesday, December 25, 2013

2013 Christmas Card

 I knew I wanted to use the circle card thinlit for my holiday card this year and the Season of Style DSP paperstack had the perfect paper for it - love the candy stripes.  Unfortunately it was backordered until Jan 14th and I only had a small stack left from my workshops to make do so there were some variations on this card.  But here it is.  I adhered the stripe paper strip on the left side only on a 5 1/2x 8 1/2 Cherry Cobbler CS, ran it through the Bigshot with the framelit die to cut the circle and create a flip on the right side.

This is another variation on the card with the Santa with the red Dazzling details on the suit to add sparkle. 
 Both  cards had a stip of silver 1/8 inch ribbon.
The snowflake front has the larger snowflake stamped in Cherry cobbler embellished the red Dazzling details on the tips and a jewel in the center (although hard to see and missing from the snowflake sample above- Jeez!).  The snowflake in front was stamped with cherry onto white CS then diecut with coordinating snowflake die.  It was placed, snowflake stamped side down onto Big shot multipurpose adhesive sheets then placed onto dazzling diamond glitter to adhere it as shown with a dimensional.

 I agonize over the choice of picture to include in the card every year- something without someone's eyes crossed or something.  I dug this picture up from our trip to Florida to visit my parents when we waited 2 1/2 hours in line to ride the new Harry Potter ride at Universal but at least everyone is looking forward for once.

Happy Holidays to you all!

Lynda

Wednesday, December 11, 2013

Envelope punch board File folder cards


Friday, November 29, 2013

Full of Turkey


 I am totally nuts over this circle card thinlet. It is so versatile and I LOVE a full card with the option to flip over the right side of the card for the hidden message.
I love even more that it is done using just a half sheet of cardstock which makes it even easier for me.
Options are endless.  This time I embossed the left side of the card with the woodgrain embossing folder- a basic must in every stamper's toolbox-  and used the Sweater weather DSP on the right stamped with the sentiment from Truly Grateful stampset in chocolate chip.   The turkey is stamped twice chocolate chip on whisper white and in Crushed Curry to layer it. Add dimensional to layer over the smoky slate then tangerine tango.

Flip side has tags for you with the thanksgiving entiment in tangerine rock and rolled around chocolate to edge it.
Hard to see but the bundle of wheat was stamped on the inside in chocolate chip too.

Write a special message using the White stampin Chalk marker and how cool would that be?

Thursday, November 28, 2013

Happy Thanksgiving! A pop up turkey for you!

 Happy Thanksgiving everyone!
  I have a lot to be thankful for this year.  My family's good health, everyone has a job, my home renovation is almost completed, my mother in law is cooking Thanksgiving and all I have to do I bring the ice cream and the screaming hoard of hungy kids- check!

This is a little thanksgiving card I made as a thank you to my customers this month. The base card is white with a layer of chocolate chip  embossed with Woodgrain on top and with a layer or Burlap ribbon, cut in half lengthwise and the strands teased to create a fringe.   The acorn from Truly Grateful in chocolate chip then used the blender pen to smudge the ink a bit. punched with 1 1/4 inch circle punch and the tangerine CS with 1 3/8 inch circle punch.

I used the whisper white CS diecut with pop and cuts and labels insert die (at the same time as the Sweater Weather DSP for that perfect fit!) to create a pop out.

Thank from Harvest of Thanks stamped in tangerine then rolled around the edge with chocolate chip to create the two tone effect.
 The turkey was inspired by a turkey I saw on pinterest by Julie Davison.- It is diecut with the Deco Labels framelet to match and 1 1/2 inch circle head using chocolate chip CS.  The beak is made from a triangle that I cut from the left over from the piece I cut for the front of the card (after the popncuts cut it)  The tangerine piece by the beak is from a piece I cut out from the 4 sided from the itty bitty punch set.  Eyes from the owl punch.
 The tailfeather are made uing the Gift Bows Bigs L Die as shown on the left with the Sweater weather DSP.  You can cut at least 3 layers at a time. So I took 2 inch strips of 3 different DSP and stacked it in the back to make the turkey. 
The feet are from retired SU punch  using the tangerine CS - cut off the rest of the flowers from the punch shown on the bottom.


Wednesday, September 25, 2013

Color variation on Regarding Dahlia

One of the swaps I saw during convention used Regarding Dahlia in a monochromatic way with daffodil and basic gray that I thought was very modern so I CASED it and did a variation on it with melon mambo and basic gray. This is also very nice with a light blue and gray, real red and gray- you get the idea.  The base card is whisper white with a layer of melon mambo.  Then stamp the dahlias with melon mambo onto whisper white CS then layer with basic gray as shown.  Stamp Hello, you onto scrap piece of white CS- you could use either of the colors. then punch out with 1 1/4 inch circle punch. then layer with coordinating colored CS then onto the the basic gray piece diecut with Apothecary Accents using dimensionals- do you not use this die for Everything?- I just love this set!  decorate with the flower from the punch pack- set of 3-  then the bling on top.  Wrap the gray stitched grosgrain ribbon around the white panel before mounting onto the melon mambo base card.  
I love the possible combinations of colors for this card.  You can use any flower set - secret garden, fifth avenue floral (retired) would work well with this layout as well.   Gotta love the saying though......

Monday, September 16, 2013

Circle Card thinlit Die Trick or Treat

I have been making these type of spin cards for a long time using dies and figuring out where to put the crease, blah blah blah, but when you make multiples of it - as I did for our monthly stamp-n-chat, it was so great to have a die that did it all for you in just one fell swoop, I love it!

The base card is a half sheet of Summer Starfruit 8 1/2 x 5 1/2 diecut with the circle card thinlit die.
pull the right side of the card over the die so that it does not get diecut to create an extension to the card.  There are lots of how-to's on the internet on this. DO stamping shows it here: http://www.youtube.com/watch?v=nwedAASXzok    Emboss using the Houndstooth textured impressions folder just over the front flap. 

Punch 2 3/8 scallop (similar to die in the set) in pumpkin pie and black and overlap as shown and glue onto the front part of the circle.  Attach the Tags-4-you trick or treat after stamping in basic black and punching with coordinating punch using dimensionals.  tape 2 inch strip of Witch's brew DSP on the right side. 

Stamp toil and trouble in pumpkin onto a 2 1/2 circle in vanilla and stamp the raven in black.
Stamp the bat oval and cut away a little setionon the left to make it flush. 
Stamp the sentiment on the right side bottom and your card is all done!   I love the extended space for message writing,,,,,,,

Tuesday, August 20, 2013

a Maple leaf thank u

I needed a few thank you cards and were playing with the maple stamp but wanted to use the Expression Thinlit dies.  I need them to make "happy" "you" "&" "congrats"- if Stampin' Up is reading this-
I am thankful for all my friends but I wanted it to say thank you.  Then I thought there is a U in thankFUL - so I just cut the f and the l out to make the little thank u.  U get the idea.

Base card is Cajun Craze with a layer of Artichoke to Accent.  The maple is stamped using versamark onto glossy CS - retired SU- then sponged cajun and artichoke using a dauber.  Once the colors are all saturated, wipe with a tissue and the white just pops.  The expression is diecut using a whisper white CS.  Took a little doing to get the little nits out but not too hard.   Enjoy!