Tuesday, January 30, 2018

Lots of Lavender birthday


My little make and take this past month was this Lots of lavender from Sale-a-bration.  I got the Lots of happy Cardkit and saw the Lavender from there and thought I would make more of the same although this stamp is slightly smaller than the image from the cardkit-  it was close enought that I wanted to try.  I used wisteria wonder as base cardstock with whisper white embossed with Pinewood planks- it makes the most beautiful woodgrain- this embossing folder is definitely a keeper-  Stamp the outline in Smoky Slate then color in the flowers with wisteria and the stems and leaves with Pear Pizazz stamped off.  The sentiment is from Bearutiful Bouquet- another one of my go to's for sentiments - in black.   Diecut circle from Stitched shape framelit- another one of my Go-to's.  Put a strip of  Burlap Ribbon and another easy peasy card.

 I would like to ask stampin up for a better purple- Lavener lace was a color we had that was a little more bolder purple- just saying.

Saturday, January 27, 2018

Bearutiful Day variations with Brusho


 We were playing with Brusho Crystal Colours at my last workshop and I just loved all the different cards that came out- just wanted to share with you.  The top was mine and left is Hermerlinda- she just splashed the colors rather than brushing it on the paper and it looks really dramatic. These are some of the others I took pictures of during class but love all the variations.  That's the beauty of the Brusho!  You never know what you're gonna get!
Play!


Wednesday, January 24, 2018

A bowl of strawberries with the Fruit basket stamps


 Is this not the sweetest little card?  I love the clean layers of white- The base card is Whisper white A2 size with another layer of white on top added with dimensionals.  Diecut the stitched shaped square.  I stamped the bowl on a scrap piece of white CS and cut it out.  The the bowl backside up and then put a little shadow under the bowl with the light crumbcake Stampin' Blend marker.  Also stamp some strawberries for the background- hard to see but I stamped 3 of the strawberries in the background.  - Flip the bowl rightside up and adhere with dimensionals.   Stamp a few more strawberries on a scrap piece of white- then stamp the green with old olive - it goes really fast - I love this punch!

You can punch a bunch in no time at all.  Put a punched strawberry on the side of the bowl - like it just fell out...  Stamp the sentiment in black- and it is  the cutest sweetest simplest card!

Tuesday, January 23, 2018

Fruit Basket panels


The Christmas tree is put away- the holiday madness with all the parties, guests, present buying is all over, the kids are back in school and I can finally settle down to play with all my goodies from the Spring mini and Sale-a-bration so I have tons of stuff to post but alas -  if I can just buy some time.  I will post as much as I can.

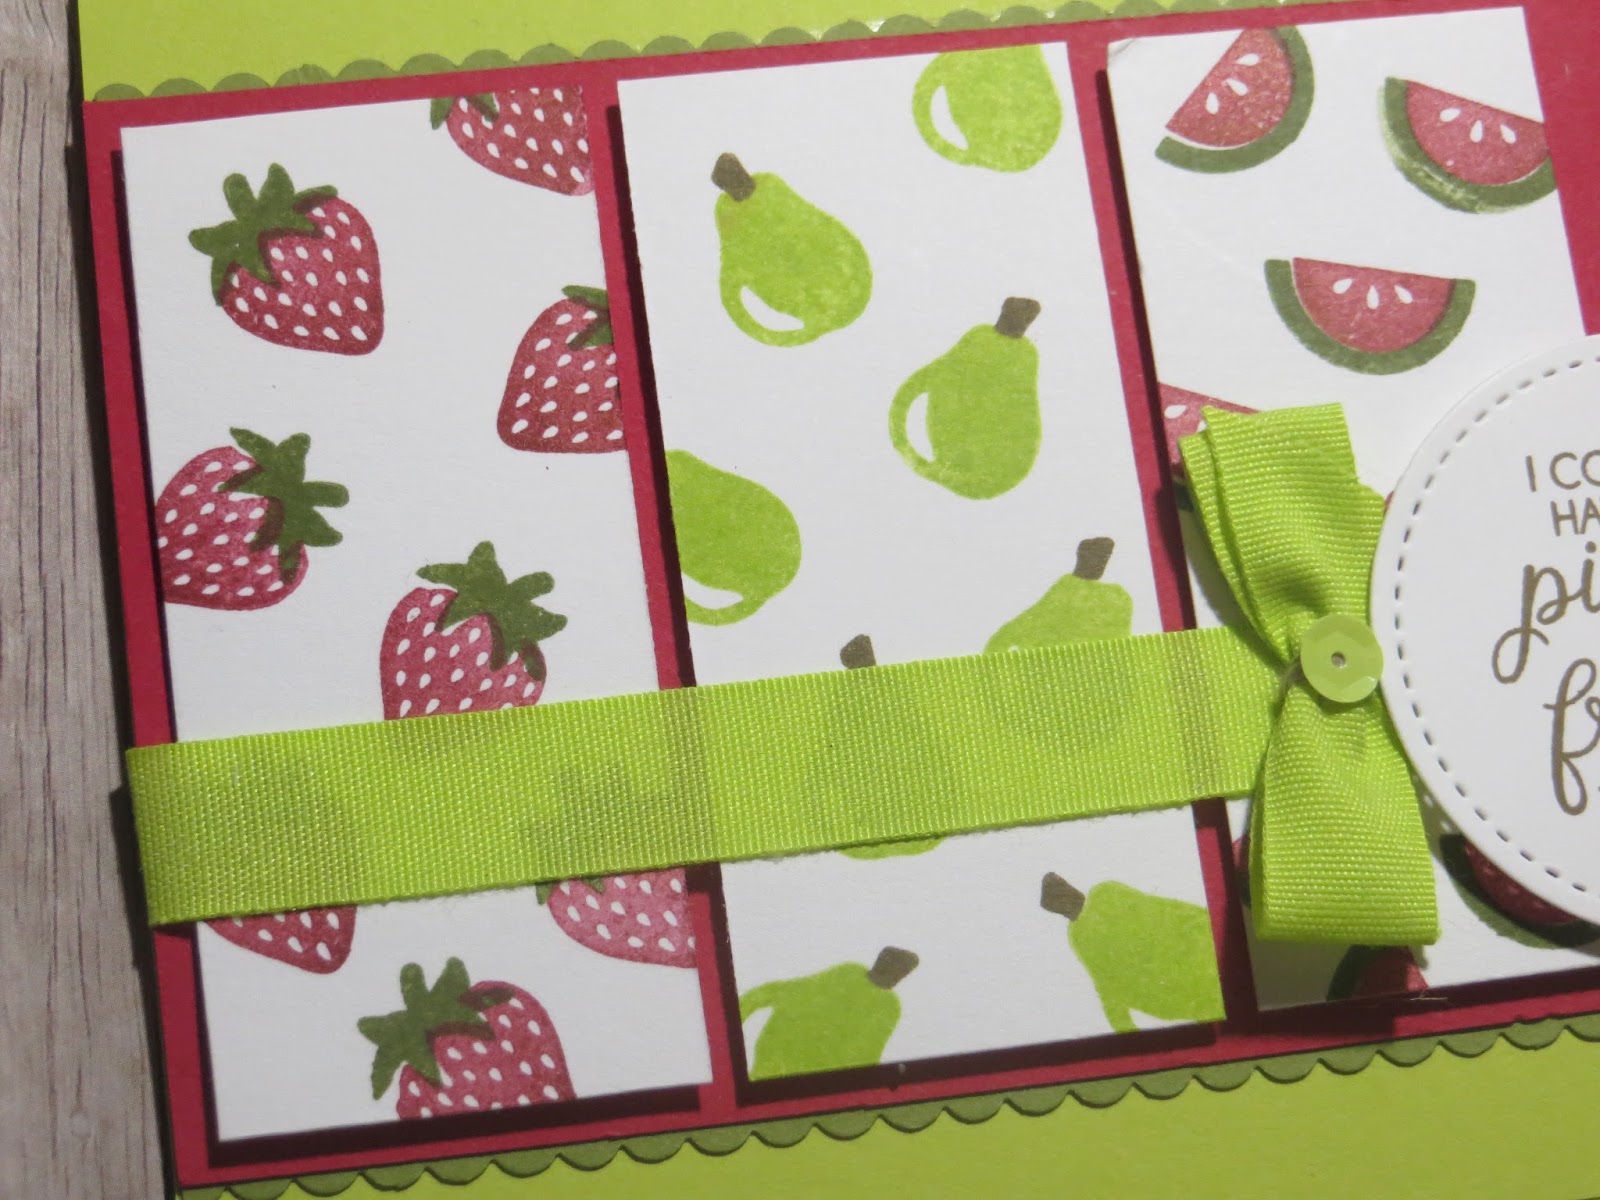
 I saw this set and of course had to have it- the fruit pieces are just so cute and matching punches to boot- I just LOOOVE punches especially for little tiny things- drives me batty diecutting little tiny things especially when you need a gazillion of it....  Punch a strip of Old Olive with Decorative Ribbon Border punch.

 The base card is Lemon Lime Twist. I stamped the strawberries and watermelon with Real Red and the leaves and rind with Old Olive. The pear is lemon lime twist with soft suede stems all onto whisper white CS  (3x1 3/8 strips).   Sentiment from Beautiful Bouquet in soft suede diecut with the Stitched Shape Framelits (my favorite!)   Layer the stamped panels to 3 1/4x  5 1/2 Real red panel using dimensionals.  Wrap the Lemon Lime Twist 1/2 " Finely Woven Ribbon around the Real Red cardstock.  I made a little bow, tied it with linen thread, then used a glue dot to stick it onto the ribbon then added a Lemon Lime Twist Tutti Frutti adhesive backed sequin in the middle- perfect!
I layered the Old Olive punched small scallops behind the Real Red panel  then mounted the whole thing onto the base cardstock and used dimensionals to pop the sentiment. 

Enjoy!

Thursday, October 26, 2017

Spooky Cat Center Step Card with flying Bats


This is a variation on the Center Step Card by Kelly Acheson - how to on her blog http://astampabove.typepad.com/my-blog/2017/09/feature-friday-center-step-fun-fold-video.html
The spooky night DSP was designed to get multiple pieces out of one sheet which I think was brilliant - perfect for workshops.

Take 8 1/2x 5 1/2 inch sheet of Pumpkin Pie and cut slits 1" from bothsides from 2 1/4 to 7 1/4 then turn sideways then score on the long side at 4-1/4 across the whole card - then score the following just between the side slits at 2 1/4, 5-1/4, 6-1/4 & 7-1/4.  I used a ruler with the scoring tool so I could tell where I was scoring (between the slits)  as shown on the left.

I stamped the owl in basic grey, beak and toes in pumpkin and the eyes in black.
 I attached 3/4 inch x 4" strips of DSP on the side panela.  (I cut 4 inch strip horizontally and cut 3/4 inch strips for multiple cards. )  I stamped the hat in black onto the base card - so I can see the spider and web without having to cut it out, then stamped another hat on a pumpkin pie scrap and cut it out and mounted it on top.  Punch the cat in basic black and a piece of Very vanilla with  the Everyday Label punch , stamped the "happy OWL oween" on it and cut off the bottom to make it look like a tombstone- I think that was my coolest idea for this card.  It was still a bit flat and I wanted some bats flying around. All the ones I had were too small  so I used my old Martha Stewart Bat punch from eons ago, stuck it on little clear plastic strips I cut out from packaging (you need something with some stiffness to hold the bats up) and used glue dots to attach them to the card as shown.  It was so much fun to make this card.  Enjoy!

Tuesday, October 24, 2017

Kyle's This Little Piggy Birthday card

 Kyle wanted a birthday card with a Piggy theme and what better than our little This Little Piggy set to make it?  I have been wanting to make a Charlott's Web card for a while a this was the perfect opportunity to do it I thought.

The card template is a Z-fold box.  The base card is Smoky slate  4 1/4x 11 scored at 2 3/4 and 5 1/2.
Take another strip of 11x 2 inch Smoky slate and score it the same way.  Invert the strips over the base card- and that is the base of the z-fold.

I added some grass cut from Pear Pizazz and the Wood crate diecut with Wood Textures DSP pack cut to fit the strip as shown.

stamp the pigs and color them in with Stampin' Blends- new alcohol markers- coming back from Stampin Up- pink pirouette- comes in a set of two for $9.

I diecut a spiderweb from Memory Box and overlaid the Happy birthday to you from Sizzix and snipped off the spiderweb that fell behind the words to clean it up a bit.  It is bit hard to see with the shadow of the web but I wanted it to look like the words was woven into the web.  I am now looking for a die that says "salutations" in a delicate font!  Sentiment from Hooray from PTI.

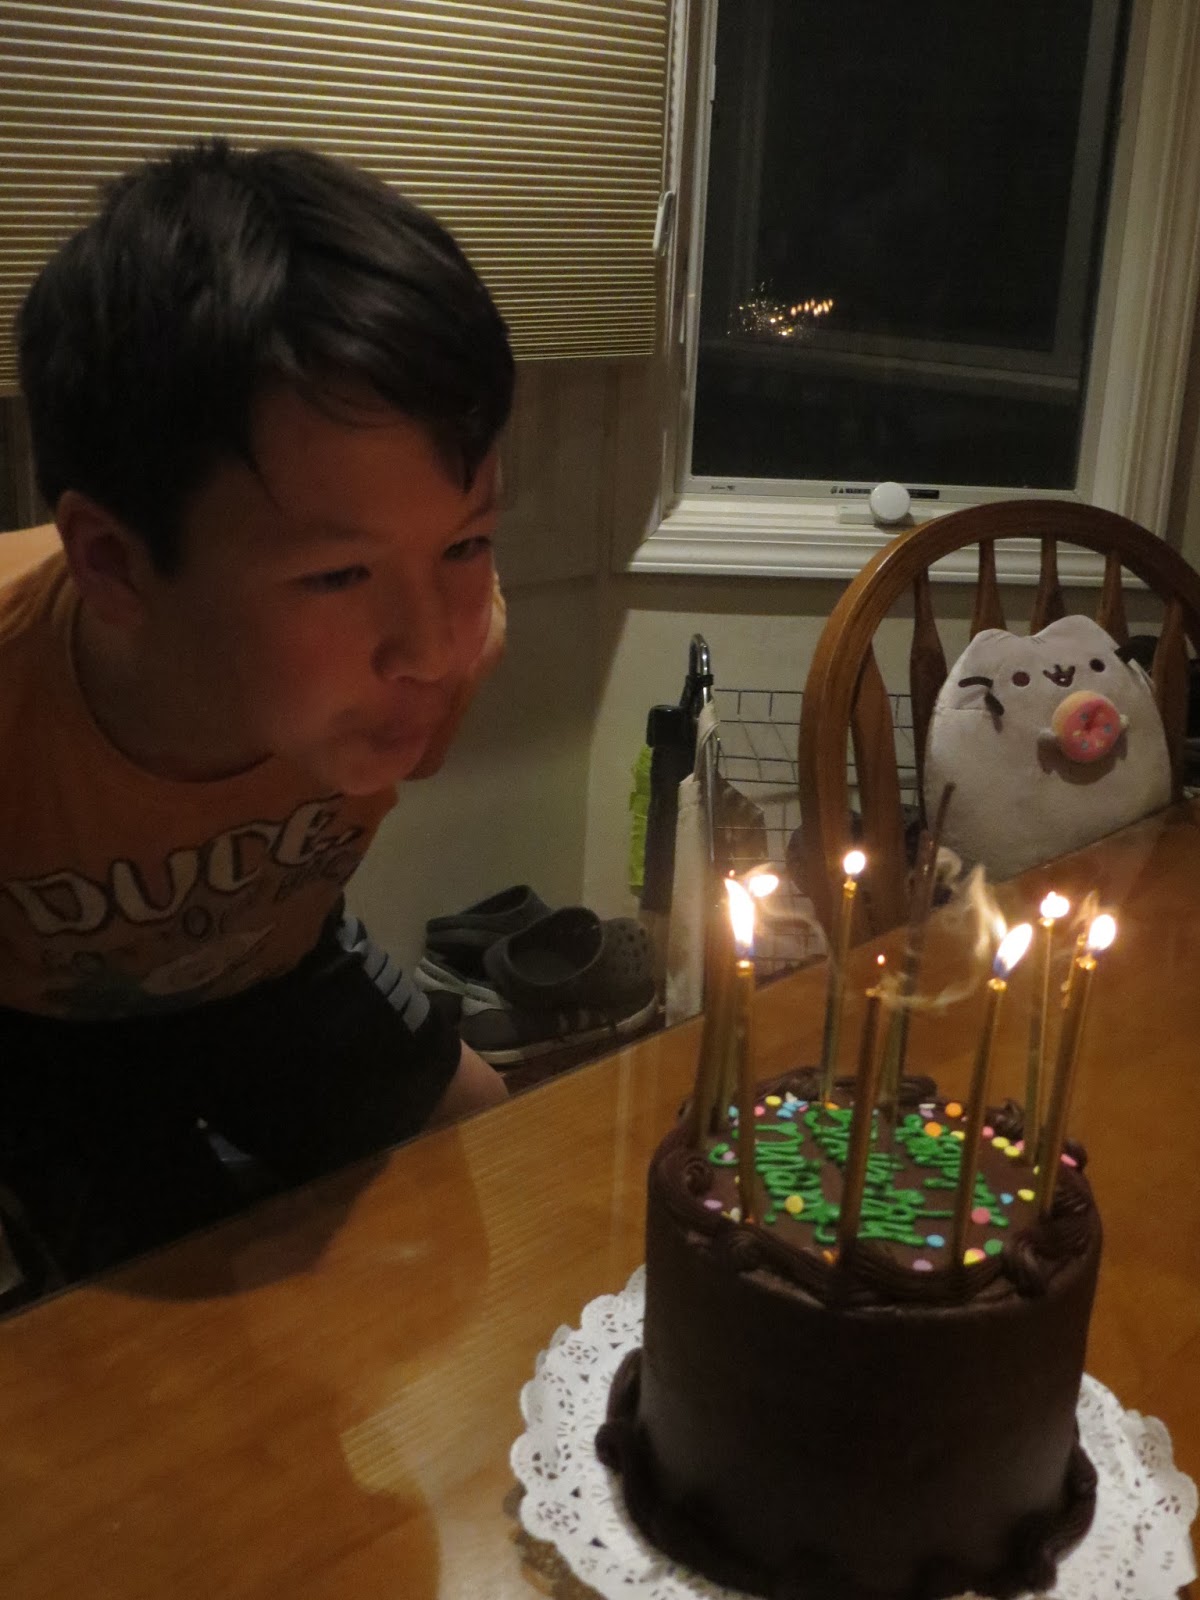
This is Kyle blowing out his oreo cookie ice cream birthday cake- it was really yummy!  and don't you just LOOOVE the sparklers? It's from a local bakery  and add just a few to the birthday cake and it makes it sooo festive- LOOOVE it!

Monday, October 23, 2017

Dylan's Ninja Birthday Card


I saw a sample using the tiny ninjas' from Mama elephant by Angela M and wanted to use it for Dylan's birthday card- He used to draw these little ninja's himself and thought he would like it.

I did not have their circle burst of cityscape but I had another company scallop circle so I used that instead and the cityscape is from Memory box.  I diecut one in smoky slate, and two in basic black with the open windows.  I also diecut the solid city in daffodil and another in basic gray to add contrast and mounted them with dimensionals to
pop it out. The one on the inside is glued down flat.

I made it a spinner then I realized the original card was a spinner too.  There is a opposite position stamp so you can align it- how clever of these folks...
Inside sentiment from MFT Twice the wishes set.
This is Dylan's dense chocolate cake with candles and sparklers to match his age.  We are certainly running out of room!
This guy that used to fit in the palm of my hands, who fit into a Christmas stocking for his first Christmas picture whose feet is too big to fit the same stocking, taller than me now and is a teenager- just in the blink of an eye.  Cherish these moments!

Sunday, October 22, 2017

Halloween treat gifts over time


 I have received so many fun Halloween treats over time and I wanted to share them with with you in case you are looking for some cute Halloween treat ideas.

This was Stampin/ Up's " Boo to you" (retired) with the hat in black glimmer paper using the Bag punch we made at a Stampin Up event.
 Cutest little jar pumpkin ever.
 This is from my even talented friend Mercedes- just over the top with the Boo to you set again. The topper is held up by a toothpick and the  treat boxes were precut kraft boxes (retired)
 I sincerely apologize I cannot remember who gave me this cool hat box but it is 3D and filled with loads of treats.
 Joyce does amazing treats and I love the woodland textured Embossing folder on the Fry Box on this one.

 This is a wee treat made from the Home Sweet Home - one part of the roof was not taped to keep  the candy in the house accessible- I wanted to make sure you can get to the candy without destroying the house!

 This is another treat from the amazing Mercedes Weber
th little tail of the sequins and the stapled BOO! - and the hat punched with the star border punch - so cool
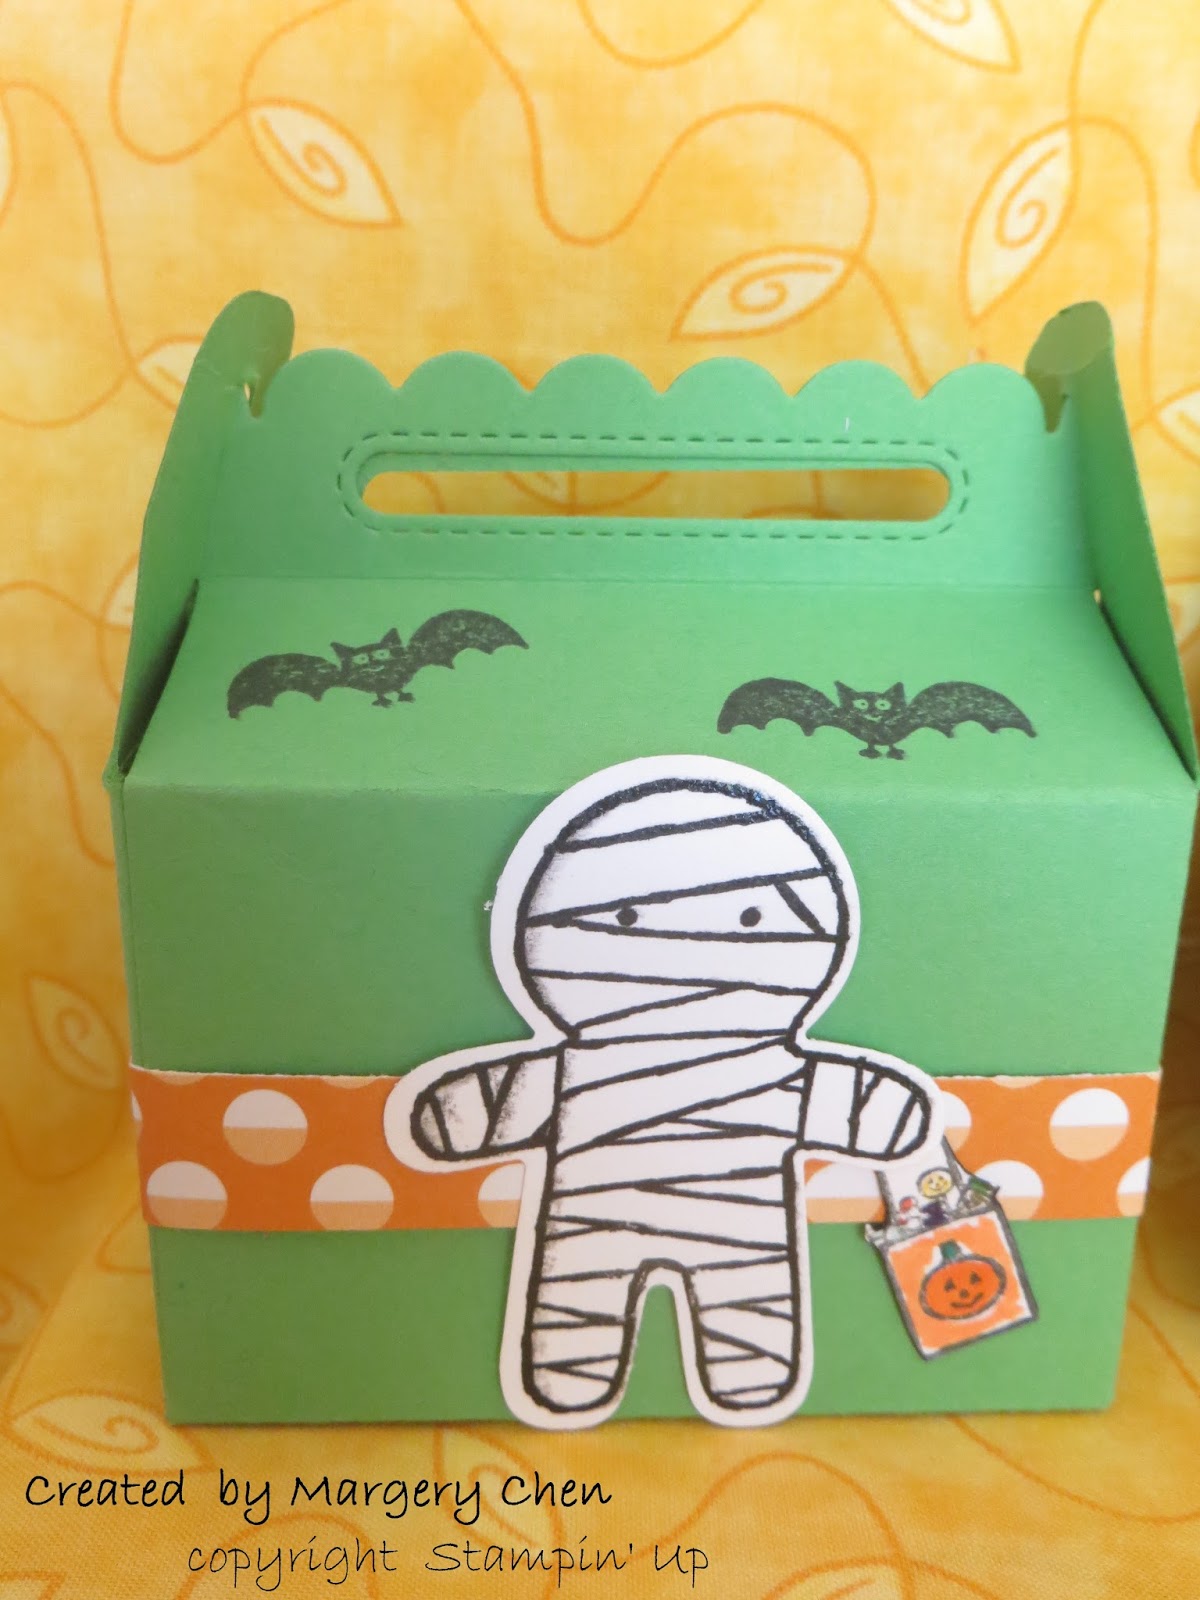
 A gable box treat from Margery with the Cookie Cutter Halloween stampset punched out mummy. The back is also decorated .
This is another treat box from Margery with MFT's Birdie Brown Fab-BOO-Lous Friends stampset.  Adorable!

 Make a treat for your friends this Halloween!

Tuesday, October 17, 2017

Climbing Orchid


 I have a whole bunch of orchids at my home and of course I had to have this set.  I've been playing with it but wanted the look of the whole plant not just the flowers hanging so this is what I made.

The basecard is melon mambo with a layer of whispet white.  I took some pear pizazz cardstock and cut out some ovals using the layering framelets.  Folded 2 (different sizes)  of the leaves a little off center to give the impression of the leaves.  The largest oval I diecut then used scissors to cut a margin of oval to make the stems.
Thinking of you is stamped with versamarker and heat embossed using white embossing powder.
It's sort of how I imagined the card.  Slightly smaller flowers or graduated flowers with a stem and leaves die would have been fantastic but not bad, eh?

Tuesday, October 10, 2017

Dog sleeping on mat At Home with you


I love how things coordinate- I stamped the dog from Sitting Here set and the basket of flowers from At Home with you and cut them out.  I stamped the door, the mat and the sconces and colored them in.  I used my grey and a ruler to make the siding and smoky slate to create a shadow around everything. colored thme in and added the dog and the flowers with dimensionals to pop them out.  Such a simple but fun card!