-you need 5 1/2x 11 white cardbase-
with 11inch across the top score at 3 1/2 and 6 inches
-turn it around to 5 1/2 on top and cut between 1 3/4 to 5 1/4 inches 1 1/4 inches from both sides
-turn it around back to original position and score at 1 3/4 and 5 1/4 inches on the top and bottom panel only to the cut line and not inbetween
fold as instructed
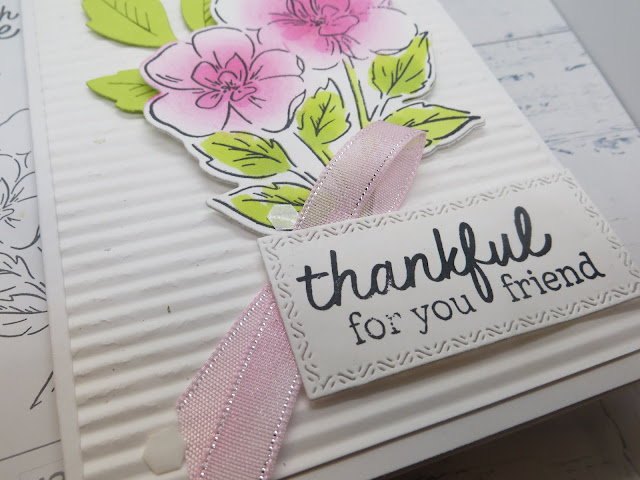
stamp flower or some image on a scrap piece of paper and fussy cut it out
you need a color panel 2 1/2x 2 7/8 and white 2 1/4x 2 5/8 for inside that
color the image as desired
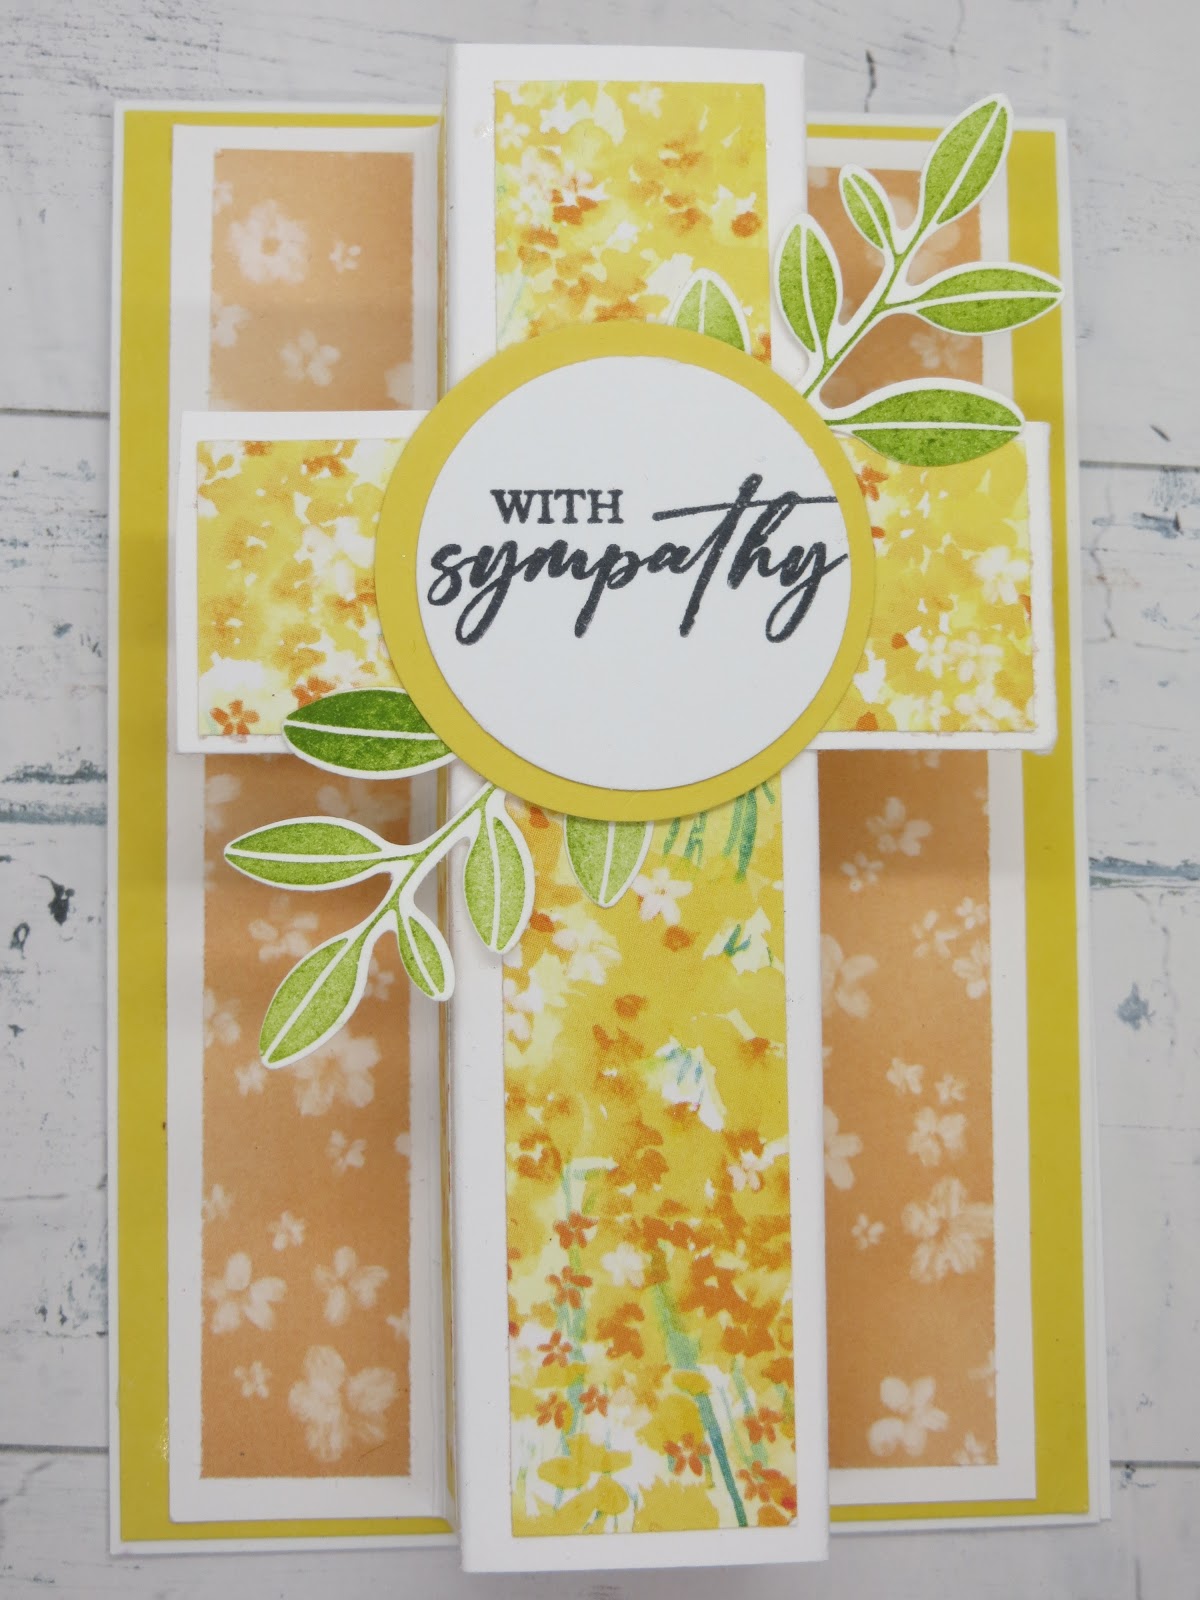
stamped the leaves in lemon lime twist