Saturday, April 29, 2023

Nothing's better than Easel card


I've been meaning to make this card for a while- bought this set years ago planning to make a card for a class and never ended up doing it so finally I got around to doing it and it is retiring- 


this is a variation on the easel card.  take a A2 card 5 1/2 x 8 1/2 and cut off 2 1/8  off across the front.  

you then take a square 4 1/4  x 4 1/4 same color as the base card and score it in half horizontally and glue or tape the top half to the top half of the front panel 

You take another piece of 4x4 DSP and glue or tape just the bottom of it to the bottom of the 4 1/4  x 4 1/4 scored piece on the front and that is what makes the easel.

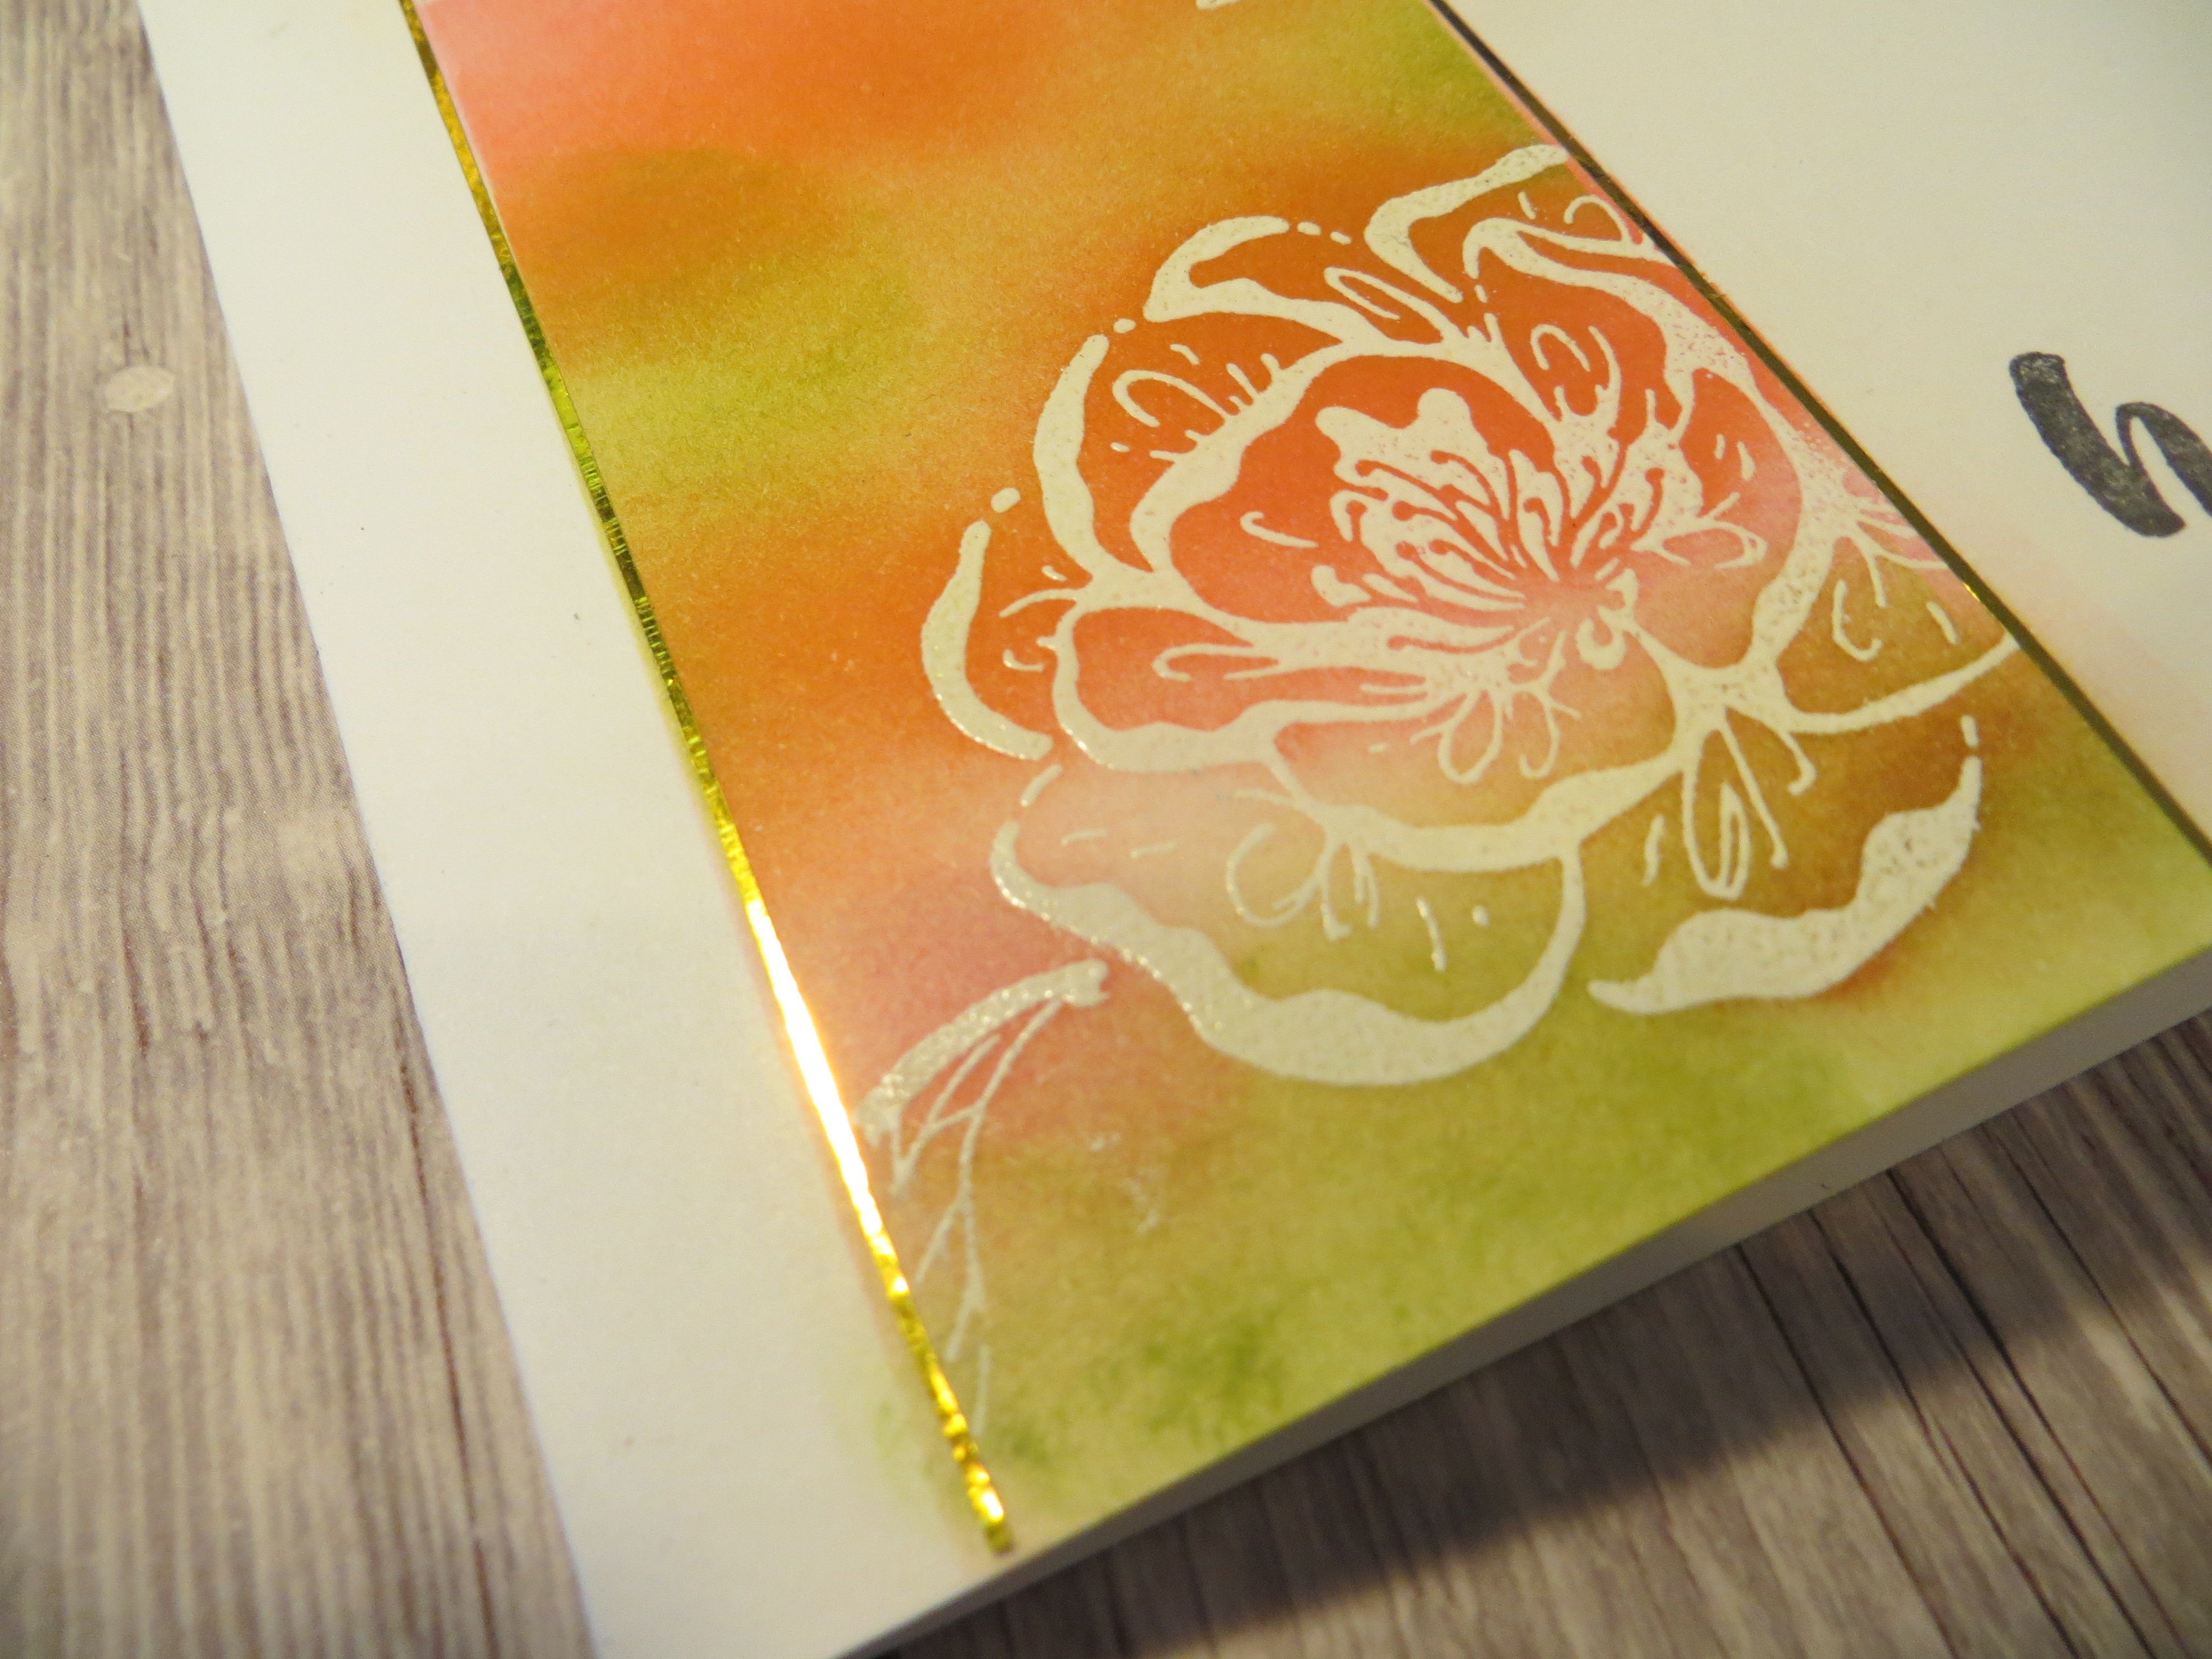
stamp the sentiment on a circle pice and diecut the sentiment ouf or smae color cardstock and glue it on. take the coordinating image and use dimensional to mount it to the inside panel- i put a piece of vanilla panel on the inside a little less than 4 x 4 to hide behind the front panels and put the chocolate piece to hold the easel in place.


This is what it looks like from the side.

This is a variation with coffee we made for class this month.

put the piece of coffee mounted on dimensionals and stamp the heat curls above it on the vanilla panel.
this is what it looks like open and resting


Tuesday, April 25, 2023

Wisteria Wishes variations


I love wisteria hanging off the trellis is what I always imagined when I think of beautiful backyards so this was one I made with 2 sets of wisteria flowers and leaves. Basecard of thick white and a layer of Starry Sky.  Stamp the sentiment and the flowers twice on a scrap piece of paper with starry sky but it would also be perfect with gorgeous grape or orchid oasis. stamp the leaves with Old Olive and mount the back layer flat and the top layer with dimensionals  on top of the scalloped contours piece in white 


This is what we made for my class in April 2023  basecard of thick white, then a piece of Starry Sky, white piece cut out with scalloped contours die - stamp the sentiment and flowers in Starry Sky and diecut with coordinating dies and Stylish shapes (circle die with stitched inside) and leaves from old olive 
mount the flowers and sentiment with dimenstionals and a simple straight forward card.

this is a vertcal version of the wisteria but looks more like a field flower given its upright positioning
base card is thick white CS with a layer of poppy parade. and a layer of white cut with Scallloped contours.  Stamp the flowers in poppy parade onto the white piece and the leaves in Old Olive. Stamp the sentiment on a piece of black CS with versamark and heat emboss in white and mount as shown. 
this set is retiring next months so get it while you can. 


Tuesday, April 18, 2023

Irresistible Blooms one layer card


This is a simple one layer card- take a piece of scrap paper cut in half- place one on the left of the area you want to color in and one to the right. I would recommend that you markd it with pencil so you know where you put the paper and also tape it down so it does not move.  using versamark to stamp images in the area between the 2 papers and heat emboss using clear or white embossing powder. 

Using stampin blends use green apple green flamingo, petal pink or whatever colors you want to color the open area. 

I put a strip of nail accent gold tape on either side of the inked area to highlight the strip.

stamped the sentiment in black and a clean and simple card done in no time at all. 


Tuesday, April 11, 2023

Irresistible Blooms


this is the on line only set Irresistible Blooms which is really set up for resist techniques- The base card is thick white - I really like the sturdy base- added a layer of basic black for the accent and then a layer of flamingo that was embossed using one of the basics 3D embossing folder .  stamp the flowers and leaves in versamark ink on a white cardstock and heat emboss- either clear or white Embossing powder should work. Using blender brush color the flowers using petal pink and polished pink in the center and the smaller flower using the flamingo (although it looks more orangy here )

leaves are colored in with green apple green and blender brush. 

use a tissue to wipe the embossed areas of the colors to pop the colors more. 

I love the dot and lines accents that are diecut in this set - super cool. 


Tuesday, April 4, 2023

Playing in the Rain Box Easel cards

I just LOVE this set- Love the images and love the coordinating Paperpumpkin kit.

This is a box easel card- take a  4 1/4x 11 inch cardstock and score along the long side at 1/2inch, 1 1/2 inch, 2 1/2 inch, 3 1/2inch to create the front box and then score at 7 1/2 inch and 10 1/2 inch  (here done in thick white cardstock)

put tape on the 1/2 strip on the both sides- one to make the box and the other to attach to the 4 1/4 x 5 1/2 inch card base *( here Mango Melody) . 

put the tape on the easel part and fold the base at the 7 1/2 inch. Line up the top of the mango piece to the 7 1/2 inch line and it will be perfect and fold flat to go into an envelope  ( I tried the fold at 8 inches and the easel leaned a little far back) 


This is sort of what it looks like from the side. 


You can decorate it with DSP- here I used some elements from the paperpumpkin kit - don't you just LOVE that little frog?
they had a coordinating die but it sold out so soon I was not able to get it so having to fussy cut them all - Argggh!

If you used the raindrop embossing folder, make sure you stamp the flowers and the puddle BEFORE you emboss it so it stamps well. 


I did not get the DSP for this one but wanted to create a little background so I stamped the umbrella all over and used the stampin' blends to color it really fast and easy and So Stinkin' Cute!