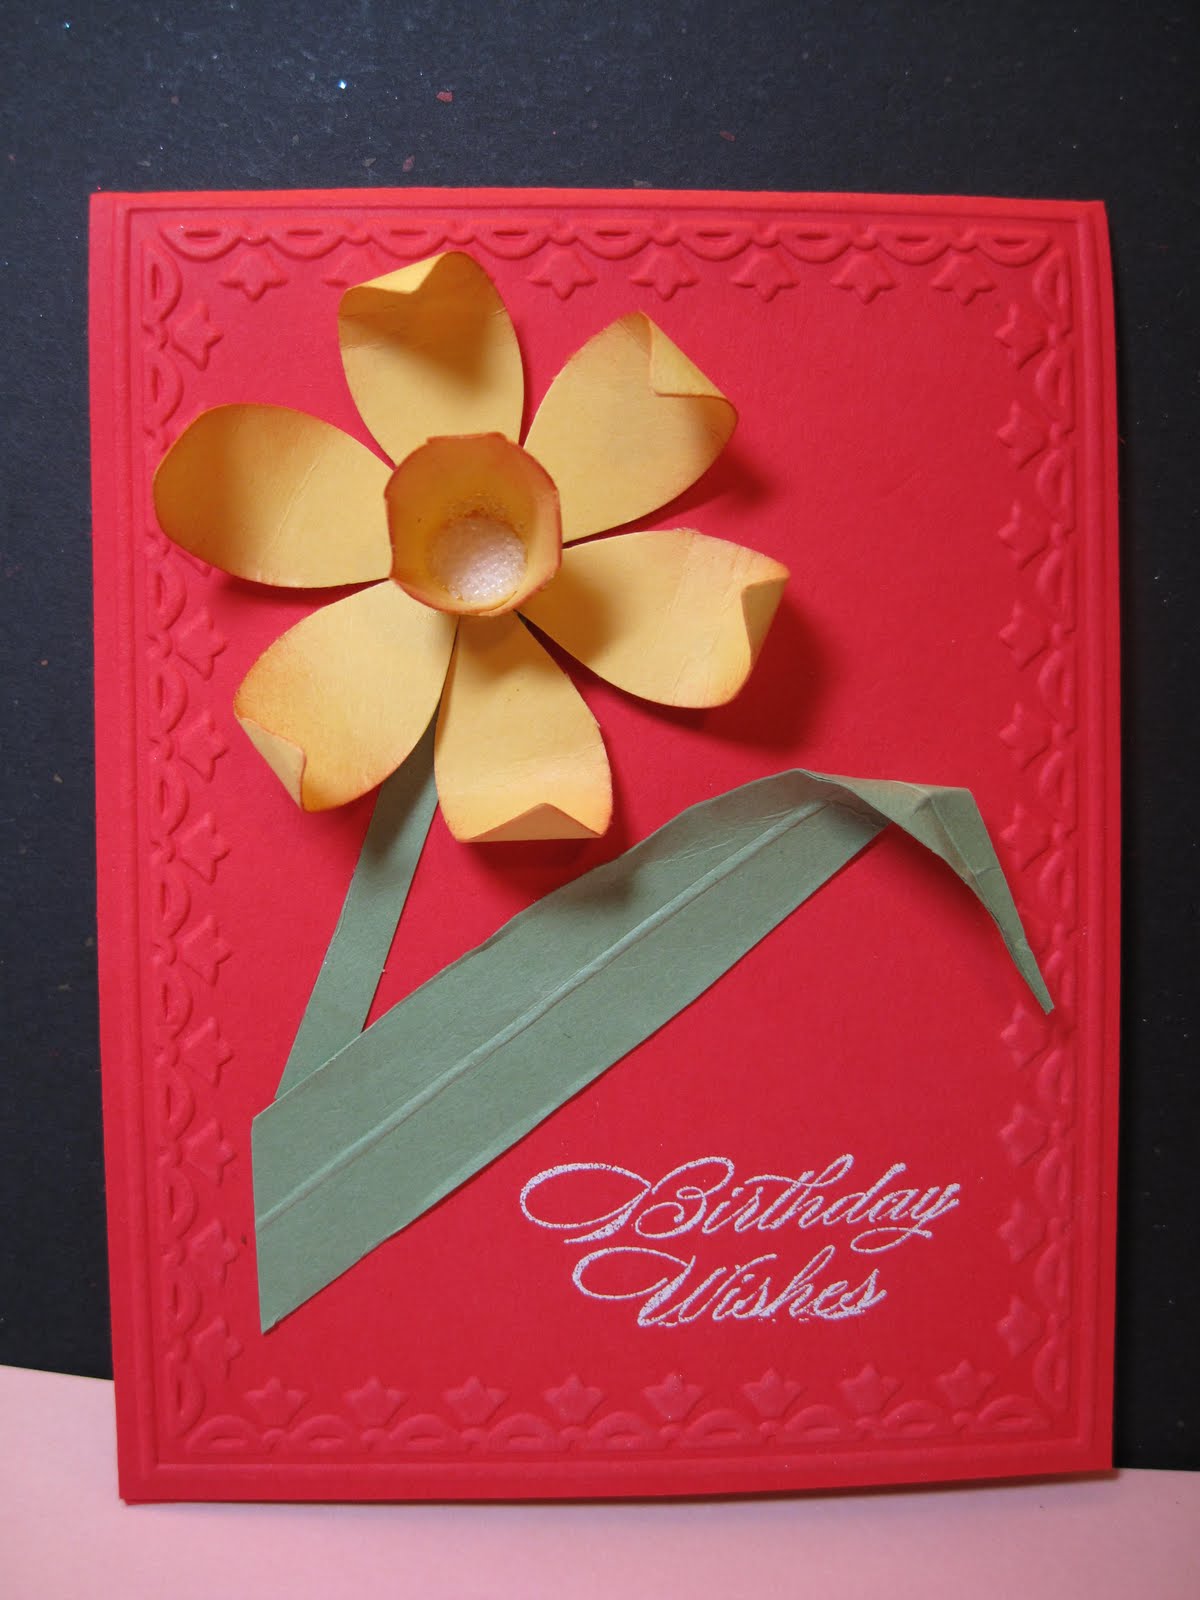
I am a freak for flowers- I have been amassing - and that really is a good word for thi s- shapes for punching flowers for so long my collection out rivals most stores- and when Stampin Up came up with their Blossoms Petals Punch I HAD to have it. Although there has been some glitches with the SU punches I am pleased as punch (heh heh) about the shapes they deliver. My daffodils were blooming outside and I thought it would be perfect for that. I brought in one of my blossoms and studied it to see if I can make one. The base card is Poppy embossed with the tulip folder for the pretty edge. The sentiment was stamped in versamark and embossed in white EP. The wild wasabi CS was cut into 1/4 inch strip to make the stem and folded to free shape the leaf. I glued only part of it so that I could shape it. The flower is cut with 2 shapes. The skinny big leaf for the petals. I used the 6 sided flower from the Boho Blossoms punch to glue the petals down onto it so make spacing a little easier- I did overlap the leaves a bit on it though. I then punched daffodil CS using the circle 1 1/4 inch punch to make the bottom part of the daffodil center then used the scalloped leaf from the same blossoms petals punch to punch out the top part. The center part is about 1/2 as tall as the petals are long I figure. Sponged the edges of all the pieces. The center part is a bit tricky. I tried to figure out how I was going to make it stand up and stay. The dimensional did the trick but it was not so sticky on the side so I put a little line of glue around the edge of the dimensional and wrapped the petal around it - I used a tiny clothespin to hold it in place while it was drying which took about 1/2 hour. I then sprinkled some microbeads into the center which stuck to the dimensional. Although not exactly true to life, not a bad replica. If it would only smell like the morning dew........
 s- shapes for punching flowers for so long my collection out rivals most stores- and when Stampin Up came up with their Blossoms Petals Punch I HAD to have it. Although there has been some glitches with the SU punches I am pleased as punch (heh heh) about the shapes they deliver. My daffodils were blooming outside and I thought it would be perfect for that. I brought in one of my blossoms and studied it to see if I can make one. The base card is Poppy embossed with the tulip folder for the pretty edge. The sentiment was stamped in versamark and embossed in white EP. The wild wasabi CS was cut into 1/4 inch strip to make the stem and folded to free shape the leaf. I glued only part of it so that I could shape it. The flower is cut with 2 shapes. The skinny big leaf for the petals. I used the 6 sided flower from the Boho Blossoms punch to glue the petals down onto it so make spacing a little easier- I did overlap the leaves a bit on it though. I then punched daffodil CS using the circle 1 1/4 inch punch to make the bottom part of the daffodil center then used the scalloped leaf from the same blossoms petals punch to punch out the top part. The center part is about 1/2 as tall as the petals are long I figure. Sponged the edges of all the pieces. The center part is a bit tricky. I tried to figure out how I was going to make it stand up and stay. The dimensional did the trick but it was not so sticky on the side so I put a little line of glue around the edge of the dimensional and wrapped the petal around it - I used a tiny clothespin to hold it in place while it was drying which took about 1/2 hour. I then sprinkled some microbeads into the center which stuck to the dimensional. Although not exactly true to life, not a bad replica. If it would only smell like the morning dew........
Happy first day of spring!
Lynda


