Friday, November 21, 2014

Endless Wishes Holiday notecard


This was one of my make and takes this month using the notecards and envelopes.  It comes 20 to a pack with prescored and cut card with matching envelope for 5.95. No preparing needed- love it!

I was trying to put the washi tape on the bottom but could not get it straight at the bottom edge so I just put it down and folded over the edge which was just fine. 

Took All is Calm Specialty DSP 2 inch strips and punched just the tops of the Tree punch, flipping it back and forth to minimize paper wastage.  You need 3 pieces to make one tree.  Score each into half vertically and put tape on the side you want to hide and tape the sides together to make a 3d shape tree (it can fold flat for mailing)  Add a strip of Sahara Sand  for the trunk of the tree. 
Stamp the snowflake using Sahara Sand but stamp off first to get a more faint image then the "celebrate the" using full strength ink.  "Season" is stamped with Soft Sky.

Don't forget to decorate the envelope!

You can easily rip out a dozen of these in no time for your holiday needs...... Any holiday DSP with ink to match.

Enjoy,   Lynda

Wednesday, November 19, 2014

Holiday Wondrous Wreath Door


 My front door is white with little panels in it just like this.  I wanted to hang a wreath on it in traditional colors so here is my card.  Base of whisper white with four panels that has a little line scored on it 1/8 inch in on all four sides using the score board to make it look more like a panel door.   Handle is just an antique brad.  The wreath is stamped in Old Olive, stamped off for base, straight on for the accent piece with real red berries.  The ribbon in Real red and diecut and placed with dimensionals.

stamp sentiment on the inside.  Really CAS (clean and simple) and LOVE IT! 

Monday, November 17, 2014

Wondrous Wreath Fall Bottle topper

 The bottle label uses a piece of paper 8 1/2 x 3 inches.  Score 2 3/4 inch from the top and punch extra large oval from the side to make hole for the bottletop.

Emboss the bottom part of the bottle topper with the woodgrain to make the base.

The wreath part is really fun and I learned it at my upline Tami's gathering.  Take a piece of paper towel (get one with as little texture as possible) and put it on a nonporous surface.  I used a little tray but any flat surface will work-  put little drops of refills in a ring shape to create your own custom inkpad - I used daffodil delight, pumpkin pie, old olive, Blackberry bliss.  Ink the base wreath and stamp on Whisper white CS.  (The pad can get muddy so stamp quick)  Stamp the berry in Real Red then diecut with the matching framelit dies.
 Diecut the ribbon in Champagne Glimmer paper.  Mount the wreath and ribbon with dimensionals.
stamp Give Thanks from Holiday Invitation set. It is one long word but I cut it to stack it.  Stamp it in Pumpkin Pie and secure with staples.  Color the staples with Pumpkin Pie blenderability.

Hang on a bottle- wine, champagne, Olive Oil or whatever you are giving away!

Make the base red with Celebrate as sentiment in red and it would be perfect for the Holidays or even someone's birthday.

Make lots and give them away.....Lynda

Saturday, November 8, 2014

Many Merry Stars Simply Created Wreath


 I had the opportunity to meet Rich Jutkins Marketing Manager for Stampin' Up and one of the things I requested is that the brochures show everything- and I mean EVERYTHING- that the kit has in it - so people can see what a great value these kits are.  Some companies put every dinkie piece the kit has in one layer but SU shows only representative pieces only so it's hard to see everything that it contains.  There are usually so much SU kits contain, it would be hard to show each piece but maybe they can show that there are multiple sheets by layering even....   The Many Merry Stars kit was a good example of that- I could not tell from the cover of the holiday supplement or the picture of the kit all that it contains. 

 It makes 26 - 3D stars in all different sizes with one gigantic one that stands tall on its own.  The idea of the wreath is from Elizabeth Price, one of Stampin' Up's past Artisans and I think it came out spectacularly.

It took a few hours of TV watching to put together the stars- How to put it together instructions.

My only recommendation is that you burnish the boxes where it seals well so it stays secure.  I did use glue gun on some of them to really make a tight box.    I bought an 18" round chipboard wreath from a local craft store with a  coupon for a few bucks.  I used liquid multi-mono adhesive, glue dots and lots of hot glue for this.                          This is how it looks from the side to show you the 3D aspect of it.                         
T
 These are some details of the wreath- and it comes with EVERYTHING you see- the bows, the newsprint stars all diecut, a whole pack of wooden stars, silver sequins, the banner, the words- there was another  sheet of glitter words and stars that I didn't even touch to make this, baker's twine. The only thing on the wreath that did not come with the kit is the stamping I did on two of the craft boxes with the Many Merry Stars stampset using the white ink (You should stamp the boxes before assembly  however) and the words stamped in red- Joy, Noel and Shine from the same set.


This is the detail on the right side of the wreath.
I would suggest that you lay the 5 biggest boxes around the wreath and secure that and then work the other boxes around them. Once I figured out where the boxes should go then, I added the decoration on top using the liquid glue and glue dots to adhere the wooden snowflakes and the sequins.  It is hanging in my living room mantel and with the light shining on it, it is simply stunning.


More details of how the box is decorated.... now to figure out what to do with all the goodies left over!

Mind you, I am not complaining!
Thank you Stampin' Up for such great products and great value to boot.  Since they are not boasting about it, I figured I should!

Enjoy.
Lynda

Friday, November 7, 2014

Seattle Seahawks Defined.

  I wanted to make a birthday card for my father in law who moved to live closer to us from Seattle.  My in-laws are die hard Seahawk fans and we got them a superbowl shirt from their last win and wanted to make a card to match.

Their logo has this neon green color -so I used Green Galore (retired SU) and matched it with Night of Navy.

They also have this a pattern on the sides of their uniform, perfect for our Chevron border punch. 
The sentiment is from Four You set stamped with versamark and heat embossed with Silver EP.

I downloaded the image from online, and used a pencil to draw it on paper and used the undefined stamp carving kit to carve out the image.

I stamped it three times using the versamark and embossed it clear to create a subtle image.

Go Seahawks!

Wednesday, November 5, 2014

A little thanks pumpkin box


This would be a cute little favor box or a placecard for Thanksgiving.
This uses a 6x6 piece of pumpkin pie CS and the box maker.  Wrap a little strip of Color me Autumn DSP - I love the Indian corn of this one.  I then slippe it off the box.I then took the Old Olive Two Tone Trim and stapled it across the top, then I pushed the loop to the other side to staple the other side.
I then untwisted the trim  but leaving the center intact like a stem.   I diecut the lttle leaf from the Fun Fall Framelit Dies and stamped the sentiment from Another Thank You photopolymer set.  Because it is clear you can see exactly where you want to put the sentiment on the leaf.  Or you can use the gel pen to write the recipient's name.


Friday, October 31, 2014

Happy Halloween Holiday Home

 Love this house for Halloween.

Basecard is Pumpkin Pie with a layer of basic black on top 3/4 only.  Cut a layer of Eggplant Envy and emboss with large polka dot embossing folder.  Punch Word Window punch on the side as shown and stamp "happy halloween" from Teeny Tiny Wishes set in black through the opening.  Punch a circleusing Daffodil delight CS and stamp the bats in black.


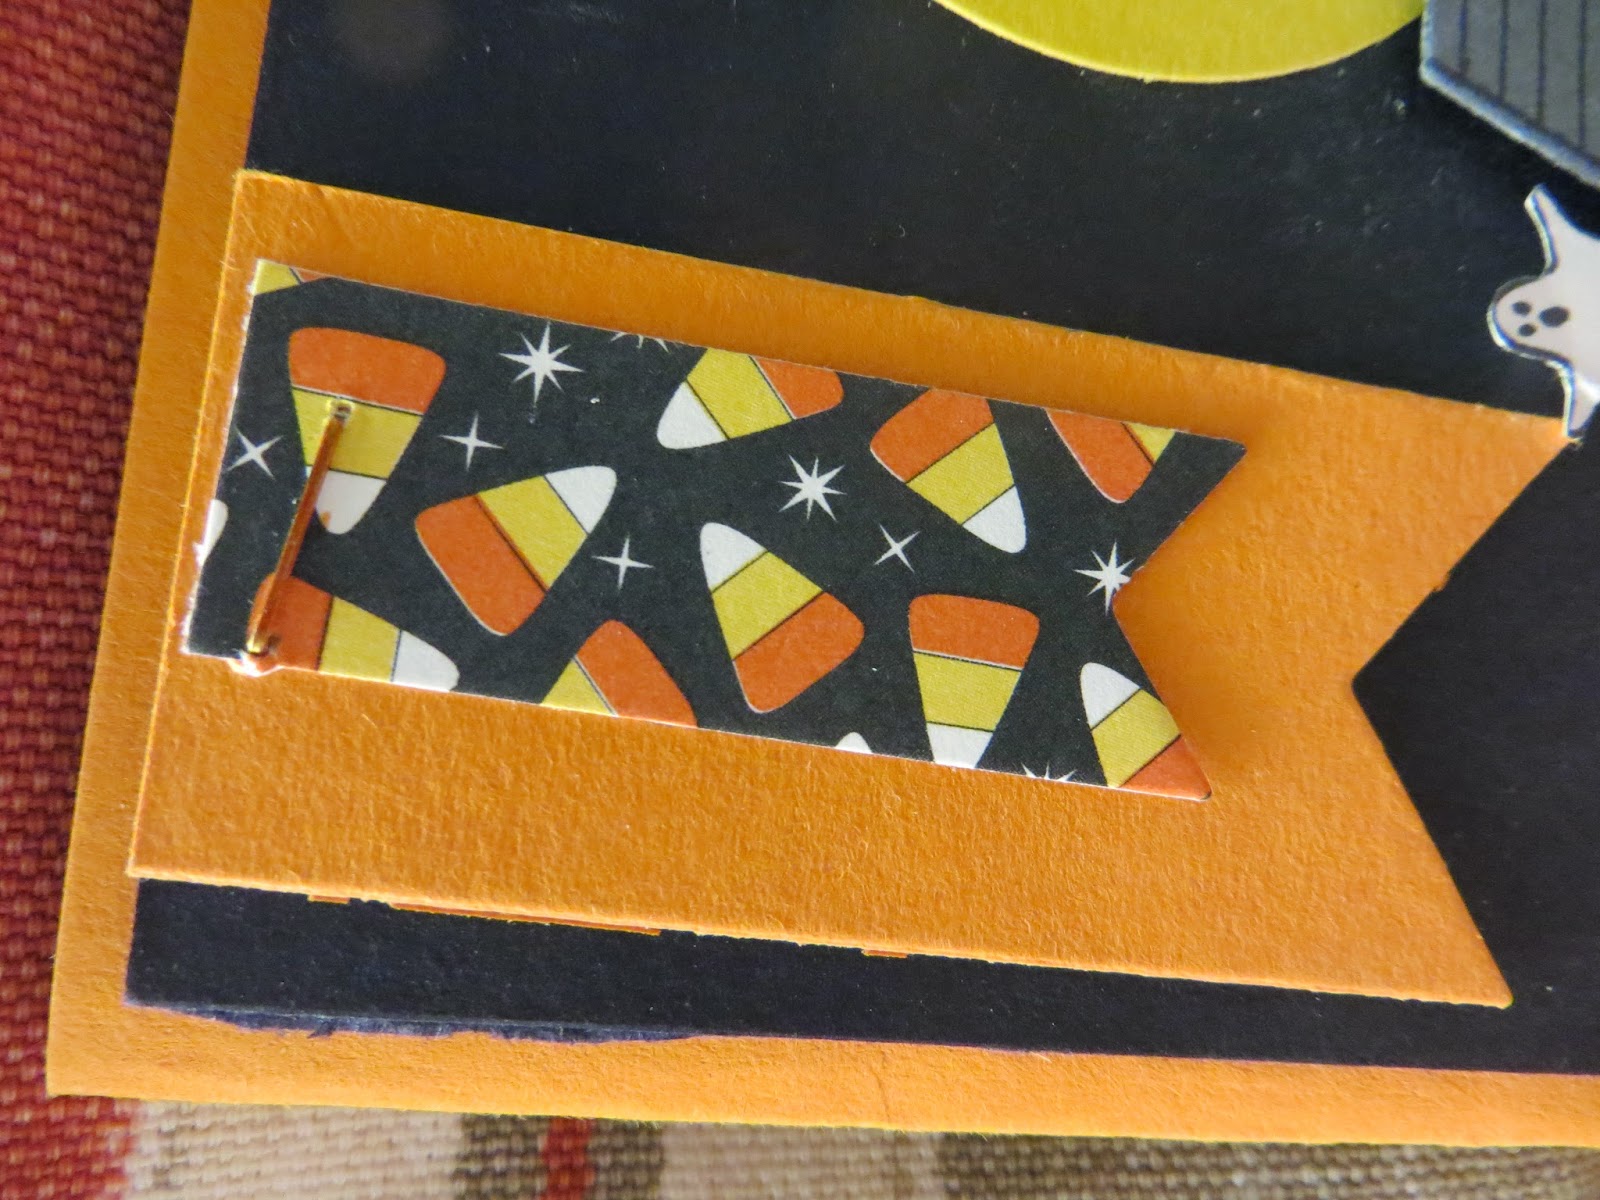
Stamp the  tree with versamark after dusting the black CS with embossing buddy and heat emboss with iridescent ice embossing powder on both sides of the house.  Mount the Elegant Eggplant cardstock as shown and diecut banners from Pumpkin pie and Motley Monsters DSP as shown.  Attach with staple onto the black CS.   Stamp the house on Basic Gray and on Daffodil delight cardstock for the windows.  Add spider webs on the house.  Cut the windows and attach to house- if a little wonky, it makes it more spooky (Margery's idea!)  Diecut and mount the house with dimensionals.
Color the staple with Pumpkin Pie blenderabilities using the sharp pen point tip.
 Stamp the ghost and pumpkins onto white CS and cut out and mount as desired.
 How fun is this?

Sunday, October 26, 2014

October Stampin' Party Projects

This is some of the sampling of the cards we made for the October Stampin' with Lynda.

This was cased from Michele Reynolds (Michelerey at splitcoast).
The base card was Mossy Meadow with expresso layered on top embossed with Woodgrain EF.  We made tags with Angled tap topper with 2" strips of paper then stamped Ornamental PIne in Mossy Meadow then the cone with Expresso.
Scallop Oval punch the Mossy meadow CS and sentiment from Petite Pairs in Expresso then punch with large oval, then mount with dimensionals.

Tie the tag with vanilla seam binding ribbon and tied with the gold baker's twine.
 The final touch is a little 2-way glue gun to highlight the branches, cone for a touch of "snow" with the dazzling diamond glitter (the cheapest way to make any card shine!)
This is another card we made for the month cased from CAR372 on splitcoast.
Used the Fall fest ghost die to cut the whisper white CS then stamped the face on it with basic black. mount the ghosts on punched out black squares and diecut BOO! from Little letters thinlit mounted on pumpkin pie, then layer of basic black on pumpkin pie basecard and easy peasy card for make and take.  Thanks CAR372!

Lynda

Saturday, October 11, 2014

Halloween Expresso Cups

 Cutest little idea from Mercedes Weber-

She gave each of us in the stamping group this little expresso cut decorated with Motley Monster DSP and tag made with Merry Everything stampset and punched with matching Note tag punch.  The quarter is there to show you relative size.
This was one of the cups I made for some of my friends- filled with candy and stuck a straw I got from the local M*chaels on sale. I filled it with chocolate covered coffee beans from Trader Joe's.  Love it!

Not my idea but I thought it was so cute, just wanted to share it with you.....

Thursday, September 18, 2014

Inspired by the DSP

 I ma so in love with this All is Calm Designer Series Paper and its combo of colors.  I was in a bind last week trying to come up with a make and take idea for my workshop and I knew I wanted to show the boxmaker and with the two in mind this is what came out. 
The box is made from Lost Lagoon cut 8x8 to make this box shape.  I then cut a Smoky Slate 1 1/4 inches with a strip of 1" DSP on top to make the belly band.  The Beautiful bunch flower is stamped with Lost Lagoon twice and punched out and
once with Smoky Slate to make the center of the flower and punched out with 7/8 inch scallop circle.  Punch Pear Pizazz once with the same punch and cut into 2 leaf pieces to make the leaves.  add a little jewel to make it pop and layer it all with dimensionals.  Stamp Merry Everything tag also in Lost Lagoon- don't you love matching tag punch for these too?  - punch a little hole for the bermuda bay baker's twine - I tied it around the flower and let the ends hang .  Everything is attached to the belly band so it can be taken off without affecting the box. 
You can make a bunch of these and have it at ready for when you need a special little box.  I did not glue the sides of the box and is storing it flat for just that occasion when I need a box.  How easy is that? and I tell it it is much more prettier in person.  I think I will make some more for some other occasions.....