Tuesday, May 30, 2023

Country side Corners- Good Feeling and Petal park builder variations


I had this design in my mind so I made this but not sure it lives up to what I was thinking. This was one of my monthly projects for Stampin' with Lynda.

I took the countryside corners die and used the frame part to use as a stencil and used the blending brush with Balmy Blue inkpad to make a soft background

I stamped the sentiment from Good Feelings in Night of Navy and the flowers in Fresh Freesia, Gorgeous grape and Highland Heather and punched it out using the Petal Park Builder punch. 

For the card below I did the same thing but used the Countryside corners dies to cut the shite and the Hgihland heather piece and put the sentiment die from Wanted to Say dieset using Gorgeous grape. I love how the dot on the i is attached- I an forever looking for the little dot in other dies like this.   

When I stamped the leaves the first time I did it too close to the sentmient and forgot to leave room for the flowers so I had to move the leaves out to the edge and colored it in using watercolor pencils and used the watercolor painters to blend it in- so easy.


Use the Take your Pick tool to curl the petals of the flowers then mount using dimensionals. - add some pearls in the center of the flowers to add some sparkle


Tuesday, May 23, 2023

another Two Tone Flora variation


I love this set- lovely flowers and dies to match- basecard is thick white cardstock with a layer of petal pink diecut using the Two Tone Flora dies (so pretty - don't you think?) a strip of black stamped with versamark and heat embossed with white embossing powder.  

Stamp the highlight colors with flirty flamingo then lining up the center of the flower, stamp the background color of petal pink  then diecut out. stamp the leaves in old olive and diecut out.

I put some pearls in the center of the large flower. I put some gold nail striping tape ( bought on line- self adhesive in really fine line) to add a little sparkle. 


Tuesday, May 16, 2023

Two Tone Flora variations


This is a variation on the Two Tone Flora using a variety of different colors - basecards is thick white with a layer of two tone flora diecut on top with a banner sentiment from Season of Chic stampset then just layered the flowers that I made using petal pink and flirty flamingo, Fresh Freesia and highland heather, Daffodil and crushed curry- play with whatever combination pleases you and I just put them all together. layer them with dimensionals and I used some liquid pearls in the center of the flowers - this was an experiment instead of using real pearls and it was interesting- not sure what I prefer.
Leaves in old olive and diecut. 


Tuesday, May 9, 2023

Two Tone Flora


The die that coordiates with this set is  so gorgeous with such intricate details I couldn't wait to use it for a class project- this base card is Petal pink with a layer of diecut in white cardstock. 

stamp the flowers in petal pink then with Flirty flamingo - I find stamping the darker color then stamping the lighter color on top matching up the center of the flower was the easiest to do. I stamped some leaves in old olive and diecut it all out.

The sentiment is from  Season of Chic set - which I also love.- stamp with black memento onto a strip of white cardstock and use the Banners pack a punch to to create the angle and put a piece of Flirty flamingo behind to make it pop a little - mount the sentiment banner using dimensionals - and same with the flowers.


I put some tiny perals to accent the center as shown below.


Tuesday, May 2, 2023

Best Day flap card


I like the birthday cake on this image but my sister really liked the cat and so I had to make a card to show this off. This was a simple card A2 5 1/2x 8 1/2 scored at 2 1/8 and 4 1/4 and mounted an image panel on the front to create the flap 
It is now retired but still I wanted to show you.
take the pieces of DSP and glue it down on the outside sections as shown.
Stamp the cat then make a mask by stamping another cat image on a post it or masking paper and place it over the cat then stamp the cake to create the layered look. - color as you please- I took the color lead from the DSP - the back of the DSP has listing of all the colors used in the DSP so very helpful.  


Saturday, April 29, 2023

Nothing's better than Easel card


I've been meaning to make this card for a while- bought this set years ago planning to make a card for a class and never ended up doing it so finally I got around to doing it and it is retiring- 


this is a variation on the easel card.  take a A2 card 5 1/2 x 8 1/2 and cut off 2 1/8  off across the front.  

you then take a square 4 1/4  x 4 1/4 same color as the base card and score it in half horizontally and glue or tape the top half to the top half of the front panel 

You take another piece of 4x4 DSP and glue or tape just the bottom of it to the bottom of the 4 1/4  x 4 1/4 scored piece on the front and that is what makes the easel.

stamp the sentiment on a circle pice and diecut the sentiment ouf or smae color cardstock and glue it on. take the coordinating image and use dimensional to mount it to the inside panel- i put a piece of vanilla panel on the inside a little less than 4 x 4 to hide behind the front panels and put the chocolate piece to hold the easel in place.


This is what it looks like from the side.

This is a variation with coffee we made for class this month.

put the piece of coffee mounted on dimensionals and stamp the heat curls above it on the vanilla panel.
this is what it looks like open and resting


Tuesday, April 25, 2023

Wisteria Wishes variations


I love wisteria hanging off the trellis is what I always imagined when I think of beautiful backyards so this was one I made with 2 sets of wisteria flowers and leaves. Basecard of thick white and a layer of Starry Sky.  Stamp the sentiment and the flowers twice on a scrap piece of paper with starry sky but it would also be perfect with gorgeous grape or orchid oasis. stamp the leaves with Old Olive and mount the back layer flat and the top layer with dimensionals  on top of the scalloped contours piece in white 


This is what we made for my class in April 2023  basecard of thick white, then a piece of Starry Sky, white piece cut out with scalloped contours die - stamp the sentiment and flowers in Starry Sky and diecut with coordinating dies and Stylish shapes (circle die with stitched inside) and leaves from old olive 
mount the flowers and sentiment with dimenstionals and a simple straight forward card.

this is a vertcal version of the wisteria but looks more like a field flower given its upright positioning
base card is thick white CS with a layer of poppy parade. and a layer of white cut with Scallloped contours.  Stamp the flowers in poppy parade onto the white piece and the leaves in Old Olive. Stamp the sentiment on a piece of black CS with versamark and heat emboss in white and mount as shown. 
this set is retiring next months so get it while you can. 


Tuesday, April 18, 2023

Irresistible Blooms one layer card


This is a simple one layer card- take a piece of scrap paper cut in half- place one on the left of the area you want to color in and one to the right. I would recommend that you markd it with pencil so you know where you put the paper and also tape it down so it does not move.  using versamark to stamp images in the area between the 2 papers and heat emboss using clear or white embossing powder. 

Using stampin blends use green apple green flamingo, petal pink or whatever colors you want to color the open area. 

I put a strip of nail accent gold tape on either side of the inked area to highlight the strip.

stamped the sentiment in black and a clean and simple card done in no time at all. 


Tuesday, April 11, 2023

Irresistible Blooms


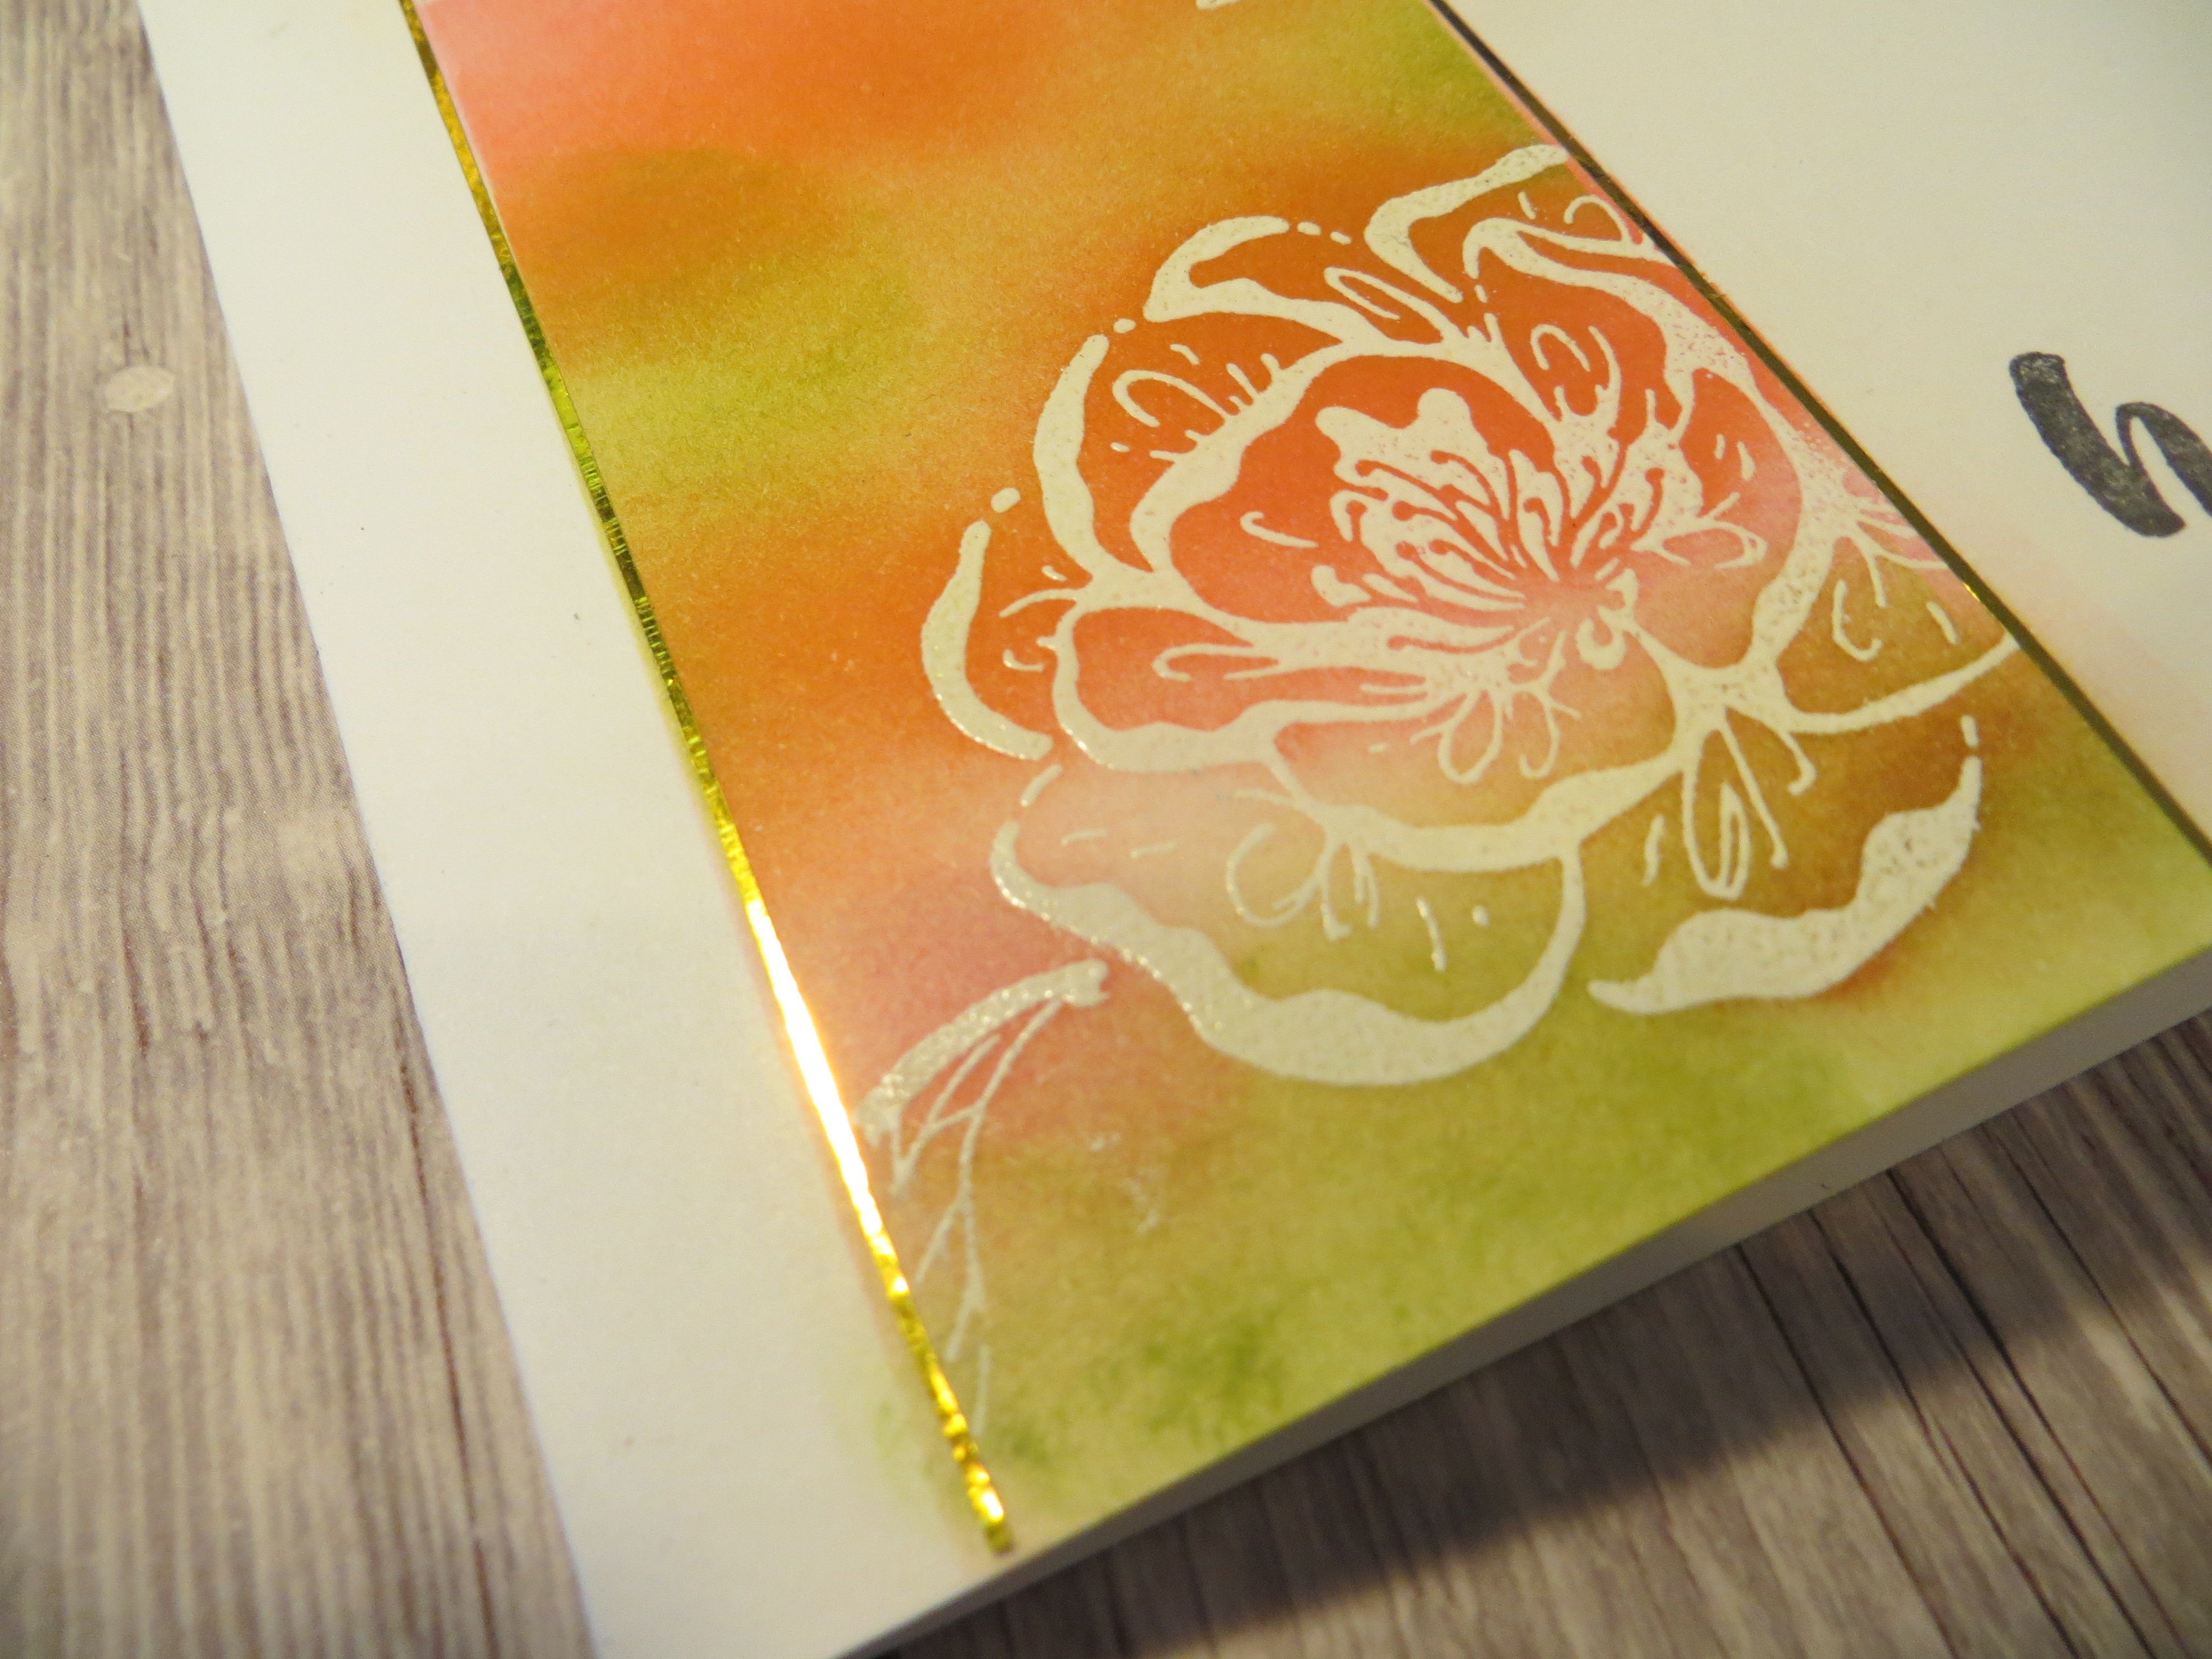
this is the on line only set Irresistible Blooms which is really set up for resist techniques- The base card is thick white - I really like the sturdy base- added a layer of basic black for the accent and then a layer of flamingo that was embossed using one of the basics 3D embossing folder .  stamp the flowers and leaves in versamark ink on a white cardstock and heat emboss- either clear or white Embossing powder should work. Using blender brush color the flowers using petal pink and polished pink in the center and the smaller flower using the flamingo (although it looks more orangy here )

leaves are colored in with green apple green and blender brush. 

use a tissue to wipe the embossed areas of the colors to pop the colors more. 

I love the dot and lines accents that are diecut in this set - super cool. 


Tuesday, April 4, 2023

Playing in the Rain Box Easel cards

I just LOVE this set- Love the images and love the coordinating Paperpumpkin kit.

This is a box easel card- take a  4 1/4x 11 inch cardstock and score along the long side at 1/2inch, 1 1/2 inch, 2 1/2 inch, 3 1/2inch to create the front box and then score at 7 1/2 inch and 10 1/2 inch  (here done in thick white cardstock)

put tape on the 1/2 strip on the both sides- one to make the box and the other to attach to the 4 1/4 x 5 1/2 inch card base *( here Mango Melody) . 

put the tape on the easel part and fold the base at the 7 1/2 inch. Line up the top of the mango piece to the 7 1/2 inch line and it will be perfect and fold flat to go into an envelope  ( I tried the fold at 8 inches and the easel leaned a little far back) 


This is sort of what it looks like from the side. 


You can decorate it with DSP- here I used some elements from the paperpumpkin kit - don't you just LOVE that little frog?
they had a coordinating die but it sold out so soon I was not able to get it so having to fussy cut them all - Argggh!

If you used the raindrop embossing folder, make sure you stamp the flowers and the puddle BEFORE you emboss it so it stamps well. 


I did not get the DSP for this one but wanted to create a little background so I stamped the umbrella all over and used the stampin' blends to color it really fast and easy and So Stinkin' Cute!