
This is a santa triangle box cased from Samantha Parisi from http://rubberstampingdiva.com/?p=235 last year. I tweaked it a bit as always and I thought it turned out really sweet.
If you have to make a bunch, you can use a 12x12 and cut it as shown to get 4 - 4x8 pieces to make 4. you can also use 8 1/2x 11 cardstock and cut it 4 1/4 x 8 1/2 to get 2 out of each and either will look fine.

Score the box in half parellel to the short sides as shown.

Make a little score mark at the top and the bottom of the short sides at 2" (for 4" box) to find the center.

Then score it diagonally from the center score point to the center score line as shown and do it 4 times all around.

You should have something that looks like this.

I stamped Merry Christmas from All Holidays stampset for an extra message and embossed it with silver embossing powder.

These are the punch pieces you need. I did not want to make any templates for the mustach so I used the 5 petal flower punch from SU. The face is 1 3/8 in circle and nose is 1/2 inch circle punched in blush blossom. Punch scallop circle, and word window punch and 5 side flower in white CS and 1/2 inch square silver brushed CS. Belt is 1/4 inch strip black CS.

I textured the word window and scallop circle with finial press texture embossing folder from SU to add extra texture.
Arrange the face as shown- you will need to chop santa's face where it sticks out above the hat brim.

The belt is added and the edge overhanging is trimmed to fit.

I used sticky strip to lay everything down but the eyes I think is easier to place with multi mono. I put little dots where I want the eyes.

Then I use tweezers to put the little 1/8 inch circle punched onto the glue.

No eye would be complete without a little sparkle to add some life. I used the white gel pen here.

Fold over the box and punch a hole on the side for the handle.

Open that side and punch the other side.

You can tape the sides shut and you can still have a little hole you can squeeze to open or if you are using a ribbon, use a bead to keep the box closed ( it needs to be a snug fitting bead though- if you choose this option)

Here is a box finished in the 4 1/4 inch version- it is really cute either way!

If you have to make a bunch, you can use a 12x12 and cut it as shown to get 4 - 4x8 pieces to make 4. you can also use 8 1/2x 11 cardstock and cut it 4 1/4 x 8 1/2 to get 2 out of each and either will look fine.

Score the box in half parellel to the short sides as shown.

Make a little score mark at the top and the bottom of the short sides at 2" (for 4" box) to find the center.

Then score it diagonally from the center score point to the center score line as shown and do it 4 times all around.

You should have something that looks like this.

I stamped Merry Christmas from All Holidays stampset for an extra message and embossed it with silver embossing powder.

These are the punch pieces you need. I did not want to make any templates for the mustach so I used the 5 petal flower punch from SU. The face is 1 3/8 in circle and nose is 1/2 inch circle punched in blush blossom. Punch scallop circle, and word window punch and 5 side flower in white CS and 1/2 inch square silver brushed CS. Belt is 1/4 inch strip black CS.

I textured the word window and scallop circle with finial press texture embossing folder from SU to add extra texture.
You can also add some glue and glitter too if you wish to add extra sparkle.
I dauber'd some pretty in pink to make blush and edged the nose to make it stand out.
Cut the 5 sided flower as shown to get the mustach. ( only the center one is used here)
The belt buckle is punched with hand held punch from Fiskars to make the slits- double rectangle would also work well (adjust size to fit the punch) or just cut it out with blade.

Arrange the face as shown- you will need to chop santa's face where it sticks out above the hat brim.
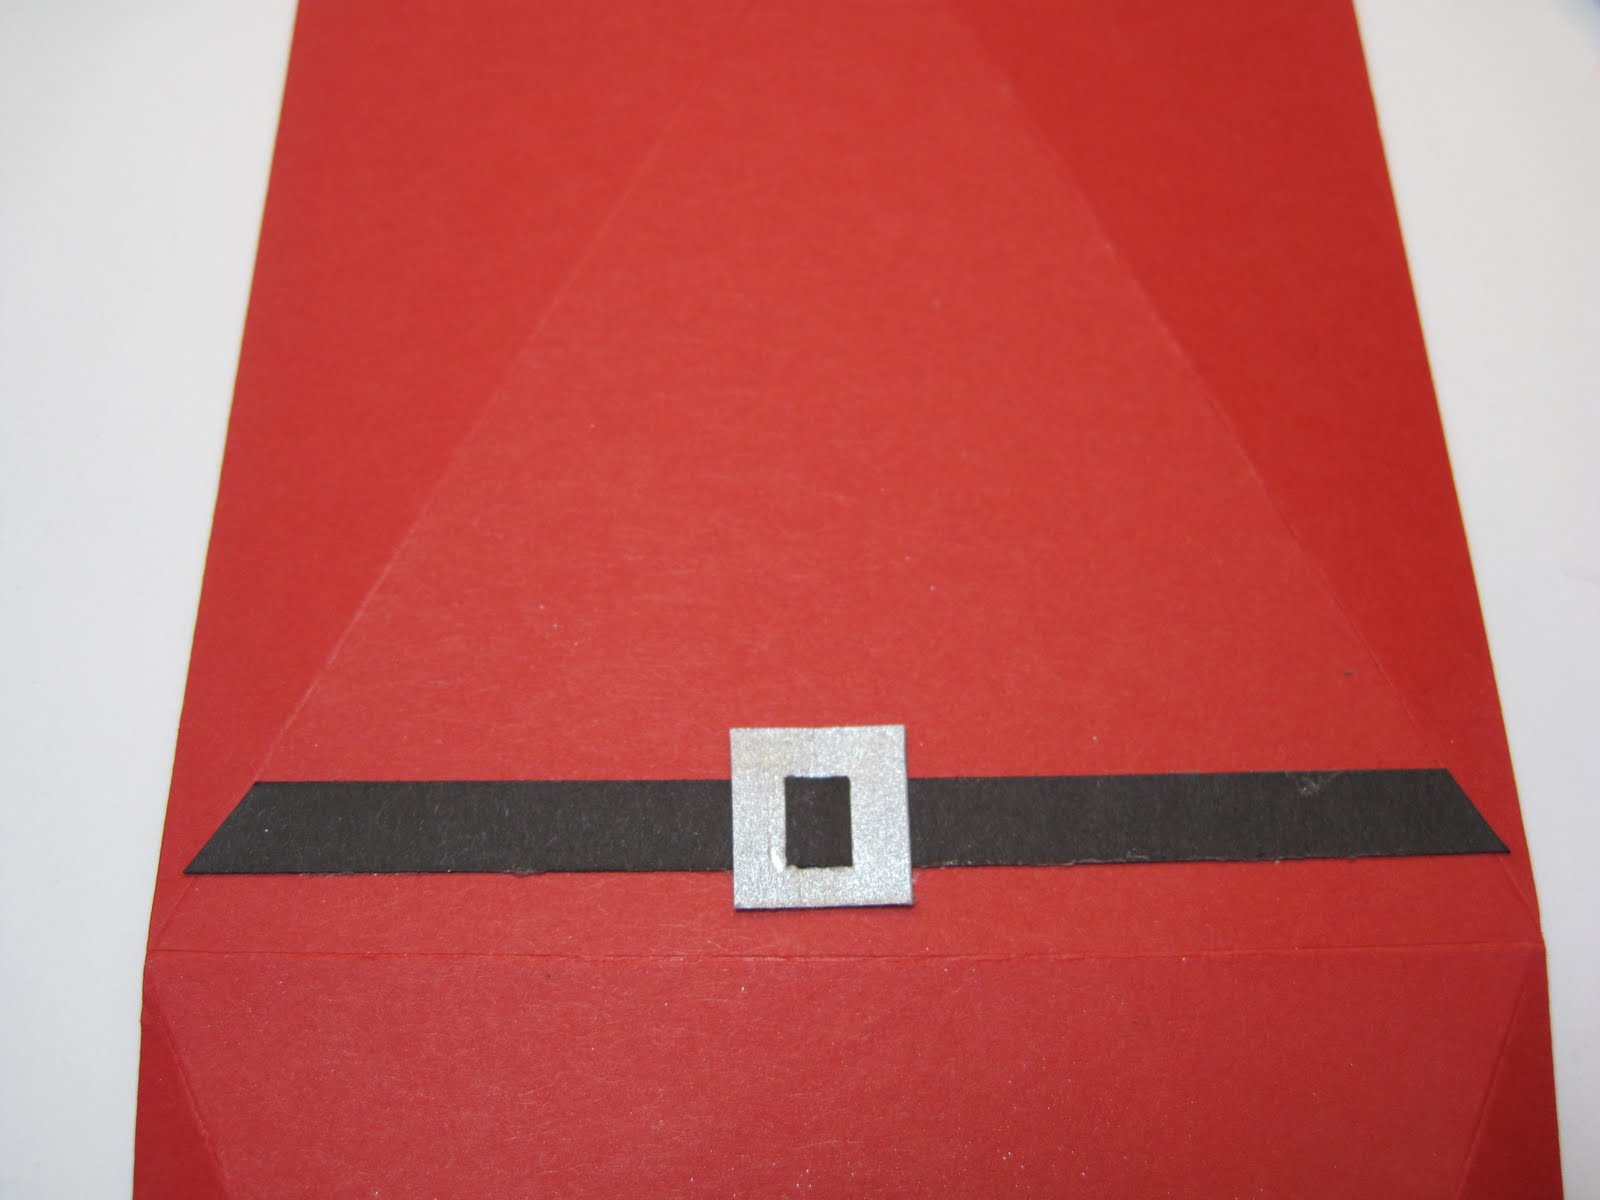
The belt is added and the edge overhanging is trimmed to fit.

I used sticky strip to lay everything down but the eyes I think is easier to place with multi mono. I put little dots where I want the eyes.

Then I use tweezers to put the little 1/8 inch circle punched onto the glue.

No eye would be complete without a little sparkle to add some life. I used the white gel pen here.

Fold over the box and punch a hole on the side for the handle.

Open that side and punch the other side.

You can tape the sides shut and you can still have a little hole you can squeeze to open or if you are using a ribbon, use a bead to keep the box closed ( it needs to be a snug fitting bead though- if you choose this option)

Here is a box finished in the 4 1/4 inch version- it is really cute either way!
Happy Brrrr Day!
It's 42 degrees here this morning!
Lynda
Lynda
1 comment:
Very clever and cute. And embossing the beard and hat trim is a really nice touch.
Post a Comment