Showing posts with label Card Ideas- Graduation. Show all posts

Sunday, May 27, 2018

Truly Tailored Graduation Easel Card

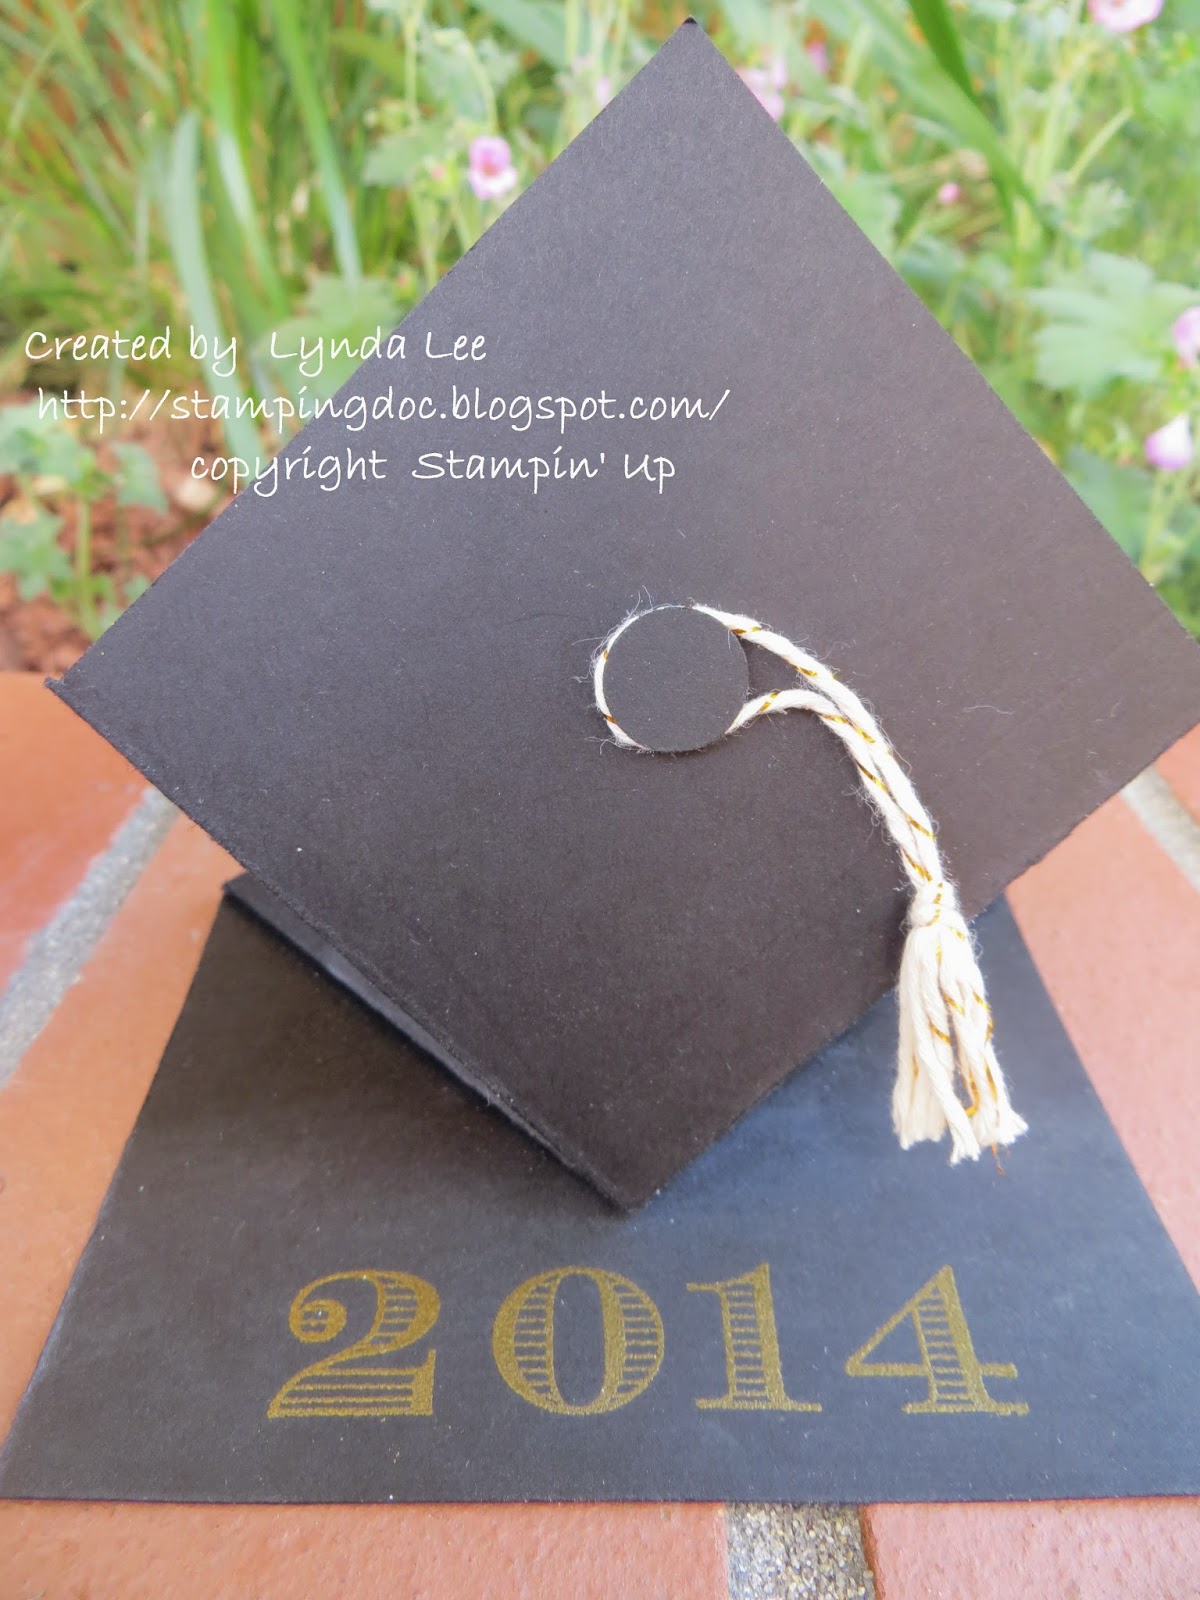
 I love popup cards.  For some young men in my life who are graduating I wanted to make them a special graduation card and what better for that than the Truly Tailored Suite?

 Take a 4 1/4 x 11 inch cardstock and score it at 2 3/4" and 5 1/2" as shown.
I made a template out of a piece of chipboard that comes with our DSP to make the collar.  Use it to cut out the sides on the 2 3/4 side of the base card as shown.
I used the same template but this time on a 4 1/4x 5 1/2 inch whisper white CS and just but the shoulder part- leaving the vertical lines without cutting as shown on the left.
Fold the cut pieces in as shown on the left into a V to create the collar.  I took a 3/8 inch strip and glued it down for the front.  I used small gluedots on the corners of the collar to secure it.  You can flatten the collar if you are mailing it or keep it sort of  rounded it you are hand delivering.
 Put the Tombow glue on the base card as shown to adhere the shirt on the top only to create the easel.

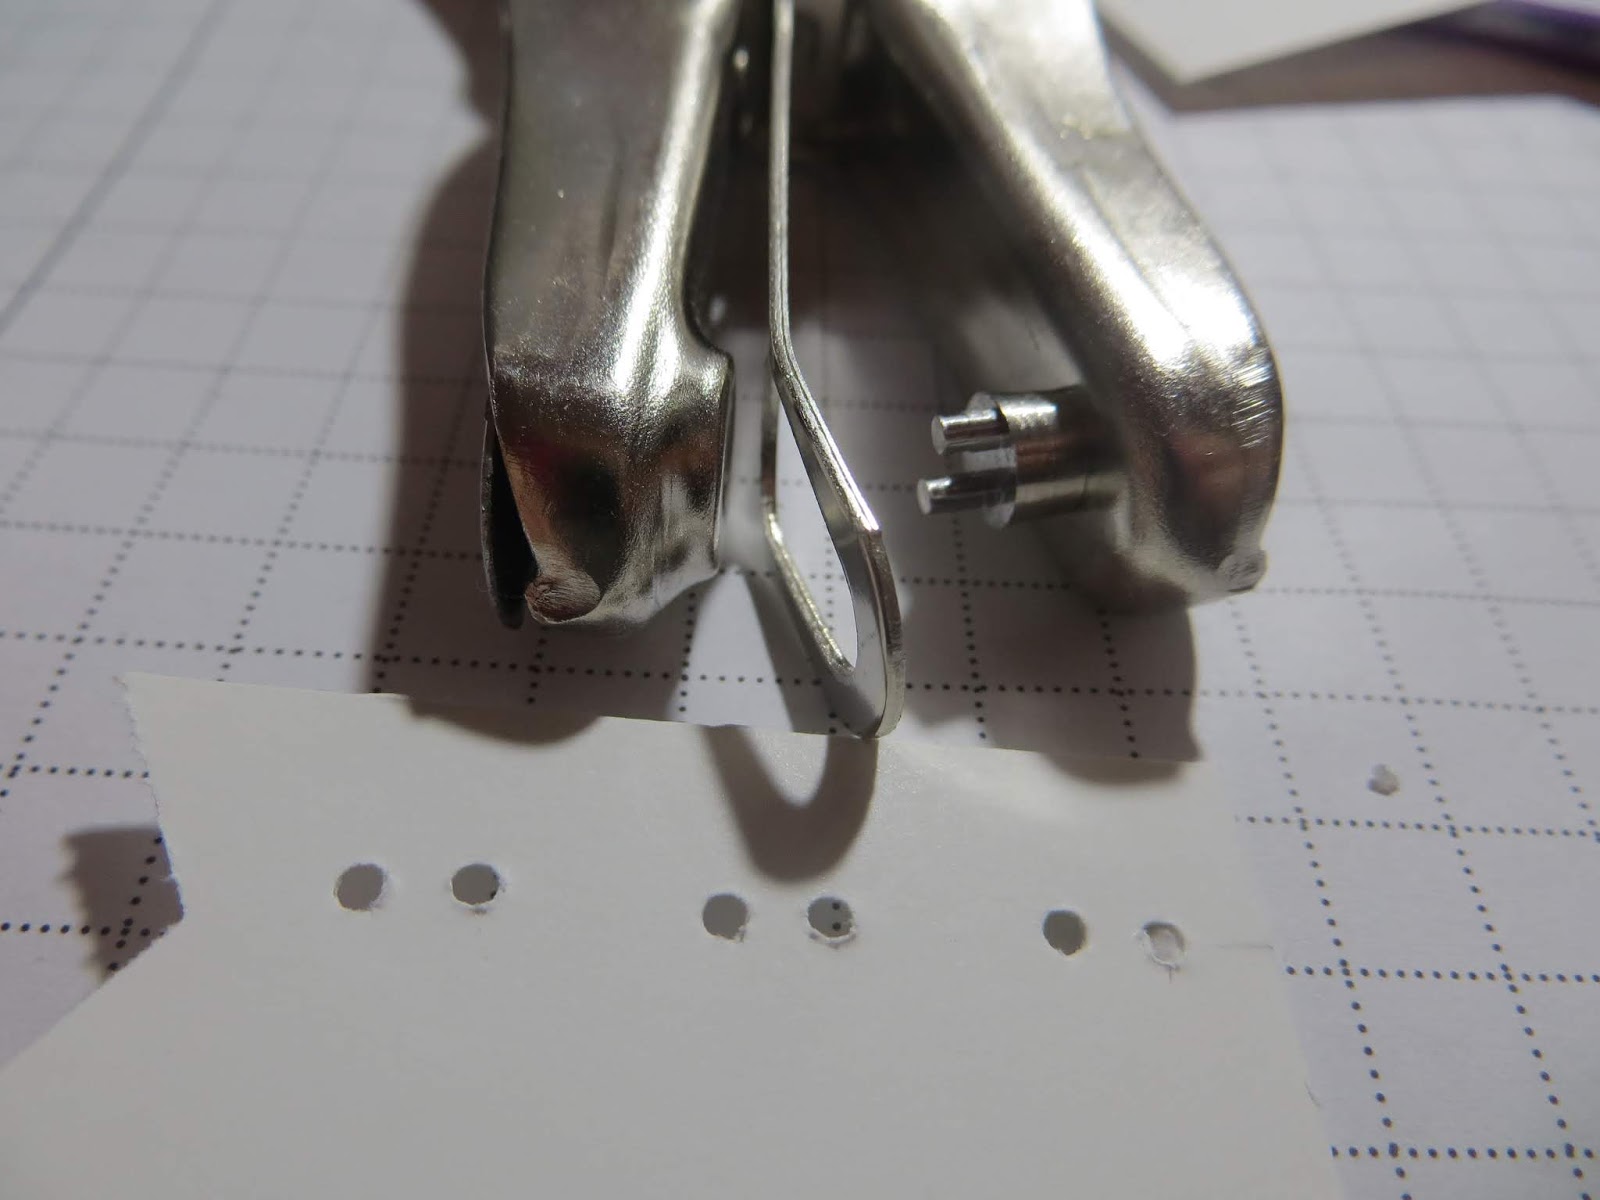
I did not have enough matching small buttons so I made them using an old punch that has 2 holes in it and then punched it out with a 5/16 inch circle punch.  Put it on the shirt with the mini stampin dimensionals- the perfect size!
The pocket is just a 1" strip of whisper white CS that I fed through the Tailored Tag punch to create the angle on the bottom. The Old hexagon punch will work too.
 You can use scraps of triagular piece of True Gentleman DSP to make the pocket squares as shown.  I took a rectangular piece of scrap, cut it diagonally and layered it side by side to make it look like this.
Stamp the sentiment from Truly Tailored set in Night of Navy and punch it out. Layer it with a piece of Basic Gray CS then again mount it with dimensional.  Put a piece of DSP on the bottom of the basecard on the inside as shown, mount the sentiment and you are good to go.
 I needed graduation cards so I used the congratulations from Stampin Up retired eons ago and the graduate is from another company.  But you could make it a promotion card, birthday card - it fits all occasions depending on what you say on the inside piece.

Friday, April 24, 2015

Money card for the Graduate

Soon, the school year will be at the end and I am going to need a bunch of envelopes to give a little money or check to those graduating.
This is a real easy  way to do it with a little style.
Take Blackberry Bliss 7 1/2x 9 1/2 and score along the long side at 3" and 6 1/2" to make the trifold.
Use the envelope punch along the 7 1/2 inch side and put the left edge at 3 3/4 (half way point) to punch out the little divot to make it easier to take the contents out ( better than using a circle punch half way like we used to eh? - LOOOVE IT!)
Tape along the front side to create the pocket, money or check goes inside.  I stamped the sentiments inside using versamark and Wild Wasabi embossing powder- did not realize until too late that it was retired- but use whatever color that coordinates.

Make a band with a strip of Painted Blooms DSP with coordinating CS beneath - here Wild Wasabi again. Stamp sentiment with Blackberry Bliss and color in with daffodil marker and punch out with the note tag punch.

Stamp Petal Potpourri with Rose Red and punch out with Flower Medallion punch, stamp the center with Daffodil and punch out with a small circle punch and mount both with dimensionals to make it pop.  You can make a bunch of these ready to go in different colors for any occasion to fit your needs....

Monday, June 2, 2014

Graduation Pop Up Spring card


My nephew is graduating from high school this year and I wanted to make him a pop up graduation hat card but all the cards I saw had a weird dimension to it that would not fit in an A2 card so I had to reverse engineer a card to make it so.  I knew it had to be 4 1/4" across and that made the dimension 9 1/2" in the length.  That meant I could get 2 cards out of each sheet of cardstock which works out even better.

Because the cards are 4 1/4" across, use the diagonal scoring board and score with the card held in the tall direction at 2 1/8" which is the
half way point as shown in the first picture, then flip over and score again.  Then turn the card 90 degrees so the long side across the top and score again at 2 1/4 then flip it over and do it again.  There should be a diamond at the edge.
Now I switched the scoring plate to the regular scoring plate turn the card over and score between the scored X- at 5 1/2" mark (the diamond will be on the right side).  Make another score line down at 3 1/4 line where the diagonal line on the left ends.
Cut off the triangles from the corner of the diamonds, fold the score lines and you have an easy pop up card.  I used 2 3/4" white CS squares to stamp the message on the inside.  The sentiment is from the Remembering your birthday set which is perfect for any celebration event. the graduation sentiment is from the Blue Ribbon set stamped with Basic Black and Island Indigo.
2014 is stamped using Memorable moments set with versamark and embossed with gold embossing powder.  I used a 1/2 inch circle punch with a dimensional to make the button for the hat and made the tassel using the gold baker's twine.  I hope he likes it.


Friday, July 30, 2010

Owl Week- the graduate

When I was playing around with the owl punch, I realized that the larger eye circle looked like glasses when I made it in black so I had to make a graduate out of him/her. The color challenge on Splitcoast this week was Pear Pizazz, Daffodil and crushed concord CC281 and the sketch challenge was http://www.splitcoaststampers.com/forums/card-sketches-f41/sketch-challenge-291-07-28-10-a-t500336.html The base is Crushed concord, with pear pizazz and old DSP from Stampin Up Saleabration years ago ( I am really trying to use up my DSP's that I have been hoarding for SO LONG!) but it was more saffron than daffodil, so I punched some flowers in daffodil- using non SU punch from long ago as well- with purple stickles in the center for some sparkle. The hat and the glasses handle were free hand cut. The A+ is from First Day set from the mini adn the congratulations from Perfect Punches from the new catalogue stamped in crushed concord on pear and daffodil CS and cut out or punched out.

I spent what seemed like a long time making that graduation cap, strung a purple waxed linen thread with a black brad and stuck a dimensional on it and in the middle of making my owl, it disappeared. Now I had an occasion when I was making some punch animals, a crucial piece I had cut out disappear, had to make a new piece, to find out later that it was stuck to my bottom of my pants! So I danced around like a dog chasing its tail, dropped on the floor to see if it fell, dragged through my garbage to see if I threw it out-


only to find it stuck on my mono adhesive handle when I flipped it over to glue something- ever have this happen to you?

I made me cackle at my own stupidity. Hope your day goes better than mine...... if this is any indication as to how it is going to go.


Lynda