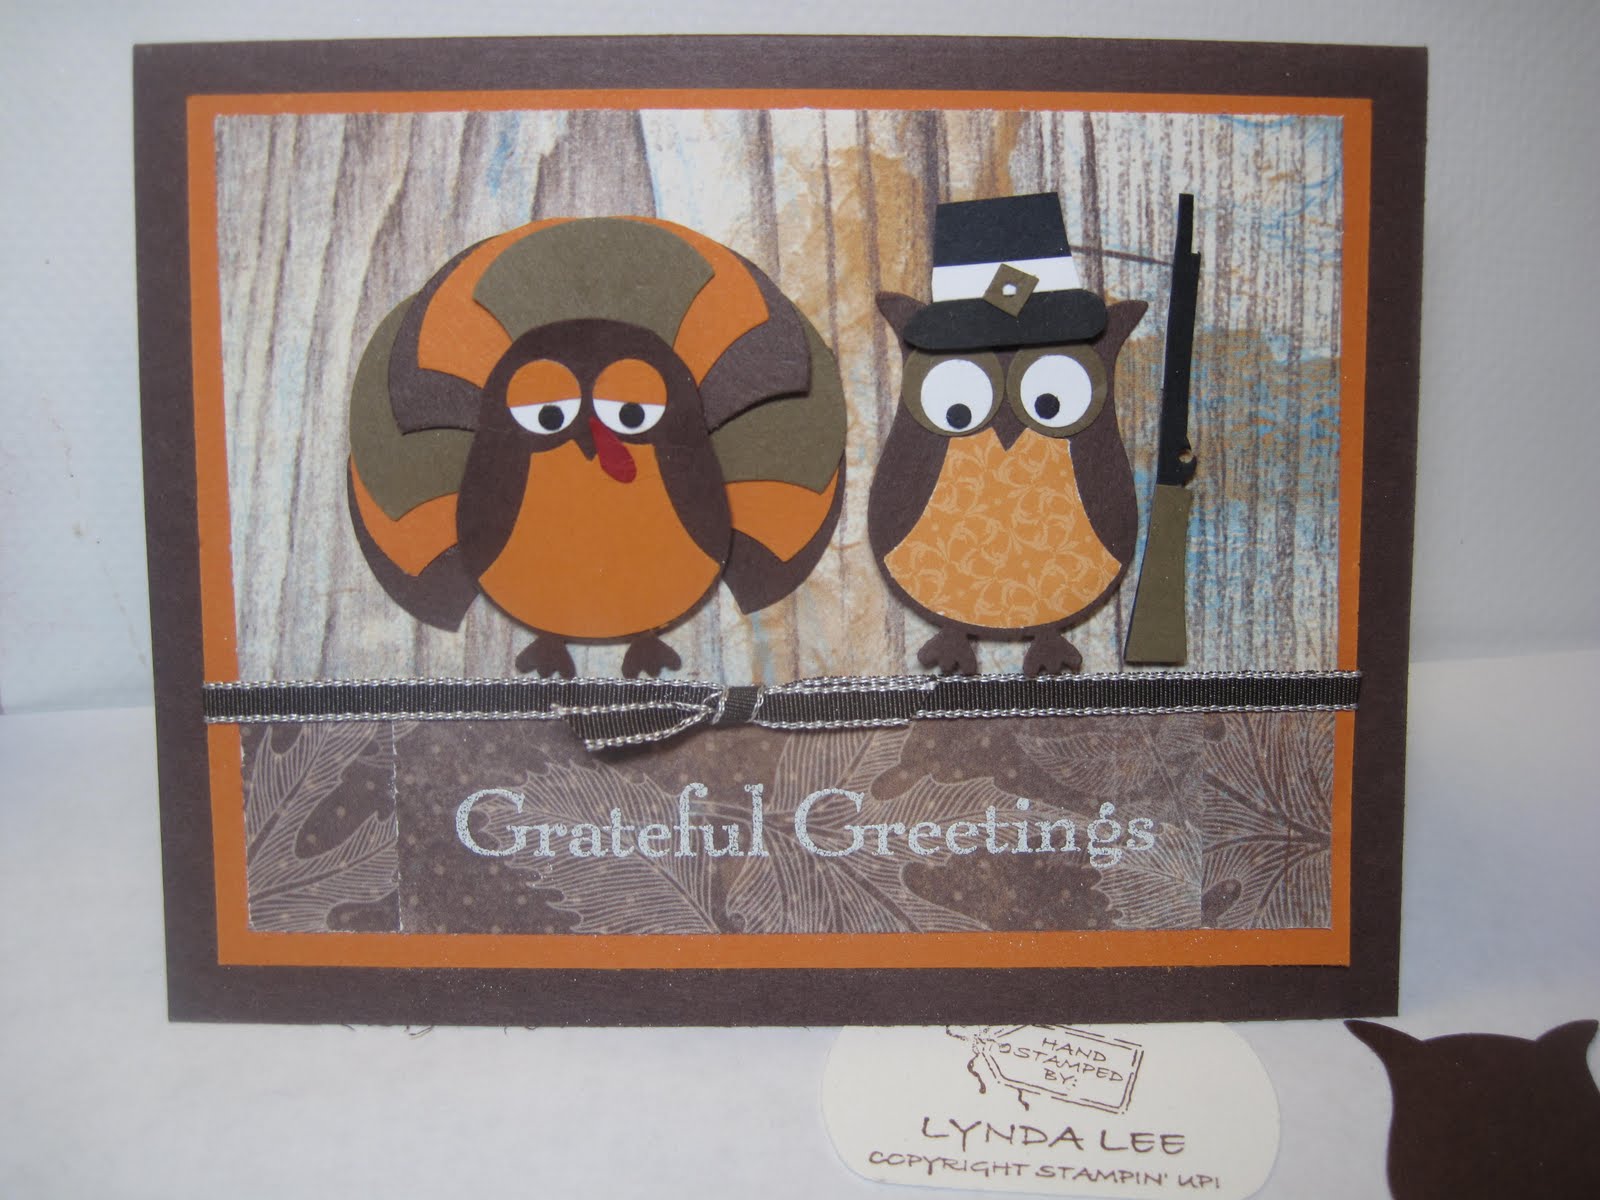
Showing posts with label Holiday- Thanksgiving. Show all posts

Thursday, November 23, 2023

Merry and Bright and die bundle Thanksgiving card- and option treat


This was a total CASE from Tami white I saw on Youtube using the Merry and Bright bulbs for feathers and the lady bug for the body.

Merry and Bright and die bundle Thanksgiving card- and option treat

-Stampset:  Merry and Bright and Fruitful Blessing for sentiment
-Tools: Merry and Bright Dies, Scalloped contours dies, Lady bug punch, feet is from another set I am not sure where it came from.
 1/2 inch and 1/8 inch circle dies- or 6mm googly eyes if you have them.
-cardstock: Very Vanilla thick cardstock , Crushed curry, pumpkin pie and real red, and early expresso 
if you have a Ferrero Rocher candy - or a round truffle in a papercup  you have the supplies to make a second turkey (without feet)

Thursday, November 25, 2021

Sparkle of the Season Thanksgiving

I love wreaths- I have a box of stamps and dies devoted to just wreaths.  
Basecard is pumpkin pie with a layer of  Soft Suede embossed with timber EF. the piece of green strip on the right is from Pattern Party DSP from the hostess purchase.  
The wreath was diecut in white and I colored it in with crumbcake stampin blends and so saffron, pear pizazz and pumpkin pie- then I cut some more leaves using pumpkin pie, old olive and saffron cardstock and added them on here and there. I took a strip of cumbcake Cardstock stip and stamped Grateful in Soft suede . This was an easy card I made as thank yous to my customers.

happy Thanksgiving everyone!


Tuesday, November 26, 2019

Seasonal Wreaths


base card is Granny Apple Smith and layer of Pumpkin Pie embossed with Scripty 3D .
Stamp the wreath with Tuxedo Black Memento pad and color in using stampin blends pumpkin, real red, soft suede and pear pizazz.
Take piece of vellum and stamp sentiment from For the Love of Felt set using Versamark and emboss using the gold embossing powder.
take large clear rhinestone (retired) and color it using the pumpkin Stampin' blends - you can make any crystal color you want using clear rhinestones and any stampin blends you have!
use the mini dimensionals under the crystals to mount the vellum.

Thursday, November 22, 2018

Take out Box Pumpkin


 I had this vision of a pumpkin from the Take out box but when I made it it just did not look like what I imagined. but when I turned it upside down, then Voila, it was how I imagined it.

I made a bunch of these at my last party and it was super easy to make.

Cut the box out and layered it together as shown. I used a pencil to draw the pumpkin lines before I put it together. 

Assemble the box, fill with treats, close the box and turn it upside down.

I took the leaf using the Leaf punch from stampin up and a tiny strip of Old Olive cardstock which I curled using a pencil.
I glued the two ends together to make a stem and mounted the whole thing on the boxtop where the pencil marks converged.
like this.

It was so easy and so cute!
Happy Thanksgiving!

I've been playing with other ideas for this box- love it!

Monday, November 17, 2014

Wondrous Wreath Fall Bottle topper

 The bottle label uses a piece of paper 8 1/2 x 3 inches.  Score 2 3/4 inch from the top and punch extra large oval from the side to make hole for the bottletop.

Emboss the bottom part of the bottle topper with the woodgrain to make the base.

The wreath part is really fun and I learned it at my upline Tami's gathering.  Take a piece of paper towel (get one with as little texture as possible) and put it on a nonporous surface.  I used a little tray but any flat surface will work-  put little drops of refills in a ring shape to create your own custom inkpad - I used daffodil delight, pumpkin pie, old olive, Blackberry bliss.  Ink the base wreath and stamp on Whisper white CS.  (The pad can get muddy so stamp quick)  Stamp the berry in Real Red then diecut with the matching framelit dies.
 Diecut the ribbon in Champagne Glimmer paper.  Mount the wreath and ribbon with dimensionals.
stamp Give Thanks from Holiday Invitation set. It is one long word but I cut it to stack it.  Stamp it in Pumpkin Pie and secure with staples.  Color the staples with Pumpkin Pie blenderability.

Hang on a bottle- wine, champagne, Olive Oil or whatever you are giving away!

Make the base red with Celebrate as sentiment in red and it would be perfect for the Holidays or even someone's birthday.

Make lots and give them away.....Lynda

Wednesday, November 5, 2014

A little thanks pumpkin box


This would be a cute little favor box or a placecard for Thanksgiving.
This uses a 6x6 piece of pumpkin pie CS and the box maker.  Wrap a little strip of Color me Autumn DSP - I love the Indian corn of this one.  I then slippe it off the box.I then took the Old Olive Two Tone Trim and stapled it across the top, then I pushed the loop to the other side to staple the other side.
I then untwisted the trim  but leaving the center intact like a stem.   I diecut the lttle leaf from the Fun Fall Framelit Dies and stamped the sentiment from Another Thank You photopolymer set.  Because it is clear you can see exactly where you want to put the sentiment on the leaf.  Or you can use the gel pen to write the recipient's name.


Sunday, October 26, 2014

October Stampin' Party Projects

This is some of the sampling of the cards we made for the October Stampin' with Lynda.

This was cased from Michele Reynolds (Michelerey at splitcoast).
The base card was Mossy Meadow with expresso layered on top embossed with Woodgrain EF.  We made tags with Angled tap topper with 2" strips of paper then stamped Ornamental PIne in Mossy Meadow then the cone with Expresso.
Scallop Oval punch the Mossy meadow CS and sentiment from Petite Pairs in Expresso then punch with large oval, then mount with dimensionals.

Tie the tag with vanilla seam binding ribbon and tied with the gold baker's twine.
 The final touch is a little 2-way glue gun to highlight the branches, cone for a touch of "snow" with the dazzling diamond glitter (the cheapest way to make any card shine!)
This is another card we made for the month cased from CAR372 on splitcoast.
Used the Fall fest ghost die to cut the whisper white CS then stamped the face on it with basic black. mount the ghosts on punched out black squares and diecut BOO! from Little letters thinlit mounted on pumpkin pie, then layer of basic black on pumpkin pie basecard and easy peasy card for make and take.  Thanks CAR372!

Lynda

Thursday, November 28, 2013

Happy Thanksgiving! A pop up turkey for you!

 Happy Thanksgiving everyone!
  I have a lot to be thankful for this year.  My family's good health, everyone has a job, my home renovation is almost completed, my mother in law is cooking Thanksgiving and all I have to do I bring the ice cream and the screaming hoard of hungy kids- check!

This is a little thanksgiving card I made as a thank you to my customers this month. The base card is white with a layer of chocolate chip  embossed with Woodgrain on top and with a layer or Burlap ribbon, cut in half lengthwise and the strands teased to create a fringe.   The acorn from Truly Grateful in chocolate chip then used the blender pen to smudge the ink a bit. punched with 1 1/4 inch circle punch and the tangerine CS with 1 3/8 inch circle punch.

I used the whisper white CS diecut with pop and cuts and labels insert die (at the same time as the Sweater Weather DSP for that perfect fit!) to create a pop out.

Thank from Harvest of Thanks stamped in tangerine then rolled around the edge with chocolate chip to create the two tone effect.
 The turkey was inspired by a turkey I saw on pinterest by Julie Davison.- It is diecut with the Deco Labels framelet to match and 1 1/2 inch circle head using chocolate chip CS.  The beak is made from a triangle that I cut from the left over from the piece I cut for the front of the card (after the popncuts cut it)  The tangerine piece by the beak is from a piece I cut out from the 4 sided from the itty bitty punch set.  Eyes from the owl punch.
 The tailfeather are made uing the Gift Bows Bigs L Die as shown on the left with the Sweater weather DSP.  You can cut at least 3 layers at a time. So I took 2 inch strips of 3 different DSP and stacked it in the back to make the turkey. 
The feet are from retired SU punch  using the tangerine CS - cut off the rest of the flowers from the punch shown on the bottom.


Tuesday, August 20, 2013

a Maple leaf thank u

I needed a few thank you cards and were playing with the maple stamp but wanted to use the Expression Thinlit dies.  I need them to make "happy" "you" "&" "congrats"- if Stampin' Up is reading this-
I am thankful for all my friends but I wanted it to say thank you.  Then I thought there is a U in thankFUL - so I just cut the f and the l out to make the little thank u.  U get the idea.

Base card is Cajun Craze with a layer of Artichoke to Accent.  The maple is stamped using versamark onto glossy CS - retired SU- then sponged cajun and artichoke using a dauber.  Once the colors are all saturated, wipe with a tissue and the white just pops.  The expression is diecut using a whisper white CS.  Took a little doing to get the little nits out but not too hard.   Enjoy!

Monday, October 11, 2010

Day of Gratitude with library clip


This is a case from a stampin up regional in Baltimore- I loved the idea of cutting up a piece of paper to make sections. The base is Cajun craze stamped with the large flower element in same color. I punched 3 tiny holes in the basecard to hide behind the crumbcake piece and strung the linen thread 3 times to make a connecting element and knotted it.


This is what the back looked like.

I cut the very vanilla CS to offset a little then stamped the images from Day of Gratitude set in crumbcake(leaf), olive (sentiment) and crumbcake then used expresso marker to make the acorn, and the flower is old olive and cajun craze markers. I pierced some of the pieces on the edges, and elevated all the pieces with dimensionals and fit the little library clip. Put the whole thing on the crumbcake piece and it was actually a clean and simple card style that I really like. I hope you do too.
Lynda

Tuesday, September 28, 2010

Day of Gratitude- CC290


CC290 Basic Rose Delight just called for this. I was playing with this idea anyway and the colors were just what I needed. I stamped the medallion from Day of Gratitude on shimmer white CS (although hard to see the shimmer here) used markers to color in the stamp with basic grey, rose red, daffodil, and olive. I cut the corners with a craft knife to have the edges come out of the box.
Embossed the half of the red cardstock with square lattice and stamped the sentiment in Basic grey and then the whole thing mounted on crumbcake CS.
I did add a little tiny rhinestone jewel in the center- you know me- I HAD to! I love sparkly....... even a little tiny bit that only I know is there. It's like wearing really lacy something underneath your regular workday clothes- nobody knows you're wearing it but somehow.... you just feel a little sexier that day- kwim?
Lynda

Tuesday, July 27, 2010

Owl Week- the pilgrims


This is my favorite from this week. The owls are punched in chocolate chip. I cut off the ears on one of them, layered the bellys punched in soft suede, pumpkin pie, chocolate chip to make the feathers. The eyelids and the belly is pumpkin. The little gobble thing is half a heart from the owl punch in red. The pilgrim hat was a flower pot upside down with a strip of white and suede piece with an 1/8 inch circle punched in center and cut off into a little square to make a buckle. The firearm was free hand cut with the trigger punched with an 1/8 inch hole punch with soft suede handle. As the holiday mini for this year has not started yet I used the SU retired DSP Autumn Meadows from this past year and the Sentiment is from Grateful Greetings stamped in versamark and embossed using white EP. Mount the whole thing onto pumpkin pie CS, wrap 1/8 expresso ribbon and mount the whole thing on chocolate chip basecard.

Thursday, November 26, 2009

Happy Thanksgiving!


Happy Turkey Day!
The other day I wanted to do a craft with my kids and we decided to make some punch turkeys that I saw that I thought was so adorable here by Pam Strobel at http://strobelstudios.blogspot.com/2009/11/bug-eyed-turkey-place-card.html
Thought you may enjoy it too.
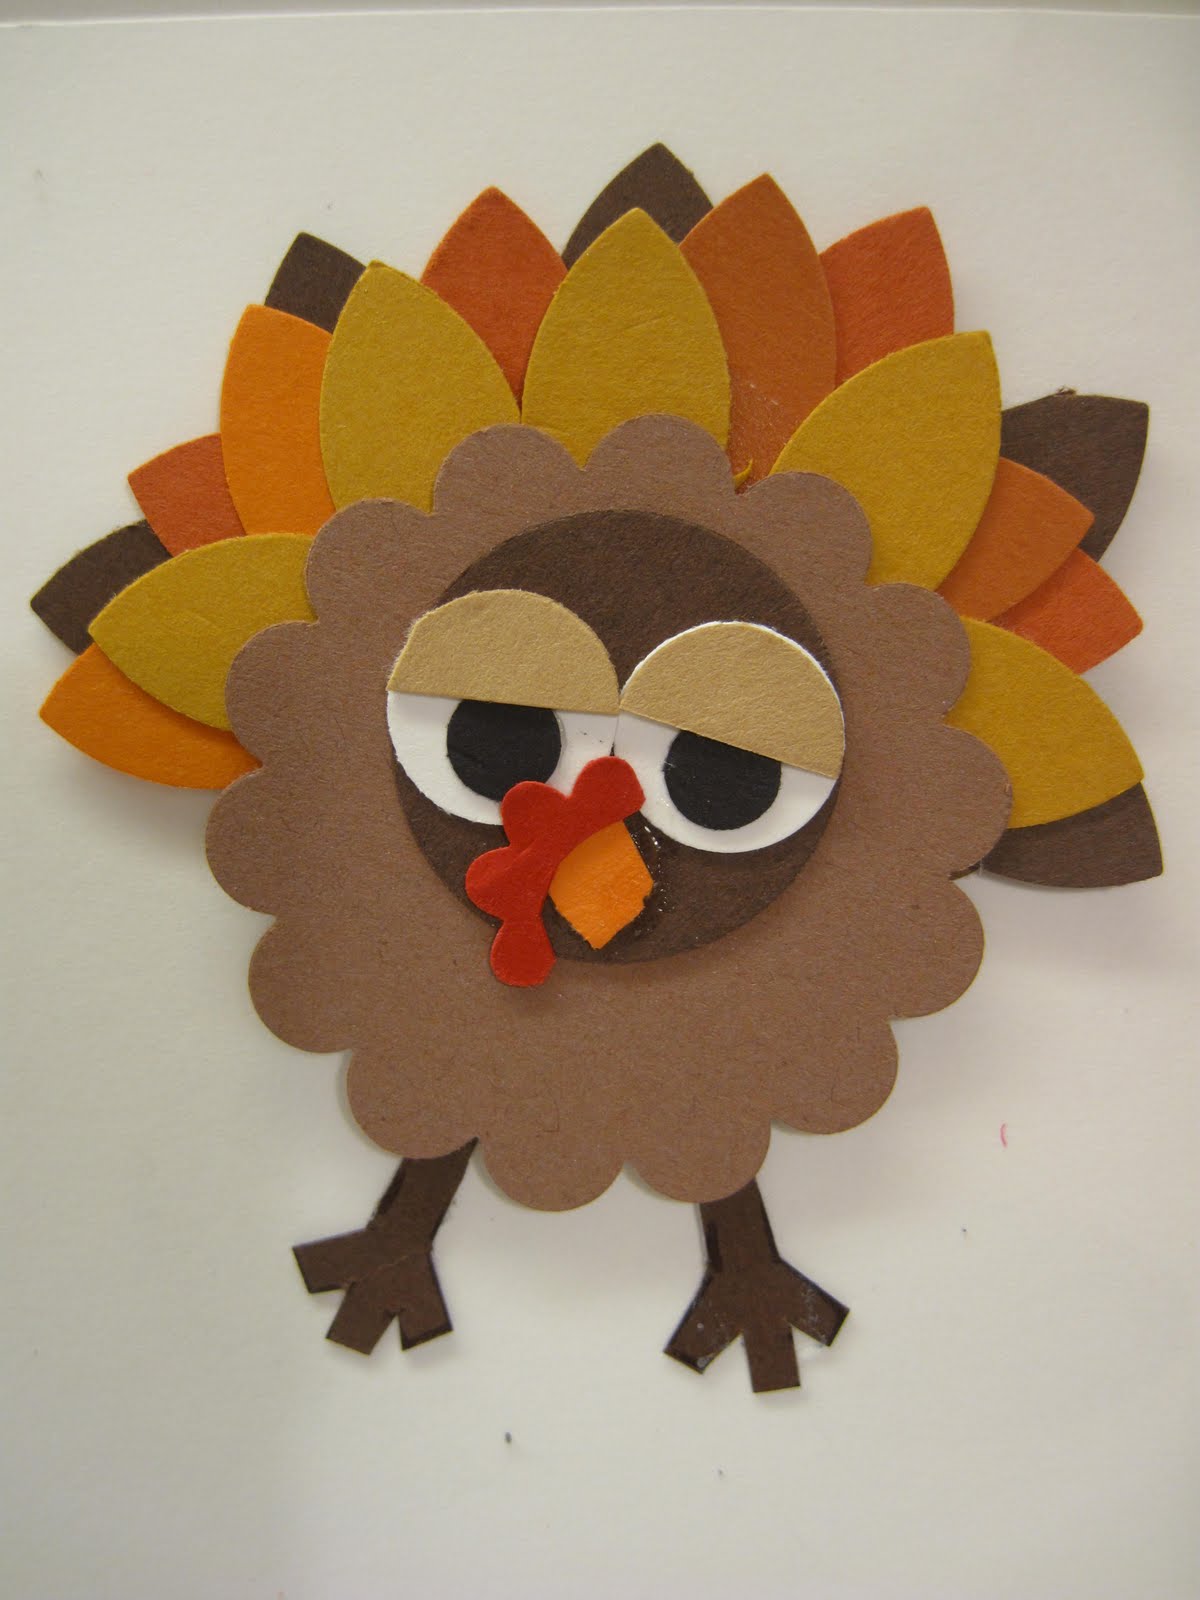
It uses
2 -scallop circles punch in close to cocoa-front body and back -( need a butt to cover up all the messy feathers if free standing)
1- 1" circle piece in chocolate chip for face
2- 1/2 " circles for whites of eyes
1-1/2" circle in creamy caramel cut in half for the eyelids
2-1/4" circles in black for the eyes
1- boho blossom flower in pumpkin for the beak
1-boho blossom flower cut as shown for the red thing hanging by the beak- what is that called?
bunch of 5 petal flower punched in mustard, pumpkin, chocolate chip, dusty durango and really rust for the feathers - I cut it so I can get more feathers out of it but you can just stick it on without cutting if you want.
1- snowflake punched in chocolate chip for the feet.

We had so much fun with it - the kids liked it that they were running around with it free standing making gobbling noises.
You could hang a sign on its neck that says "eat beef", put it on top of a menu or stick it on a folded cardstock to make a cute place card as Pam did.
You could also stick a small round peppermint patty between the bodies to make a Thanksgiving treat- after dinner or otherwise.


This was Dylan, my 5 year old's version- - "this is a mad turkey because we're gonna eat 'im!" he says....
I love the expression on his eyelids.
I have a lot to be thankful for, a great husband, healthy kids and family, a steady job that I love, good friends to share my work and obsessions.....
Happy Thanksgiving to you all and your families!
Lynda