Shopping bag card
Saturday, December 21, 2024
shopping bag card
Sunday, December 31, 2023
easy fold Gift or money holder card-
easy fold Gift or money holder card- using standard A2 cardbase ( for 4 1/4x 5 1/2 inch size )
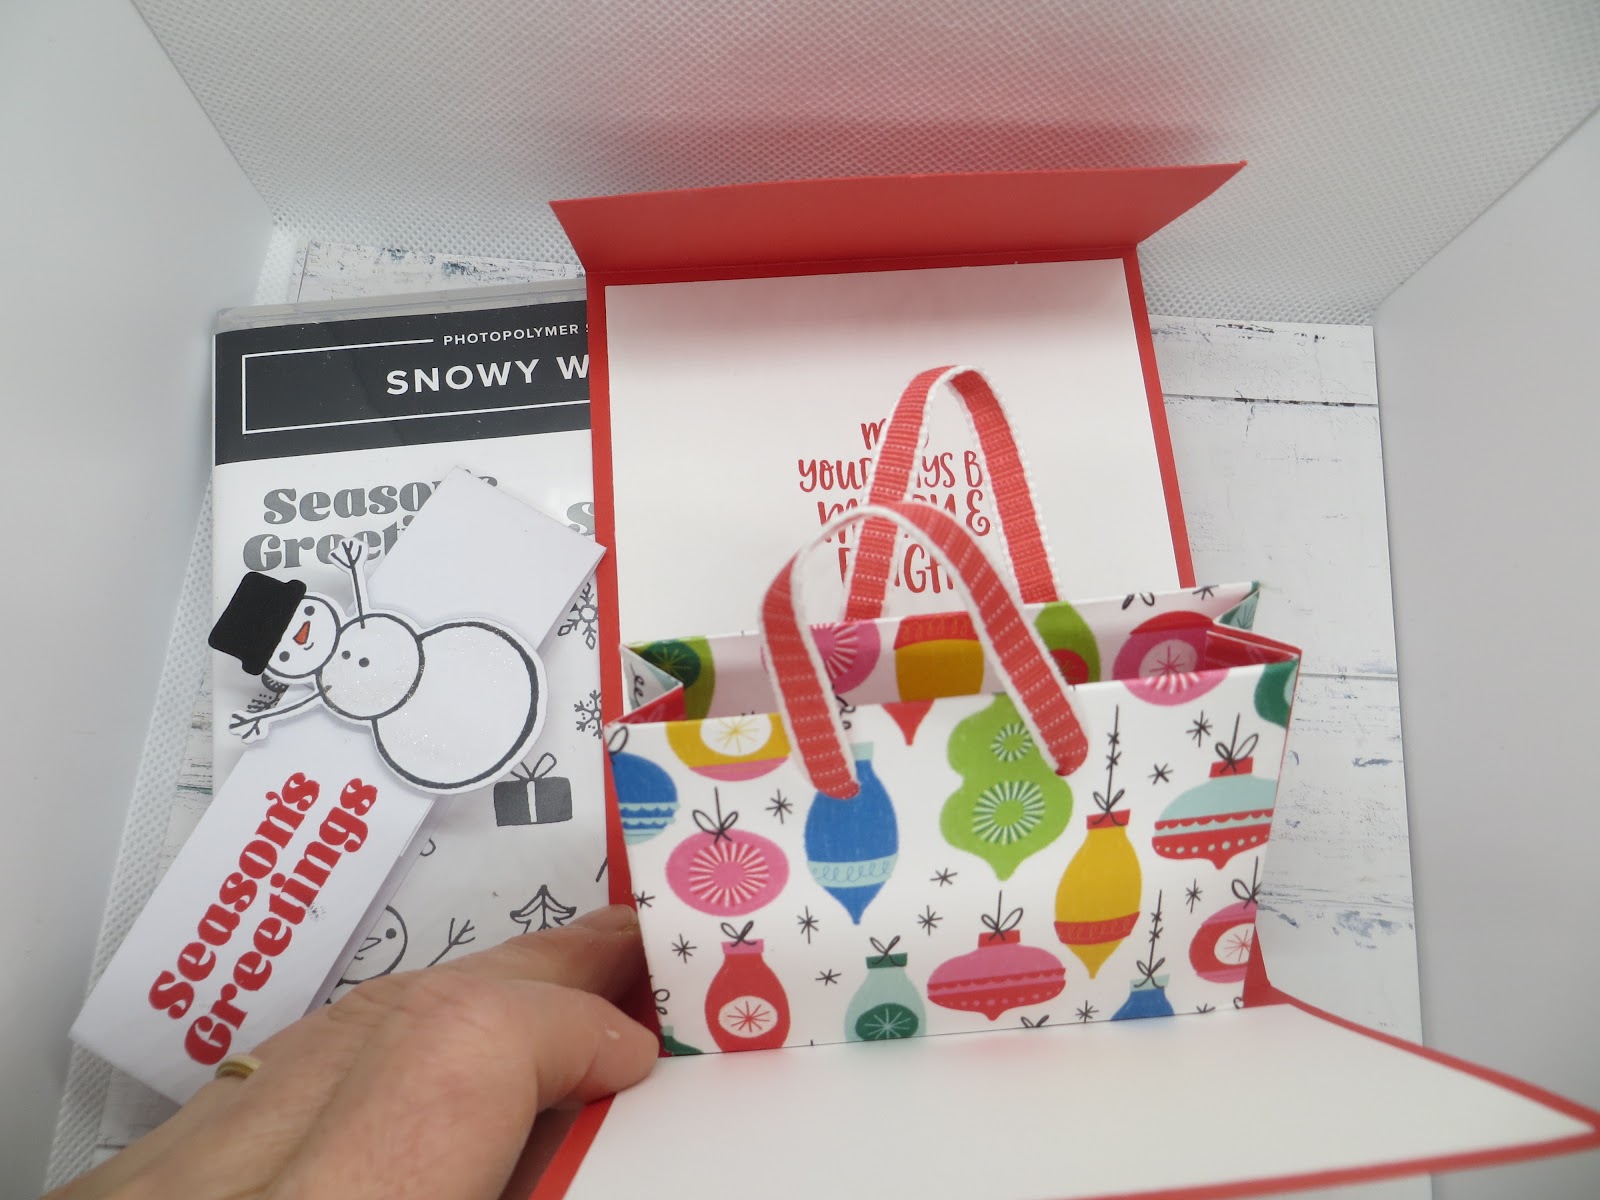
take basecard of 11 x 4 1/4 inch and score in half at 5 1/2 inches and fold the right front of card at 1 1/2 inches from the edge to create the pocket on the left on the inside as shown. this is where you put the money or the gift card.
another example depending on the DSP you choose it will all look a little different.
Saturday, December 23, 2023
giftcard envelope and Ornament box and tags from Sending Cheer
wrap around the outside 1/8 inch from the edges.
Tape the 2 tabs to close the envelop as shown below.
Place the gift card and wrap with a piece of ribbon. Here I added a piece of stamped and diecut bulb and put the ribbon through the top loop for a fun element.
easy peasy stocking stuffer and you can make 4 out of any 12x12 cardstock and 6 out of the DSP so use up your hoarded stash!
Ornament box and tags from Sending Cheer Stampset and Dies- one of my faves from the holiday mini- I'll be using it to make tags forever.
Gold foil for the ornament topper using country corners die-(you need 2)- smallest for the topper to fold in half to make the top of the circle ornament - punch out center with a 1/8 circle punch to thread the gold ribbon.
Sunday, December 25, 2022
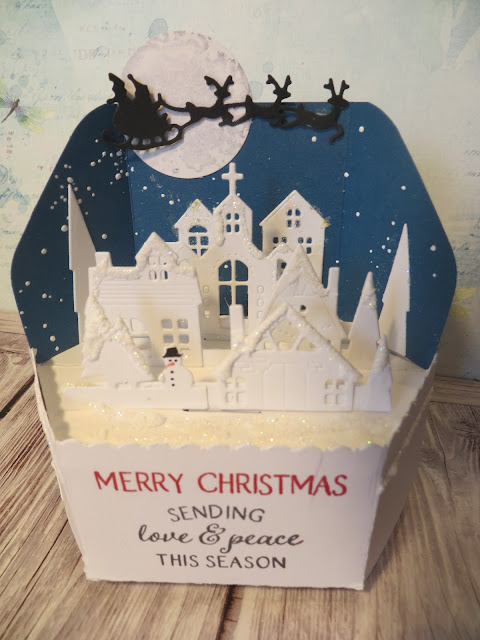
25 Days of Christmas- Merry Christmas
The sentiment is from Peaceful Deer stamped in real Red and Tuxedo Black memento inks
The Moon was punched using the 1 3/8 inch circle punch from stampin' Up and stamped using the background stamp from Perched in a Tree using Smoky Slate to create some texture of the moon.
The santa and reindeer was diecut using a coverplate die that had santa and reindeer on the top of the plate and I just diecut this part- not sure who makes it- I took it out of the packet and I can't remember which company (My apologies) mounted with dimensionals
I chose Dapper denim as the background color as when I tired Night of navy my DH complained it was hard to tell what was flyin across the sky -
I used Stampendous chunky white embossing powder- you have to heat it from below to make the starry sky - I used the Glimmer Heat foil system as a heating base for it which was perfect.
The house and trees diecuts are bring home the holidays set from PTI. - hardest part was taking out all the chads from the windows....
The little snowman and the tree to his right is an old Stampin Up Village die that I cutand colored with black pen and flamingo marker fine tip for the nose .
I used the Snowfall Accents puff paint to make the snow- but sprinkled the dazzling diamonds glitter right after I applied the puff paint and heat set it and it makes it like candy coating hard which I really like- and not as puffy and bubbly - I bought a bunch of these thinking I would use it for all my cards and even though I made almost a 100 cards I barely used up one bottle - they were on sale so i bought a bunch - I will now have enough for the next 10 years I think of puffy snow to use. Put a strip on the side to add a little glittery accent.
Saturday, December 24, 2022
25 Days of Christmas- Pizelle cookies
You have to stand there and make and remove the cookies as soon as it is cooked which can take anywhere from 15 to 30 seconds and you don't want it getting too brown.
Thursday, December 22, 2022
25 Days of christmas- Cracker Treat Box with Eos Lip balm inside
Wednesday, December 21, 2022
25 Days of Christmas- free standing shopping bag using same template as pop up

Tuesday, December 20, 2022
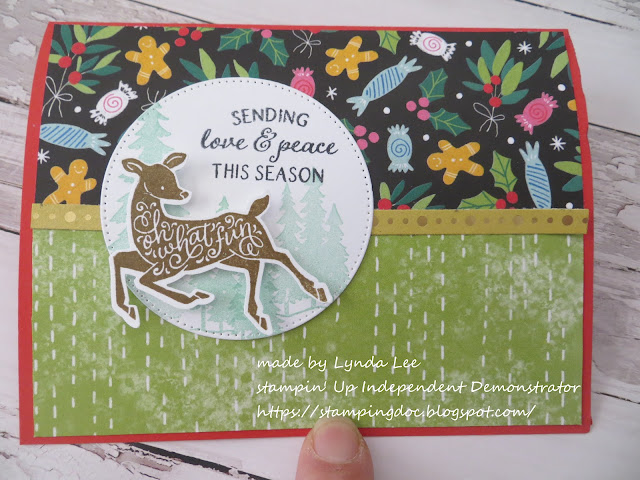
25 Days of Christmas- Pop up Shopping bag and Peaceful Deer
cut 2 pieces of DSP 2x 5 1/4 as shown. Take a piece of gold Festive Foils and cut a strip to show the dots - so sparkly pretty-
Take a piece of circle diecut from Stylish Shapes and stamp the trees in pool party and sentiment in black. Stamp the deer in Soft suede onto piece of scrap whisper white and punch out and mount with dimensionals - now that is the front of the card.- pretty all on its own. but of course we can't leave a good thing alone- we are going to make a pop up shopping bag on the inside - this is a great way of getting rid of all your 12x 12 pretty double sided DSP - each sheet makes 3 bags- cut them into 4 x 12 inch pieces keeping in mind the direction if you need to-

Score along the 12 inch side at 4 1/4, 5. 5 3/4 and at 10, 10 3/4, and 11 1/2 inches as shown. Score on the 4 inch side 1/2 inch from one side and 1 inch from the other.
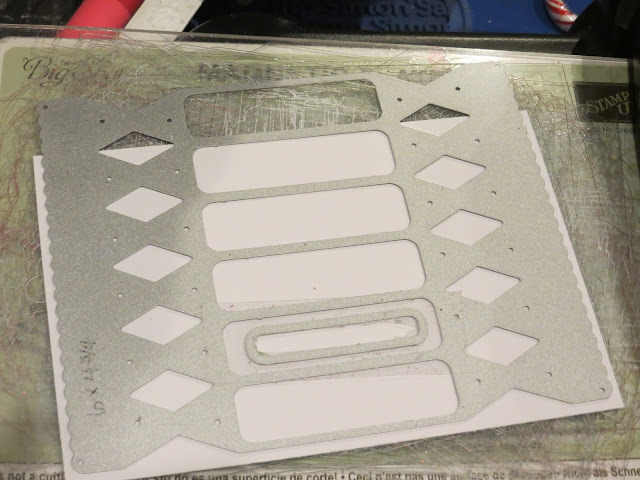
in order to make the pop up bag you will cut out the side panels as shown above in hatchmark. you can angle the bottom part ot make it sit more pretty.
Glue the last 1/2 inch onto the other side to make the bag side. Fold over the 1 inch top to the inside (important if you want to make a handle with eyelets or holes and put ribbons in for handles or if your paper has an ugly inside- to cover it up like I did for this one- who wants fireworks for Christmas?)
Put tape on the bottom part both front and back and put the bag close to the crease and tape down. when you open, the bag will pop up. put some tissue paper and gift card and you are good to go- You can also tie the handles to keep the card secure.
Monday, December 19, 2022
25 Days of Christmas- Cracker Treat box and tag
This is such a sweet box - We used to make it by punching the panels using a punchboard or using other punches- You can make 4 out of 12x12 sheet so it very practical- we all know how much Christmas paper we are all hoarding. Diecut the cracker treat box using DSP. I saved the diamonds that popped out to decorate a tag stamped with sentiment from Christmas to Remember. Tie with Evening Evergreen Open weave ribbon. It has 6 sides and when you glue it together you can make it a 4 or 5 sided cracker. It fits one of the Eos Lip balms ( the ones that look like Chapsticks) perfectly which is what I am making for my staff this year- who does not love a yummy flavored lip balm for the blistery winter weather?
Sunday, December 18, 2022
25 Days Of Christmas- Design a Treat Box and variations
These tiny boxes do hole one piece of Lindor chocolate bonbon as shown on the left - what a sweet surprise-
 details of the present with the ribbon stamped in real red
 Details of the card variation for those who did not want to make a box- sentiment from Brightest Glow set. Used a rhinestone gem colored in with real red stampin blends to make it red. You could also use a small red pompom1
Saturday, December 17, 2022
25 days of Christmas- Mini Pocket Envelope Die and Leaves of Holly
One of the dies from the Annual Catalog that has been overlooked is the Mini Envelope die- it fits a gift card perfectly and is just adorable with the scalloped edge- you could potentially put windows into it using other shape dies that are included.
here I just diecut it using Evening Evergreen cardstock. Using leaves of Holly diecut the panel using whisper White cardstock. Stamp the sentiment from Brighest Glow with versamark and heat emboss with Gold embossing powder and heat set.
Diecut the leaves back panel using evening evergreen (somebody at Stampin' Up is thinking!) Stamp the berries in real red and accent in Cherry Cobbler and diecut and mount using dimensionals.


