This is a little thing I sewed up for our gift exchange for the holidays with my Stamp N Chat friends. The criteria was that it had to be under $10 - I think and handmade.
I have been hoarding this fabric bundle from Stampin' Up when they used to have fabric eons ago. It is sew cute! I still have a few packets of this and the christmas fabric that they used to have- good quality for quilting and I made several fabric shopping bags with pockets inside for going to the farmer's market.


I then make a binding out of the red checker fabric and sewed it all around the edge to create a cute binding. this is the inside of the mug .

this is the back of the piece with velcro attached so that I can loop it through the handle of the mug to help this stay in place.


this is the back of the piece with velcro attached so that I can loop it through the handle of the mug to help this stay in place.


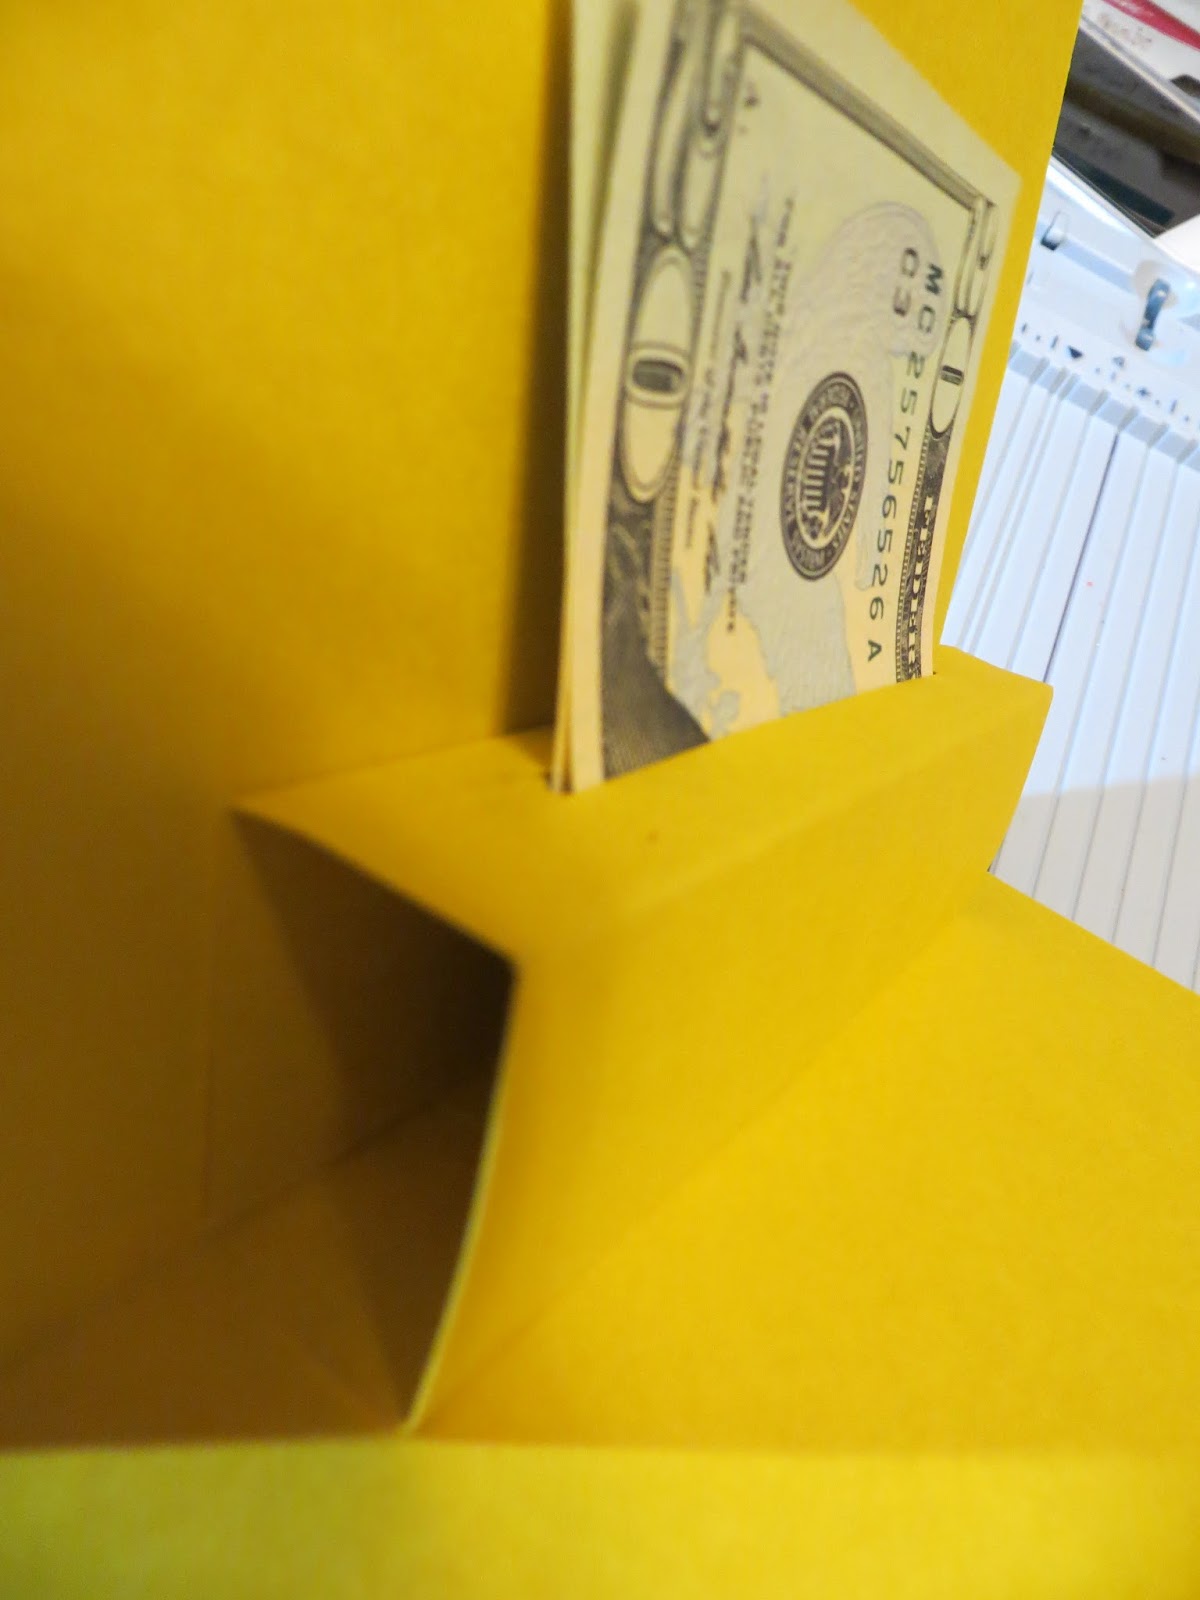
 I suggest that you make the box, set up 3 sides and add the tag so that you have one side that is free to open and close to turn the light on and off without messing with the tag. I hope this makes sense to you.


 Annette made this cutest cup with tea and cookies inside.

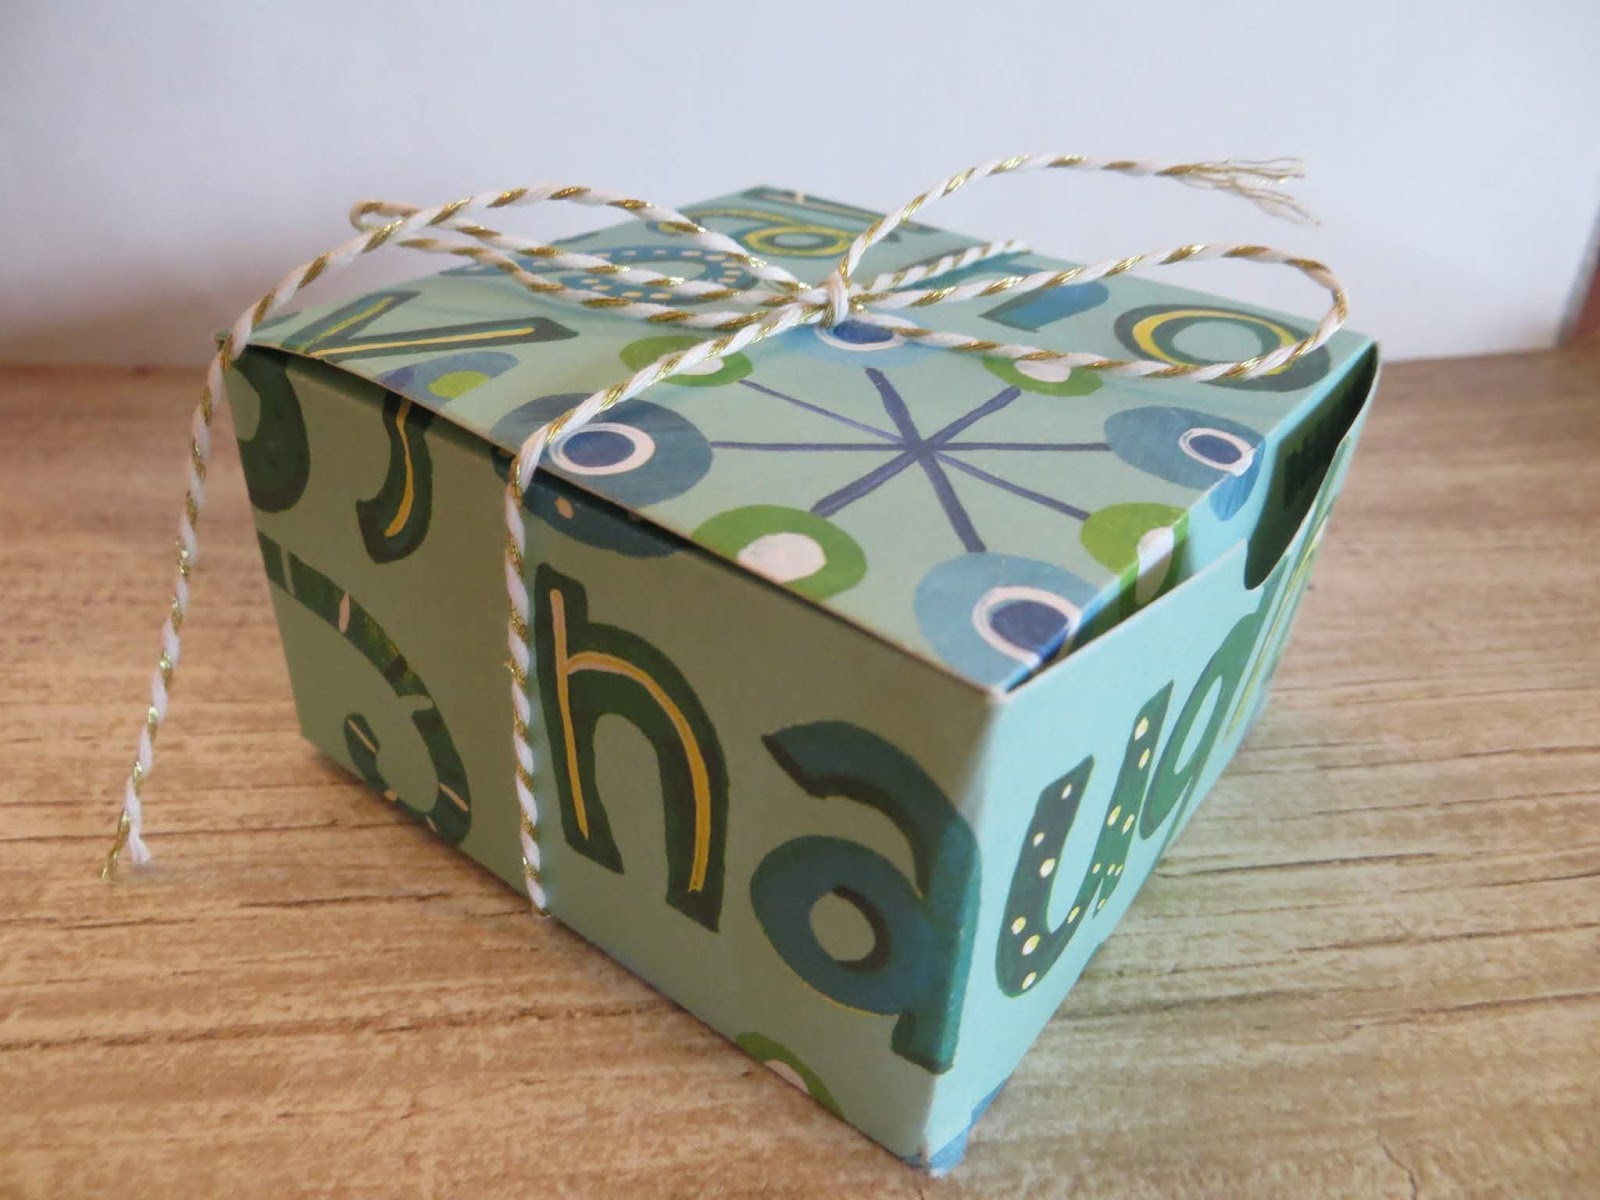


 This is a bag using DSP and oval hole punch to make the handle