Showing posts with label Holiday- Halloween. Show all posts

Saturday, October 19, 2024

Halloween treat box using 6x6 DSP

 halloween treat box


A good way to use up all your DSP's you have been hoarding- makes 4 from your 12x12 papers.

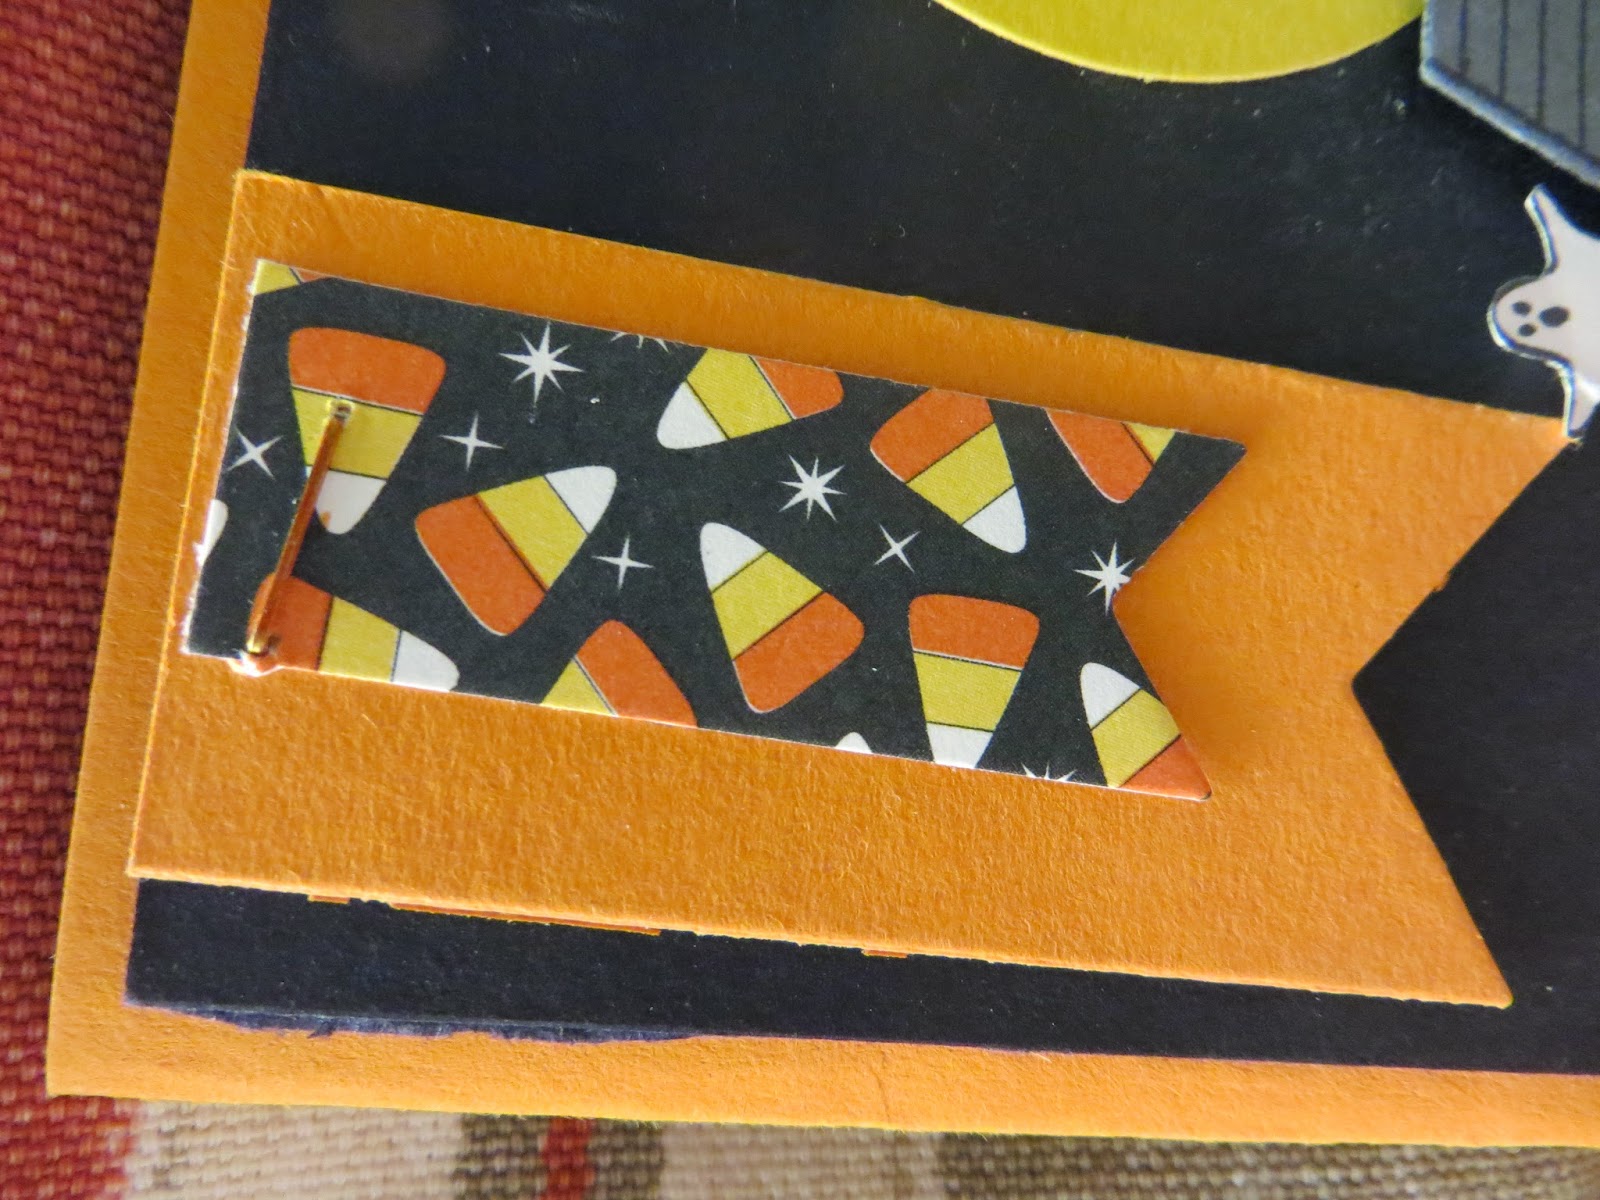
Playful Ghosts stamp set and Something fancy die for the tag
take a piece of halloween DSP 6x6 inches
score on one side at 1 and 5 inches
score on the other side at 1", 2 1/2", 3 1/2", and  5"
cut the tabs to the 1 and 5 inches. taper cut only the one inch tabs (so the ones between 0-1 inch, 2 1/2 -3 1/2, and 5 and 6)
circle punch 1/2 way up the panel that makes up the front to make it easy to open.
adhere the side panels to make the box.
stamp image onto the tag and color in as desiredsmall hole punch top to thread the twine
tie with ribbon or baker's twine three color pack.


Saturday, October 12, 2024

playful ghosts triangle corner pop up card


 playful ghosts triangle corner pop up card

basecard Lemon Lime Twist cardstock 11 x 4 1/4 folded in half to create A2 card ( 4 1/4x 5 1/2) 
with the folded center of the card to the left score the front panel 1 1/4 inch from the front.
then score the right side of the front panel from the right side top corner to the left bottom of the 1 1/4 inch scoreline to create a triangle panels.
adhere the 4x4 inch DSP scored in 1/2 triangle shape to the right side of the front panel lining up the diagonal score line. 
adhere a contrasing 1x 4 inch strip of DSP to the left side of the front panel. 
you can tape or glue down the 1 1/4 inch panel to the back panel to create a book card.
diecut a circle from the Spotlight on Nature dieset 
stamp the ghost image and sentiment to the circle panel and color in as desired.
cut out the cloud image if you want to use it- stamped in gorgeous grape  to place around the ghost image
Glue or tape down the circle on the front panel only on the r lower triangle so it will pop up.
color in the pumpkins and cut it out and place inside of the card  with a dimensional to use as a doorstop for the pop up. 
(on retrospect I would cut the orange DSP diagonally and then adhere it so it would lay better.)


Saturday, October 7, 2023

Pick of the Patch and Abundant Beauty Stencil for Embossing


How fun is this card? When I saw the new holiday catalog this was on the first order. Love the little crow.
Base card is Calypso Coral with a layer of Old Olive and basic black embossed with the Abundant beauty stencil. I stamped the sentiment after since I changed my mind about stamping it on the side of the white panel but it still worked fine thankfully.
stamp the 3 pumpkins with calypso coral on a scrap piece of white cardstock and the leaves in Old Olive- punch out the leaf, stem and the 2 pumpkins using the Pick of the patch punch. fussy cut the last small pumkin- I stamped the crow on it before i cut it out so it was just one piece.  stamp the vines and cut it out and you are read to put it together.
I had actually stamped the pumpkins on the white cardstock so I could figure out where I wanted to place the punched out pieces but I made this one without doing any punching at all. - I used masking to stamp the stem and the leaves and vines where I wanted it. so more of a one layer card- sorta.  this is how I visualized the card when I was first coming up with the idea.
This is a total case from Dena Rekow- she was doing unconventional colors and I loved her card- I did tweak it with a strip of DSP on the left but it is really straight from her. 
Calypso coral, Fresh Freesia, Petal Pink and pumpkin Pie- who would have imagined a purple pumpkin!

This is what the embossed cardstock look like.  I used the embossing rubber in my diecutting machine with the stencil to make the embossed cardstock.  I did use a little white  pigment pad to rub my fingers over the raised area in the black leaves embossed to make it pop a little- shown below.  The current stampin' Cut and Emboss machine does not come with the rubber embossing mat but you can buy it on line- spellbinders have a 2 pack for way under $10 

This was the houndstooth pattern but someone suggested it looks like bats and I have to agree!
There are multiple stencils: houndstooth, autumn leaves, snowflakes as well as the multiple layering stencils for the flowers so the stencil set is definitely a bargain.
 

Monday, October 31, 2022

Happy Halloween - Paper Pumpkin September 2022 Spooky Treats


I make treats for my staff every year for many holidays including Halloween- there are a lot of them and sometimes one kit is not enough so I have to make it stretch- so this is what I made- I used the base box to make an openable box - I tired one way with top panel open- see the left bottom trick or treat box in the above photo-but it was not as stable so  then I made some candy box type boxes with top opening boxes which worked better. 
the ghost box was more of a hit then I thought it would.  These were perfect for the amount of candy I could put into treat someone.
these 3 boxes to the left was the original intended kit with a matchbox type boxes.
 

Tuesday, October 25, 2022

Scary Cute candle holder - Happy Halloween!


I love open window dies like this- I have made candle holder covers the last few years for my friends using die for Halloween and Christmas and when Stampin' Up Holiday catalog revealed this die I know I HAD to HAVE IT! and I love it. 

I took black cardstock and diecut windows on 3 sides as shown and die cut the cat and the spooky house. I took a piece of vellum cardstock and where the big opening was stamped the kids in versamark and embossed it using black embossing powder.  added the little bats and the moon in daffodil and used extra scraps of daffodil behind 

the cat's eyes and for the windows on the house.

I had a square glass votive that fit the dimensions perfectly but I have some glasses that hold the electric or real votive candles inside as well. 

I went into a closet to see how it would look and it is amazing.  The picture would not show but it was still cool. 


Don't you LOVE this? Enjoy! Lynda


Tuesday, October 18, 2022

Scary Cute with stampin blends colored rhinestone gems


I just so love the Scary Cute set.

Took base line Calypso Coral and a layer of DSP (retired ) then the scary cute die with the haunted house and bats and the moon, sentiment in the banner

the Baker's twice is from the incolor Baker twice set

took rhinestone basic jewels and colored them with the calypso coral stampin blends to make a perfectly coordinated colored gem. 

so don't forget that stampin' blends because they are alcohol markers will color glass, pearl, ribbon and metal so you can make your own perfectly coordinated embellishments- so cool!


Tuesday, October 11, 2022

Scary Cute variations


We made the card on the left for our September Stampin' with Lynda 

take a base of thick white CS and then layer a basic black cs - stamp sentiment and emboss in white heat embossing powder. Then pressure emboss with  Stripes embossing folder- if you emboss before you add the sentiment it will get all wonky from uneven surface.

Add a piece of DSP from Celebrate everything hostess paperpack. Diecut the scary cute frame and house, put some scrap Daffodil delight behind the windows and diecut the moon and some bats from the black CS and mount as shown.


My sister showed me a variation where she put the DSP upside down to show a yellow background then added the spider dangling which was super cute.


details on the embossing with the embossing folder from the stripes and splatters Embossing folder set.

 On the second card i added the Black Glitter Washi taper to add a little sparkleron the base card of tangerine tango and retired patterned party DSP-polka dots

Saturday, October 9, 2021

Crazy Cat

This cat has attitude- every time I look at this it makes me laugh because it reminds me of my sister - she can be snarky but funny and smart- the paper is from Magic in the Night - retired Stampin Up DSP- it was on sale until recently - daffodil delight moon - I fussy cut the broom and the cat - stamped the cat using stamparatus- multiiple times- to get a really black image- then covered the tail with post it and stamped the broom - added the black gingham ribbon and the sentiment with Matte black dots and mounted the whole thing on black then pumpkin pie- what else?- cardstock
adorable!


Saturday, October 31, 2020

Have a Hoot on Halloween


Gayle suggested that we use this layout for our October Stamp n Chat so this was my take on it.

I used the stitches square die to cut out the openings and embossed the early expresso cardstock with the woodgrain embossing folder (sadly retired- but wood planks would work also beautifully.)

stamped the owls from Have a Hoot stampset set and colored it in water stampin' blends and watercolored the background

It's funny but the branches look like they connect -and they re looking at each other!


These owls are just so super cute!

the label die is the small one from "Hippo Happiness" die set. 

Happy Sheltering Halloween!

I bought some Halloween candy for my staff treats and for the trick or treaters just in case but I don't foresee any kiddie coming by with this pandemic-

Stay Safe everyone! 

Thursday, October 31, 2019

Happy Halloween!

I have a lot of staff and I like to 

 make them a treat for each holiday- Stampin' Up Paper Pumpkin saved my skin this year with this cute little box and tag set- it made 20 which I am sure would be plenty for many but I have another 1/2 dozen to make so I had to pull out some of my projects from past - the pumpkin curved keepsake boxes, the candy box we make, some other box dies cut out using Halloween papers.
The halloween boxes were such a great size, did not need anything to keep it closed, you can open it without destroying the box and could lay flat after your are done- I am hoping that they will come out with a die for this box which I think I would love to use for other projects..  hint hint stampin' up!

I also love a bag die that cuts all in one piece instead of putting 2 pieces together like the new tiny curvy keepsake box that I am ordering. Can't wait to get it.
Bone Appetit!

Tuesday, October 8, 2019

Spooktacular Bash make and take


 Just one of the projects we made for this month's make and take.  Base card is Pumpkin Pie (what else could it be? )  with a layer of Basic Black embossed with the Stylish Scroll Embossing Folder.

I added a layer of retired DSP -from Stampin' Up past- .

I stamped the vampire from the Spooktacular Bash stampset and colored it in with HIghland Heather light and real red (IN retrospect I think light Granny Apple would have been better) die cut  it and layered it on the scroll frame from Ornate frames dies set.

Stamp the sentiment in memento Tuxedo black and diecut.  Don't you just LOVE the tiny stitching inside?  I rolled the Scallped Edge ribbon into loops and taped it behind the sentiment to add some more interest.

The droplets were from a Paper Pumpkin left over and it just added a little something extra that I always like.

Enjoy!

Thursday, October 26, 2017

Spooky Cat Center Step Card with flying Bats


This is a variation on the Center Step Card by Kelly Acheson - how to on her blog http://astampabove.typepad.com/my-blog/2017/09/feature-friday-center-step-fun-fold-video.html
The spooky night DSP was designed to get multiple pieces out of one sheet which I think was brilliant - perfect for workshops.

Take 8 1/2x 5 1/2 inch sheet of Pumpkin Pie and cut slits 1" from bothsides from 2 1/4 to 7 1/4 then turn sideways then score on the long side at 4-1/4 across the whole card - then score the following just between the side slits at 2 1/4, 5-1/4, 6-1/4 & 7-1/4.  I used a ruler with the scoring tool so I could tell where I was scoring (between the slits)  as shown on the left.

I stamped the owl in basic grey, beak and toes in pumpkin and the eyes in black.
 I attached 3/4 inch x 4" strips of DSP on the side panela.  (I cut 4 inch strip horizontally and cut 3/4 inch strips for multiple cards. )  I stamped the hat in black onto the base card - so I can see the spider and web without having to cut it out, then stamped another hat on a pumpkin pie scrap and cut it out and mounted it on top.  Punch the cat in basic black and a piece of Very vanilla with  the Everyday Label punch , stamped the "happy OWL oween" on it and cut off the bottom to make it look like a tombstone- I think that was my coolest idea for this card.  It was still a bit flat and I wanted some bats flying around. All the ones I had were too small  so I used my old Martha Stewart Bat punch from eons ago, stuck it on little clear plastic strips I cut out from packaging (you need something with some stiffness to hold the bats up) and used glue dots to attach them to the card as shown.  It was so much fun to make this card.  Enjoy!

Thursday, August 27, 2015

Halloween Witch's hat kit and all the extras


 I saw the sample of this hat at convention and knew I wanted to use it to display during the holidays.  It's good size and really cute.  What surprised me when I got the kit was how easy it was to put together and how much extra supplies you got.
It came with everything you needed and I think it took less than an hour to put together.  I did not have the leaf stamp so I originally put it together plain which was still really cute after I sponged the leaf edges with soft suede ink.  But stamping with the leaf stamp does add an additional detail.   Love the bell at the tip.  The hardest part was crinkling the hat body to make the curve with the body of the hat. I think it's super Cute!
 The base has this subtle embossed spider web which is really great and it is really sturdy.
I did use all the fringe to make it full but only used one of each leaves and they give you three packs of each leaves in all the different colors.  I have so many leaves left over that I am planning a leaf banner.
I used cajon craze to stamp the leaves on the different diecut cardstocks or soft suede depending on the cardstock color.
This is one of the cards I made using the extra supplies.  The bats and spider web was stamped n black on Old Olive cardstock. The diecuts are already cut so nothing else to do. Spiderweb doily was left over too as was the 31.  I did stamp the raven on a different cardstock left over and embossed it in black embossing powder and used dimensionals to make it pop although I did not cut out the claws of the feet.
I probably have enough supplies to make another 10 more cards at least.  What a deal!

Friday, October 31, 2014

Happy Halloween Holiday Home

 Love this house for Halloween.

Basecard is Pumpkin Pie with a layer of basic black on top 3/4 only.  Cut a layer of Eggplant Envy and emboss with large polka dot embossing folder.  Punch Word Window punch on the side as shown and stamp "happy halloween" from Teeny Tiny Wishes set in black through the opening.  Punch a circleusing Daffodil delight CS and stamp the bats in black.


Stamp the  tree with versamark after dusting the black CS with embossing buddy and heat emboss with iridescent ice embossing powder on both sides of the house.  Mount the Elegant Eggplant cardstock as shown and diecut banners from Pumpkin pie and Motley Monsters DSP as shown.  Attach with staple onto the black CS.   Stamp the house on Basic Gray and on Daffodil delight cardstock for the windows.  Add spider webs on the house.  Cut the windows and attach to house- if a little wonky, it makes it more spooky (Margery's idea!)  Diecut and mount the house with dimensionals.
Color the staple with Pumpkin Pie blenderabilities using the sharp pen point tip.
 Stamp the ghost and pumpkins onto white CS and cut out and mount as desired.
 How fun is this?